
ESXi. The best way to build VPN tunnel with pfSense
Introduction
ESXi is a type-1 hypervisor, meaning it runs directly on system hardware without the need for an operating system (OS). Type-1 hypervisors are also referred to as bare-metal hypervisors because they run directly on hardware.
Also VMware vSphere Hypervisor is a free product and require a free license for the usage.
pfSense is a free and open source firewall and router that also features unified threat management, load balancing, multi WAN, and more.
Environment
In this article I have next hardware and installed software on them:
- Supermicro server with two network interfaces (1 - connected to Internet, 2 - to LAN)
- VMware ESXi 6.5 U3
Installation
So I have an installed ESXi hypervisor on my bare metal server.
I get access to ESXi through WebGUI by local IP that ESXI have got from DHCP Server.
I just open a browser and insert 10.16.65.12 in address line.
Prepare network
So after first boot I see a next window.
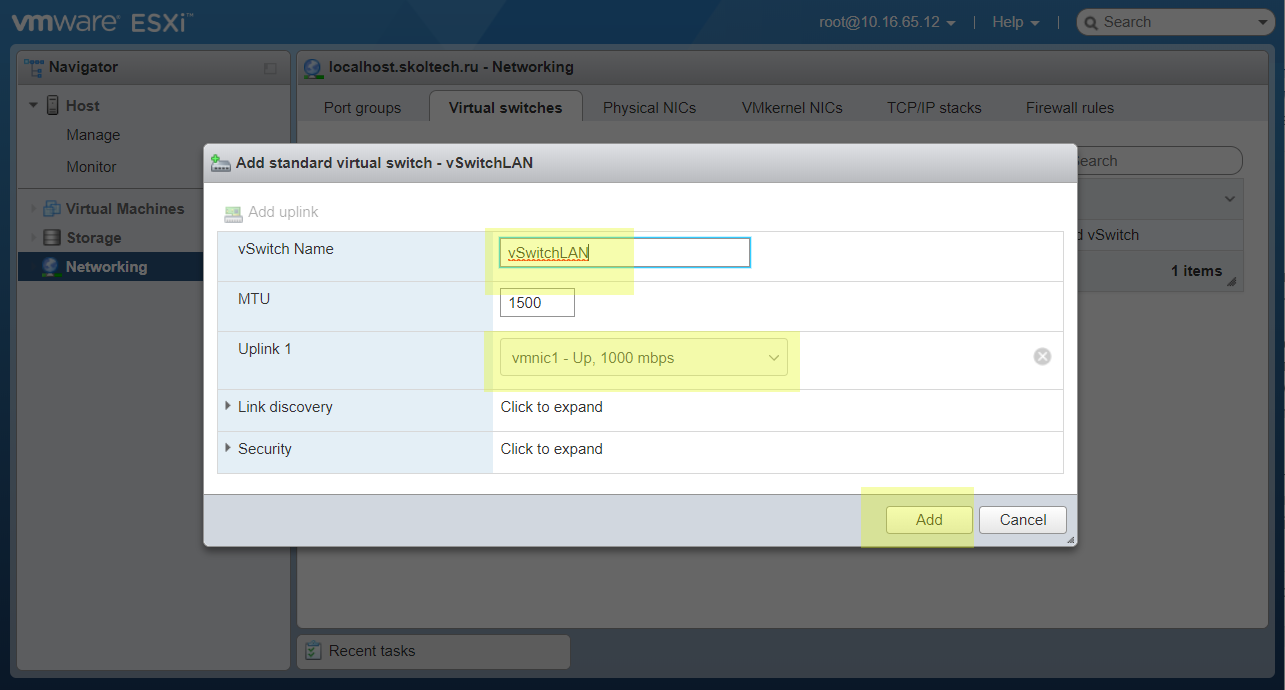
Set up a new vSwitch. It will use for access for created virtual machines.
Set an obvious name and select second network interface. In vmnic1 connected my laptop.
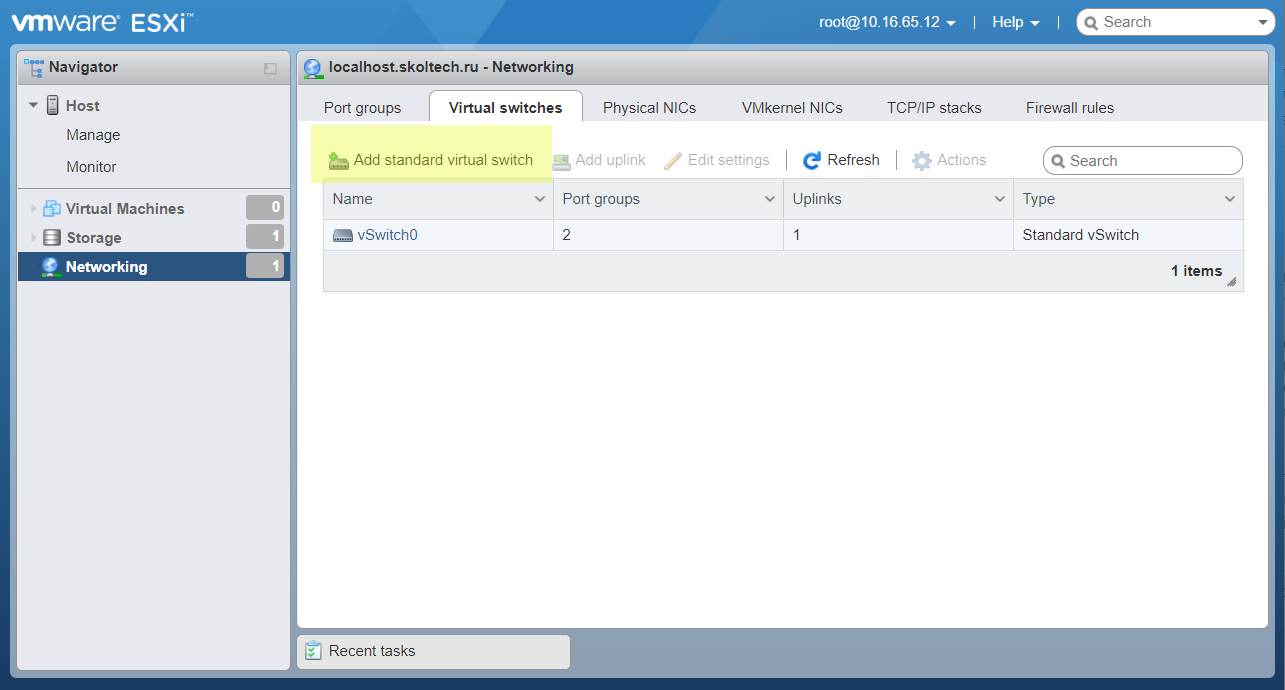
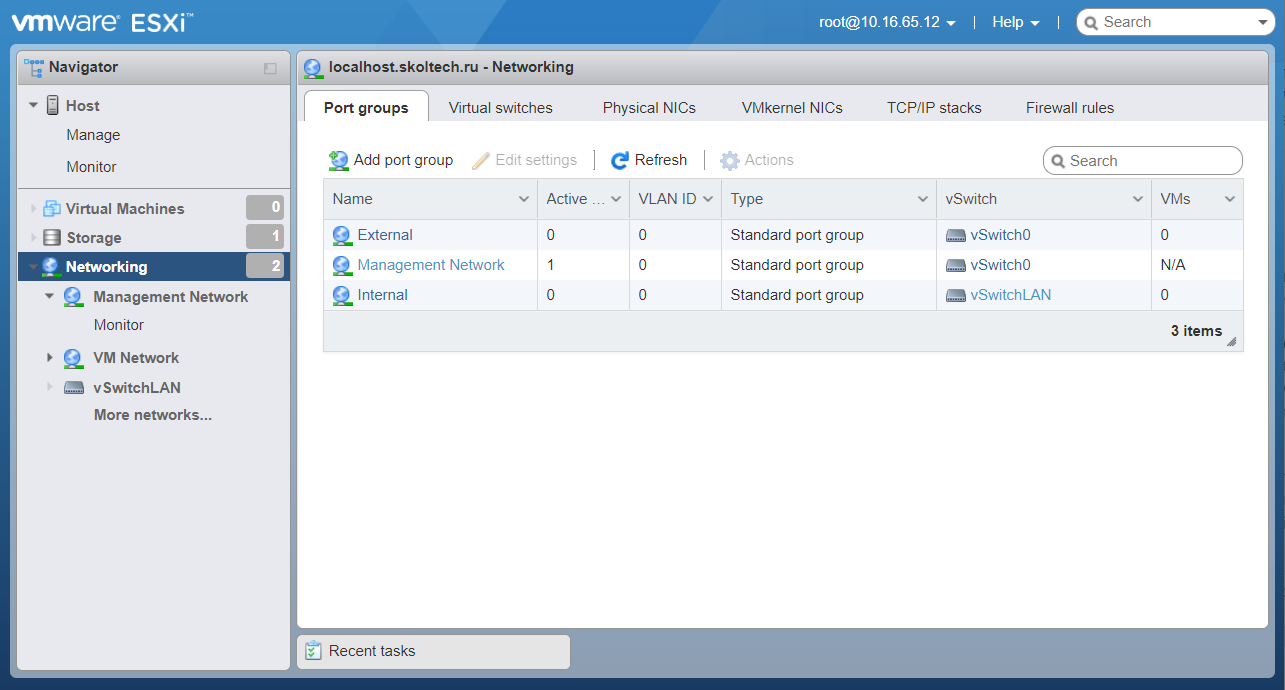
Now open Port groups tab.
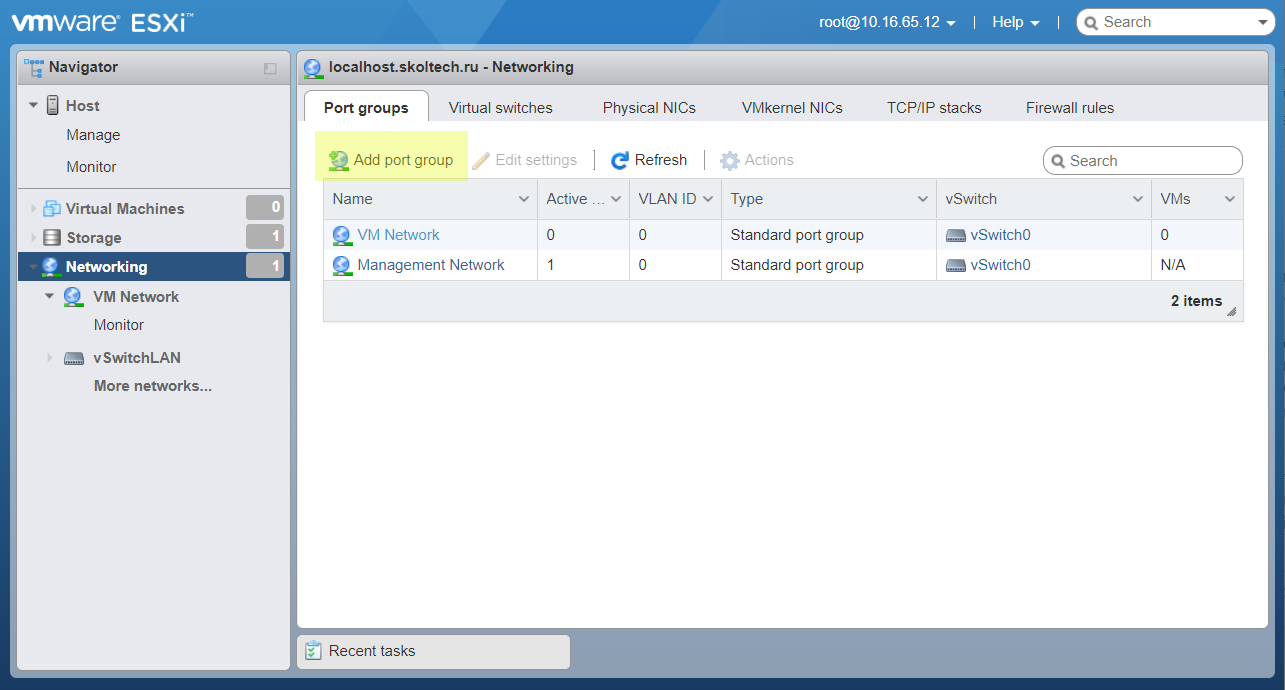
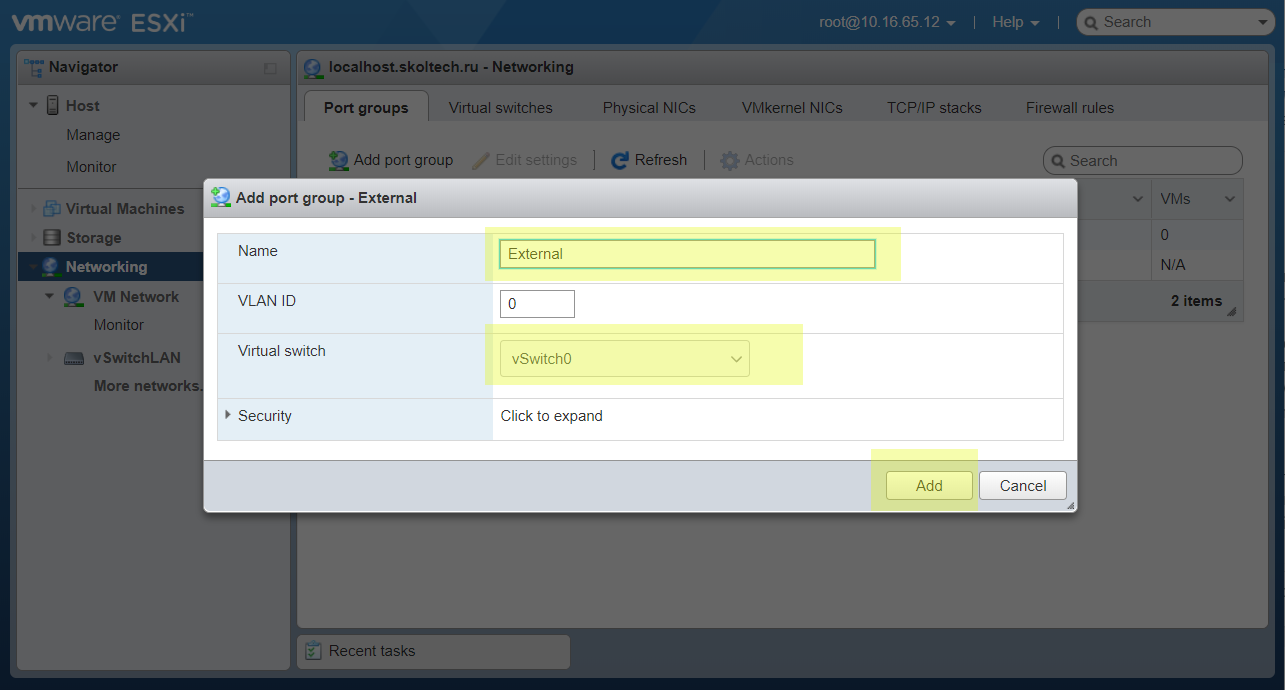
Add new port group that will used to connect our software firewall (pfSense). Name it External as straight external network.
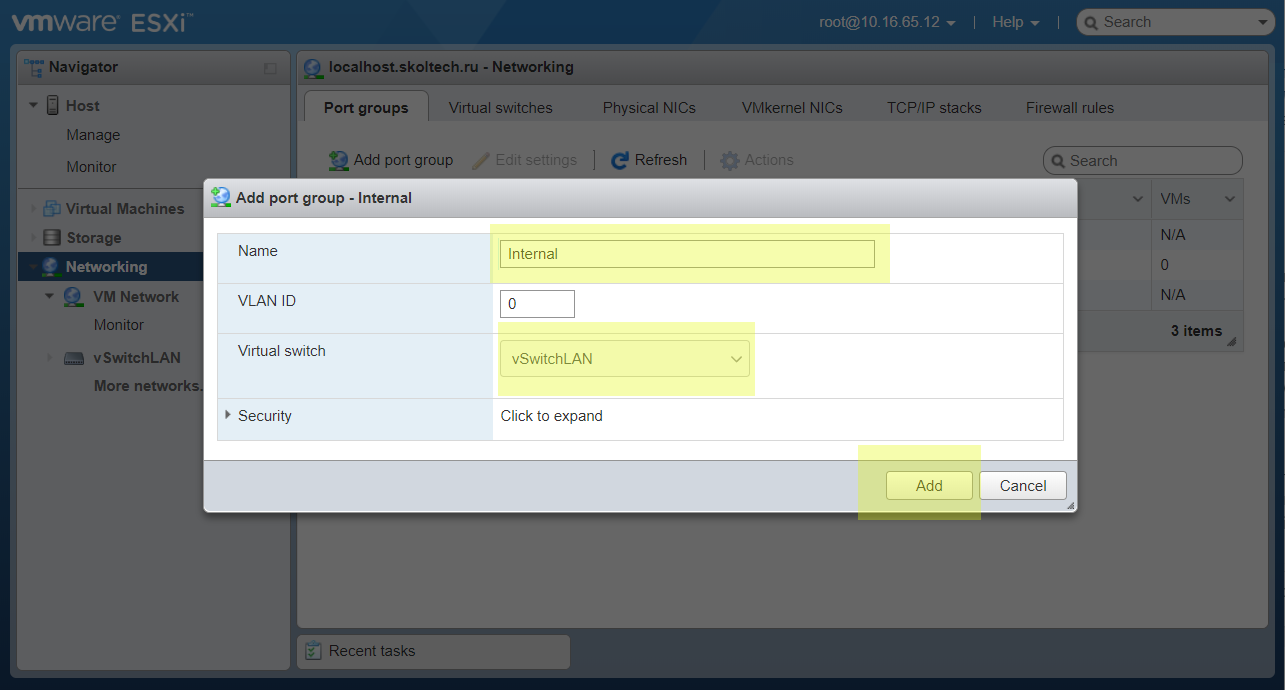
Retry it for creation Internal port group. VMs connected to this port group has access to Internet only through a firewall.
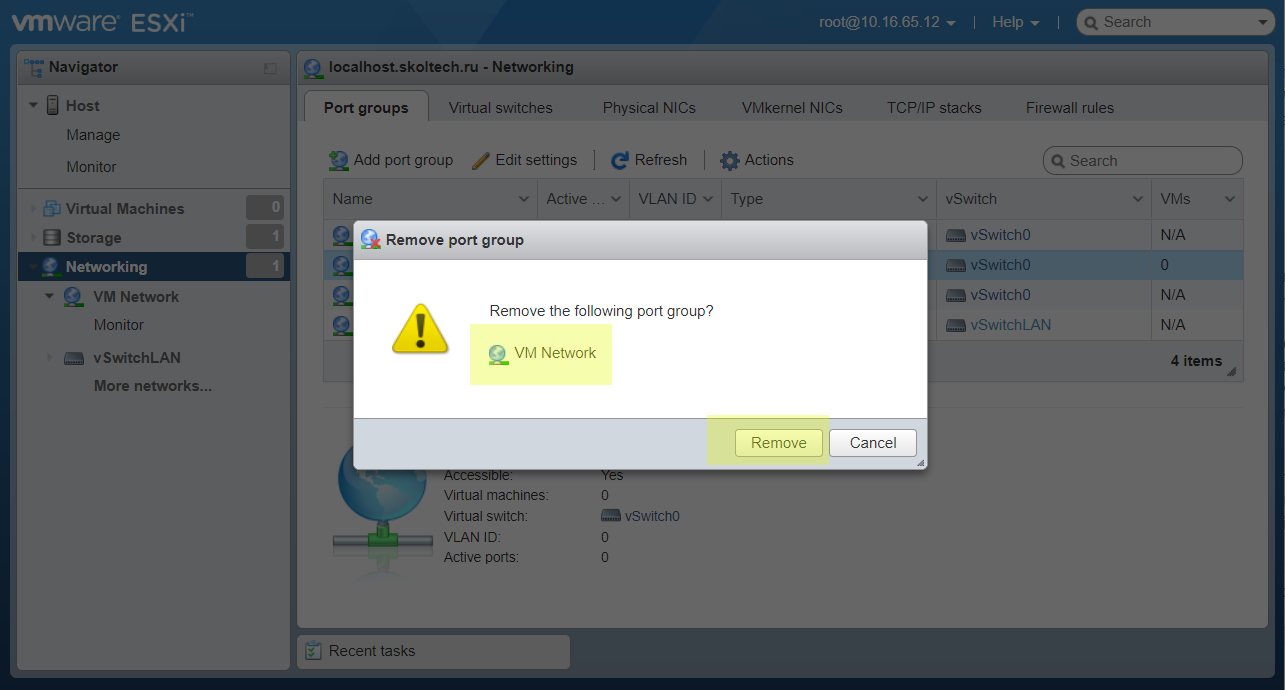
The created port group by default can be removed.
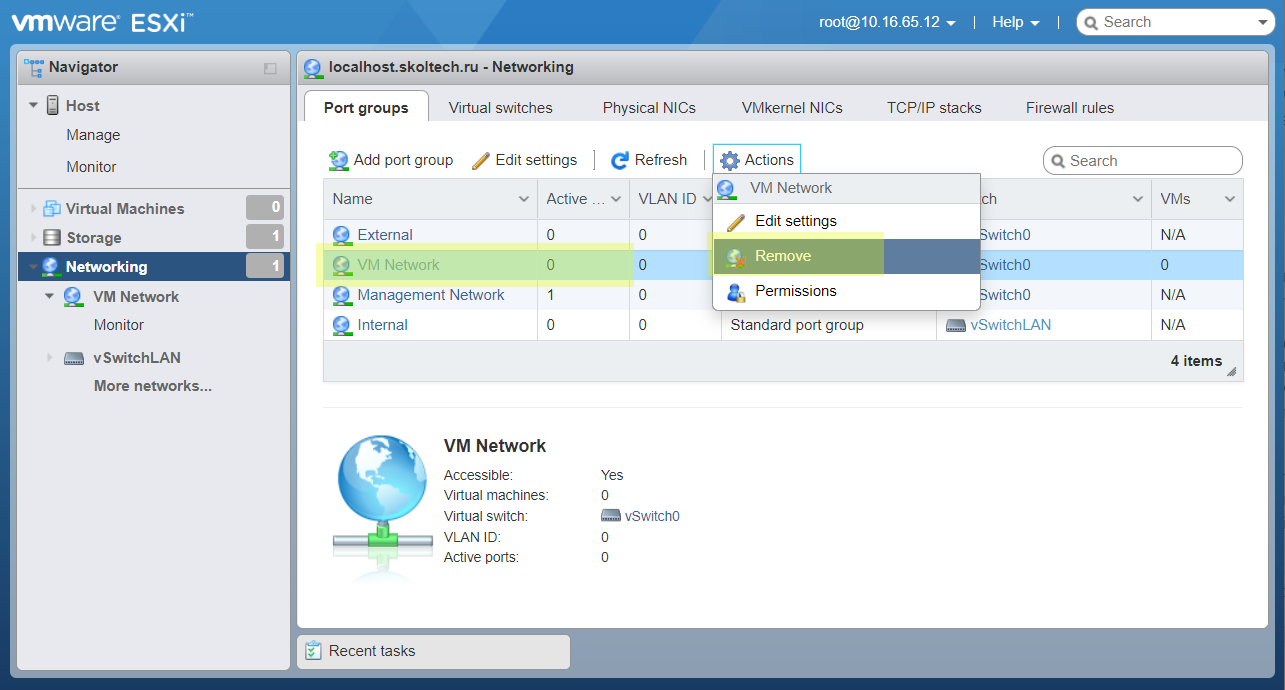
Allow to delete it.
View a result of these actions.
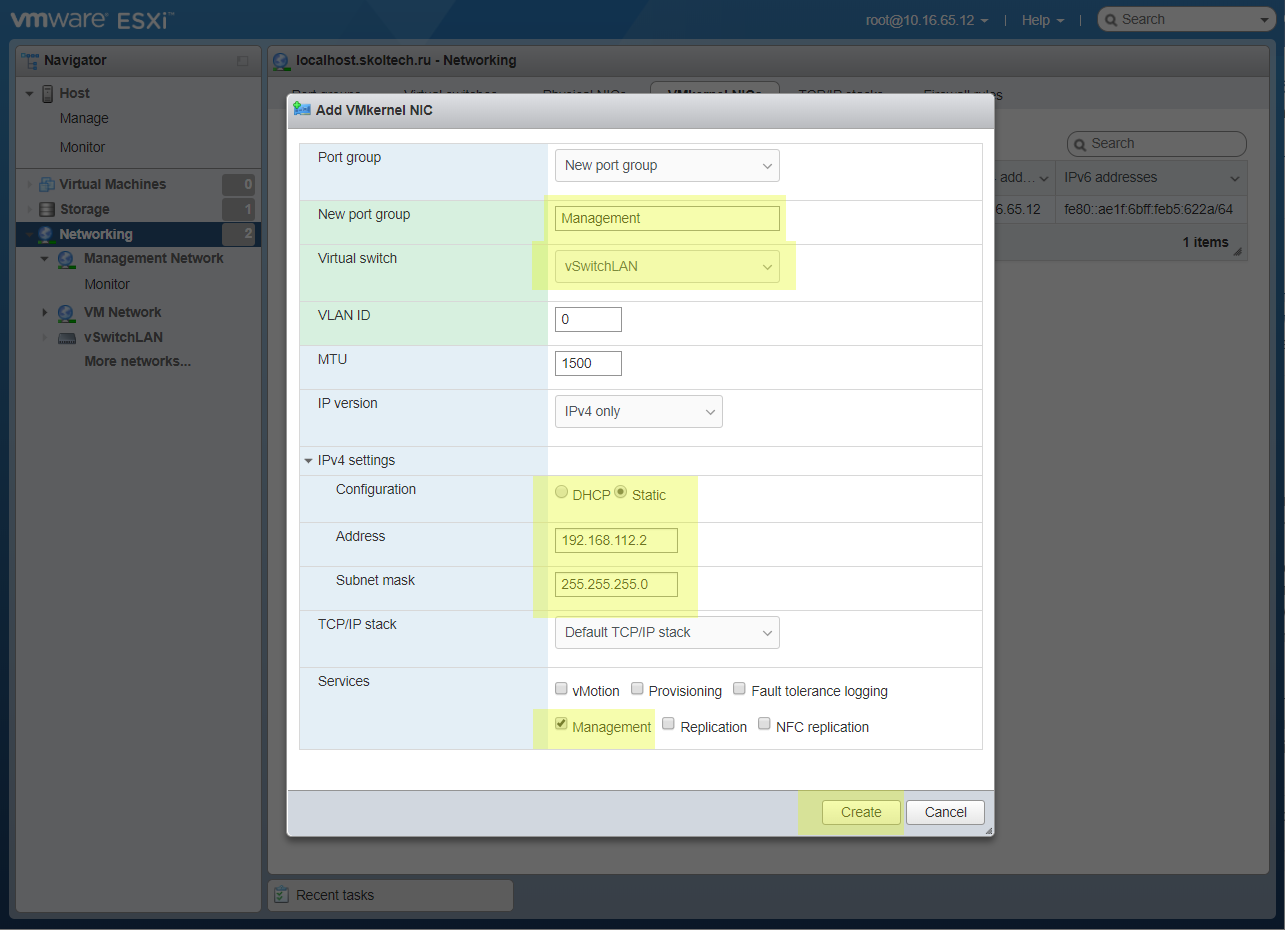
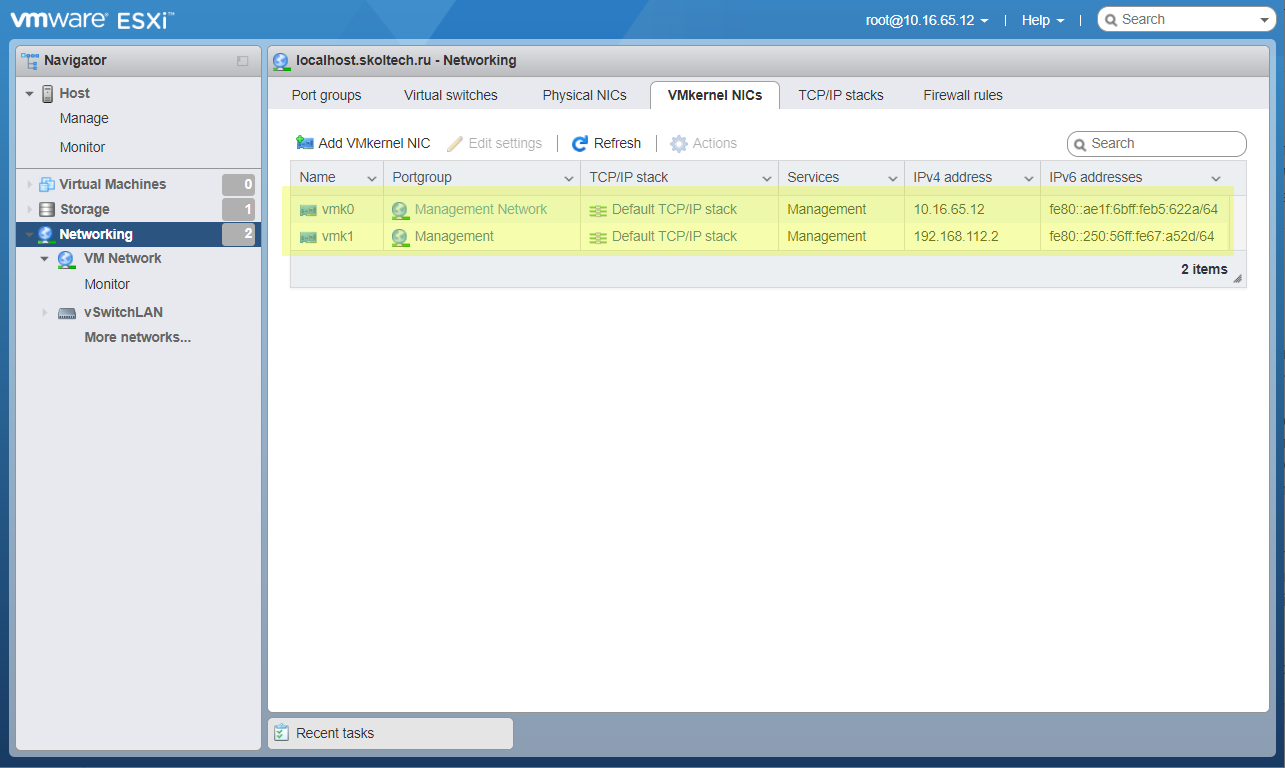
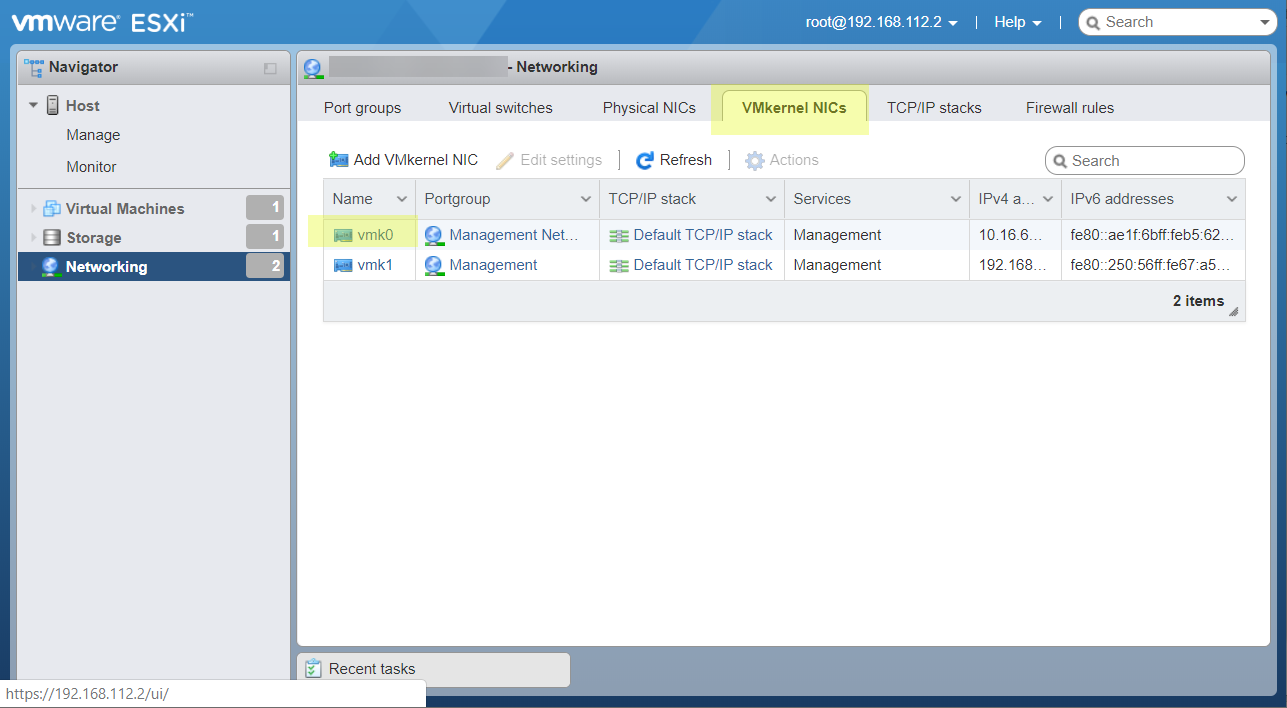
Add new VMKernel interface.
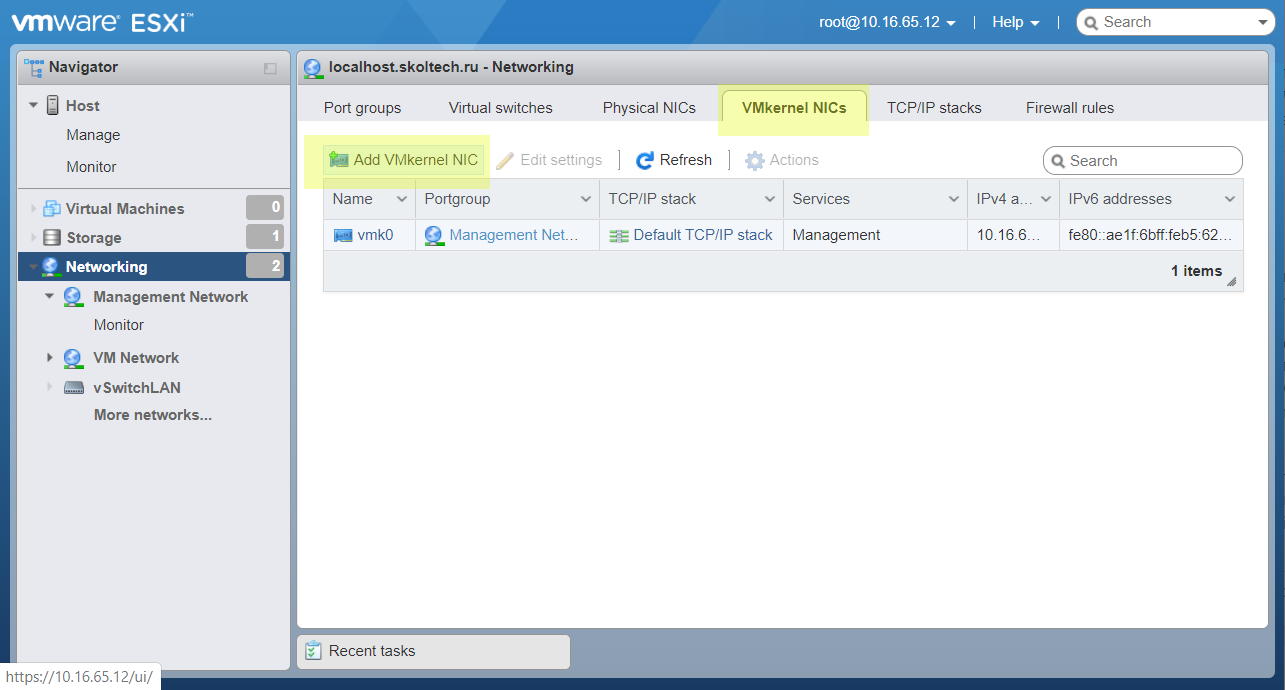
It needs to get access to ESXi WebGUI from our local network (192.168.112.1/24)
After that we will have two management interfaces. An old one will be removed at the end.
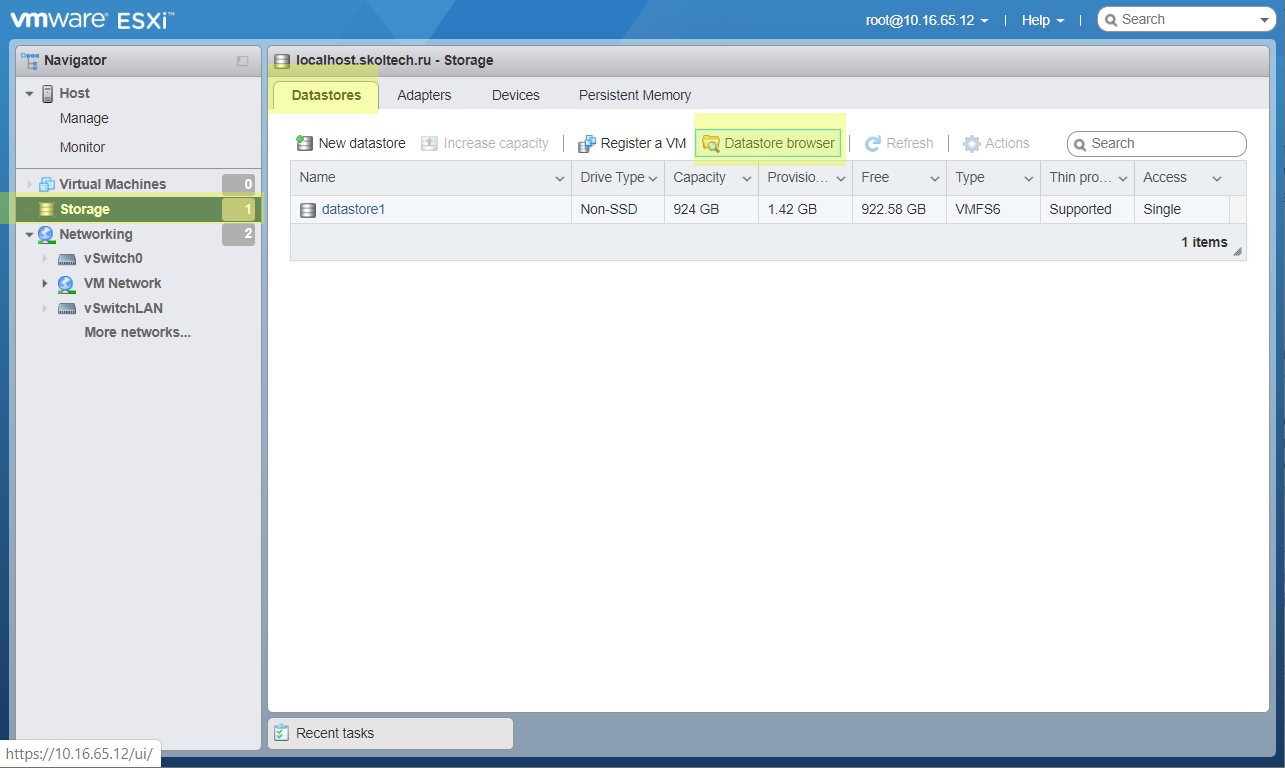
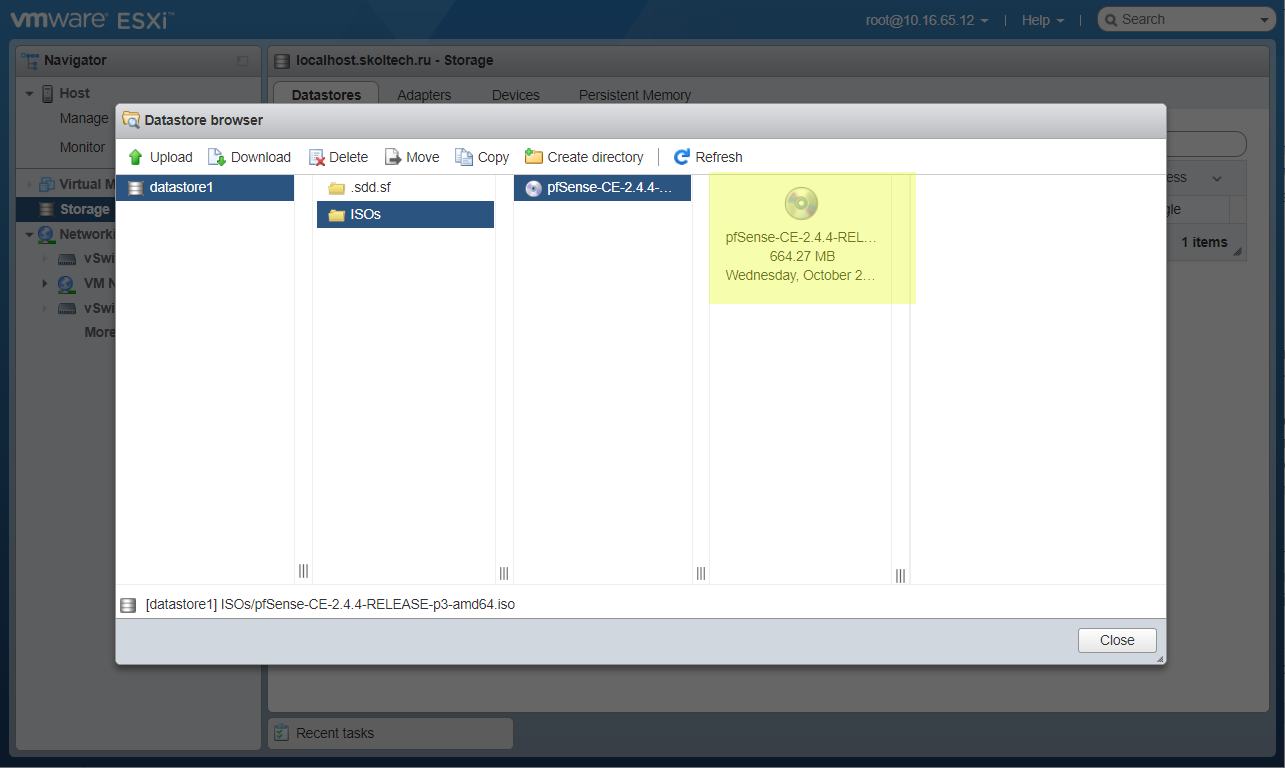
Upload ISO
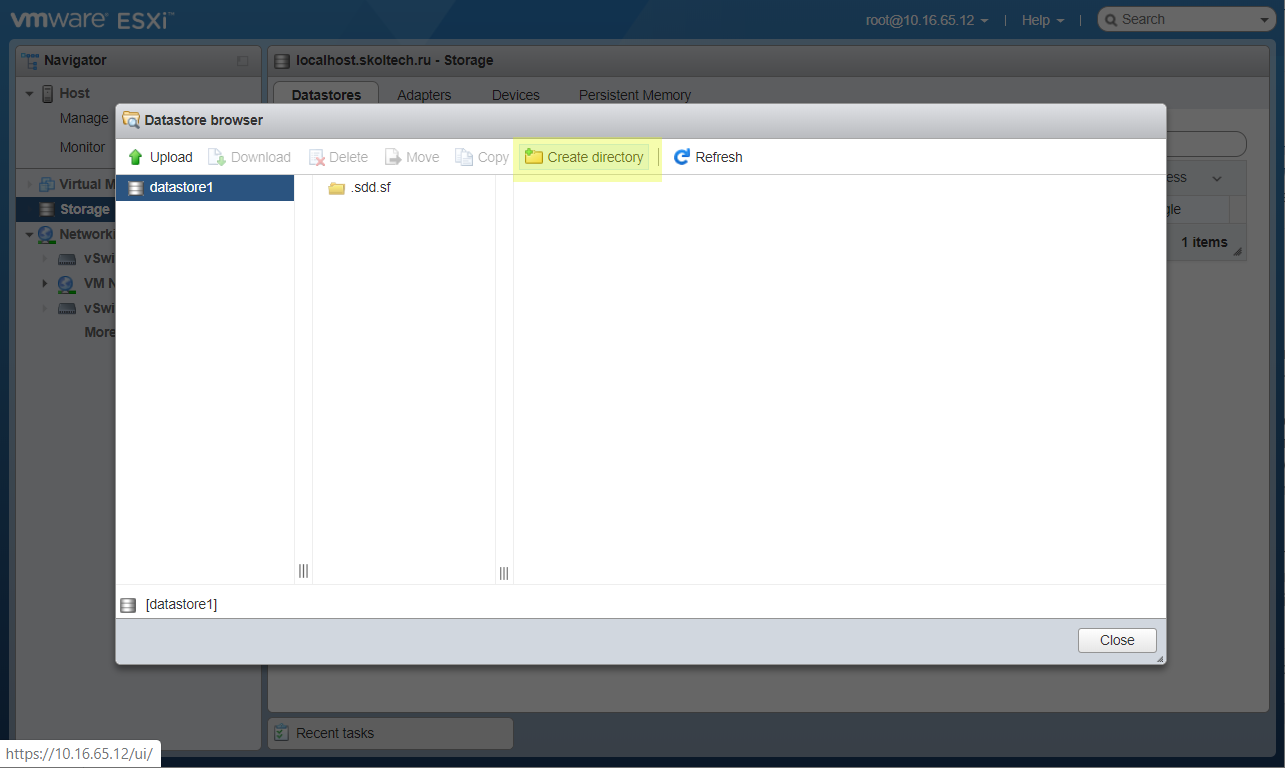
Now we can prepare to make pfSense on ESXi. First of all add an installation ISO image.
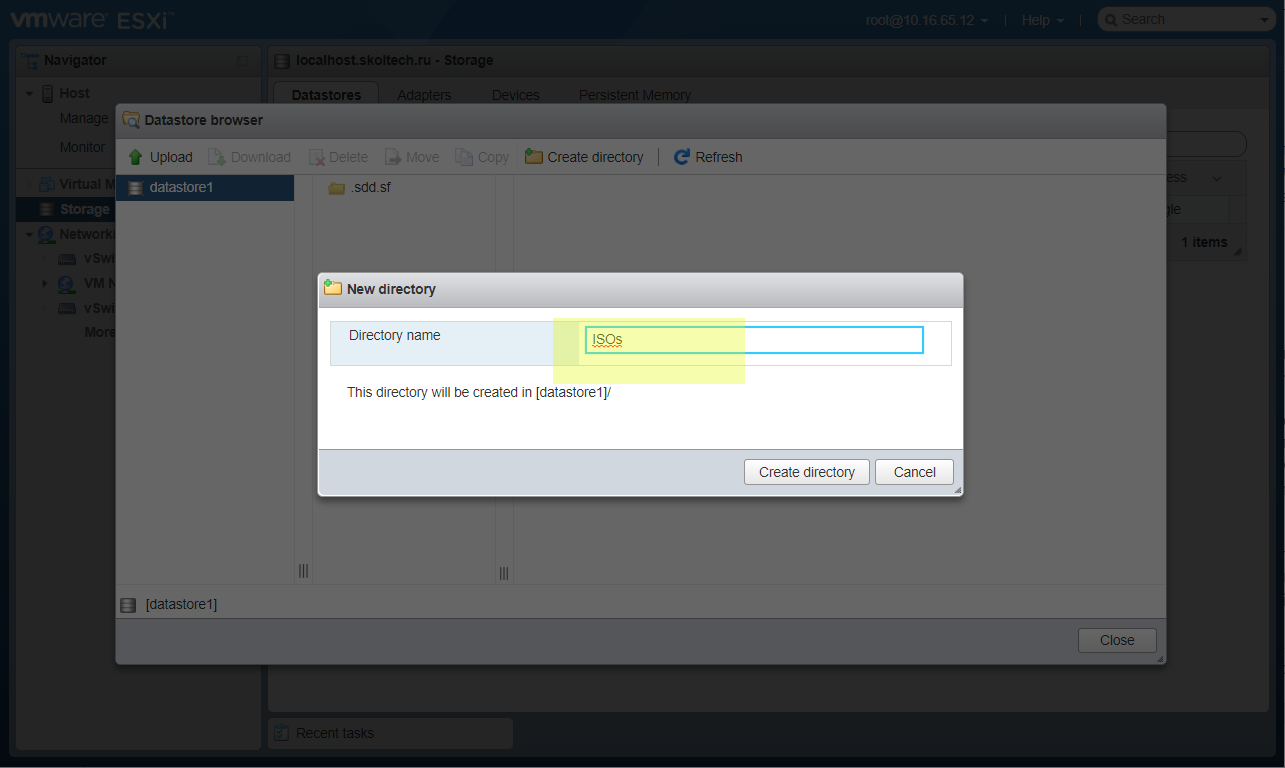
Create an ISOs directory.
Add a downloaded ISO with pfSense.
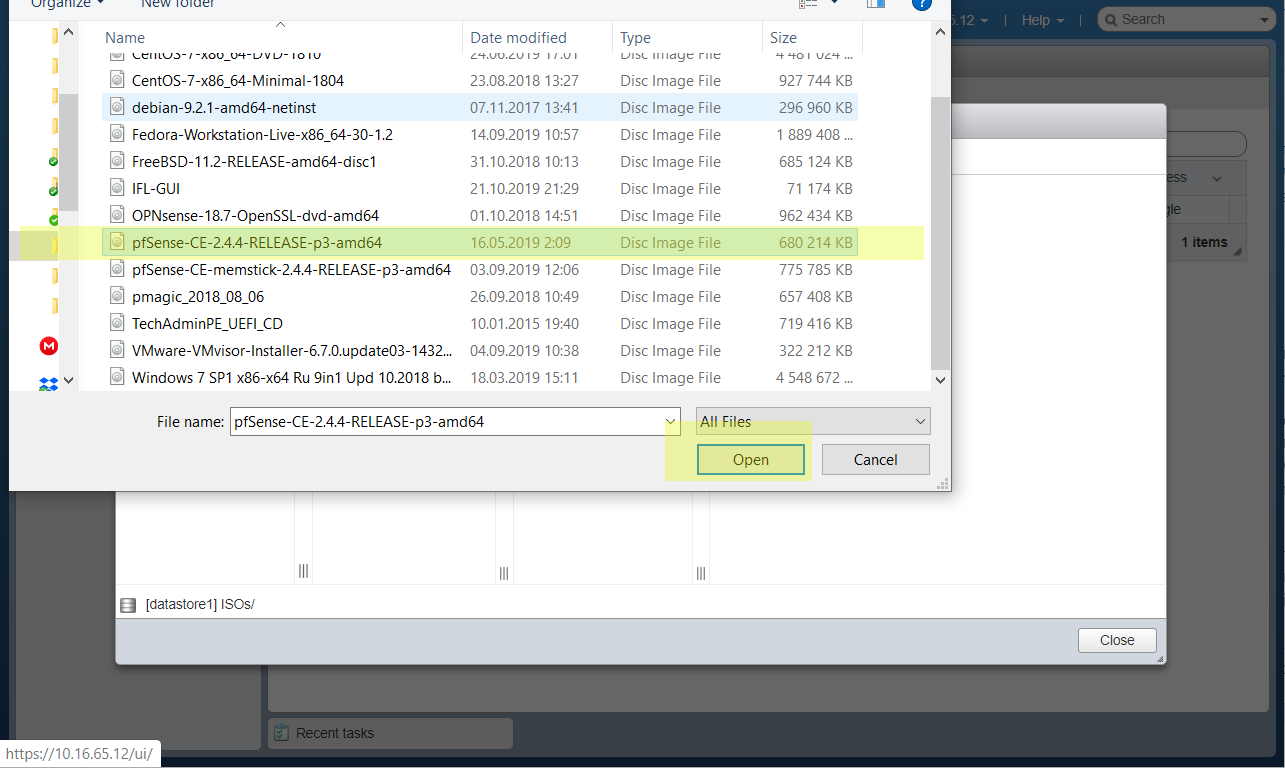
Wait some time. After that you will see the pfsense image in ESXi.
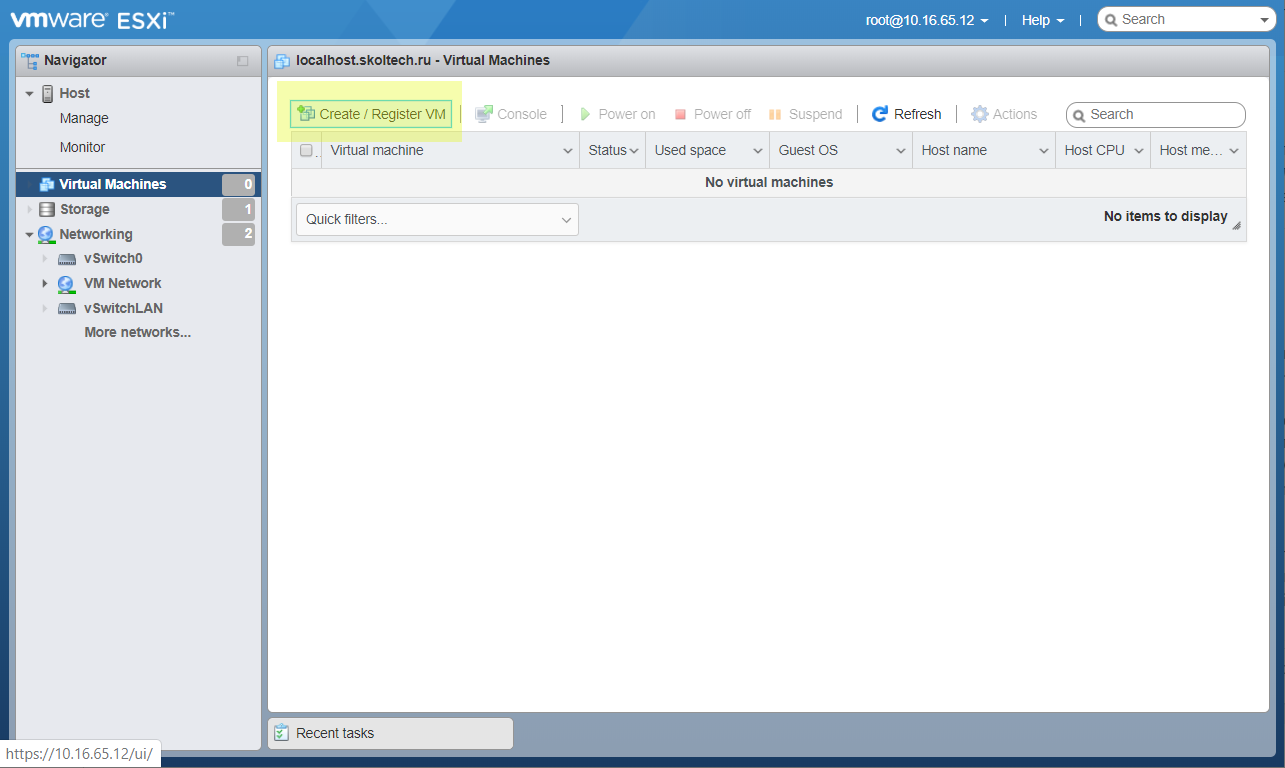
Create VM with pfSense
Open Virtual machines page in ESXi. Click Create new VM.
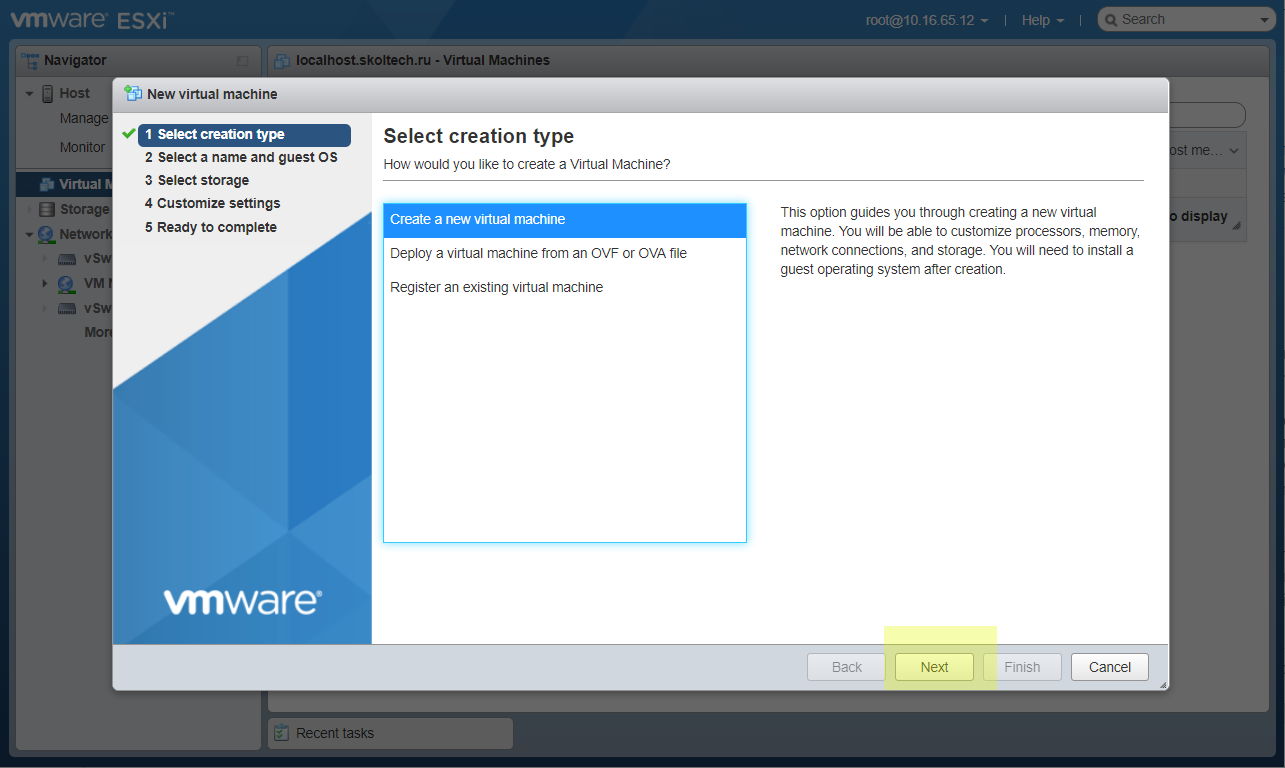
Yes, create a new virtual machine.
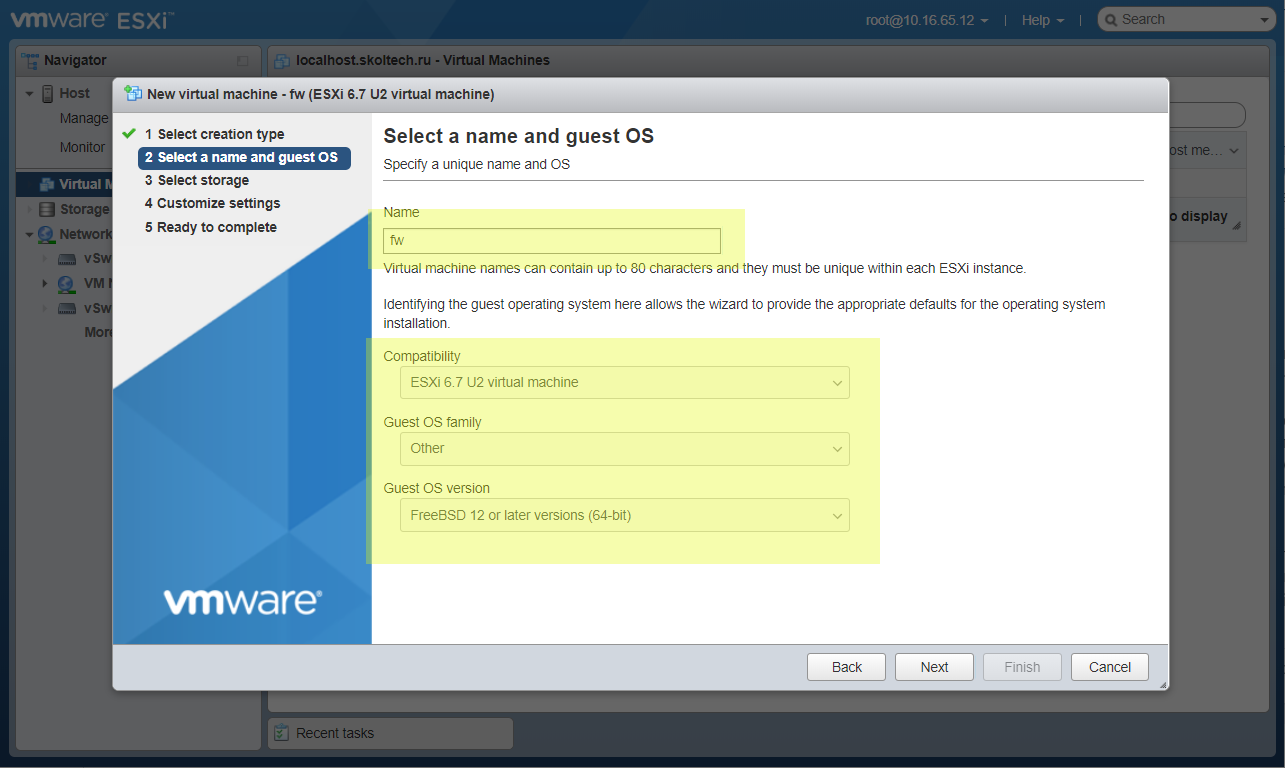
Set name. Select type of VM.
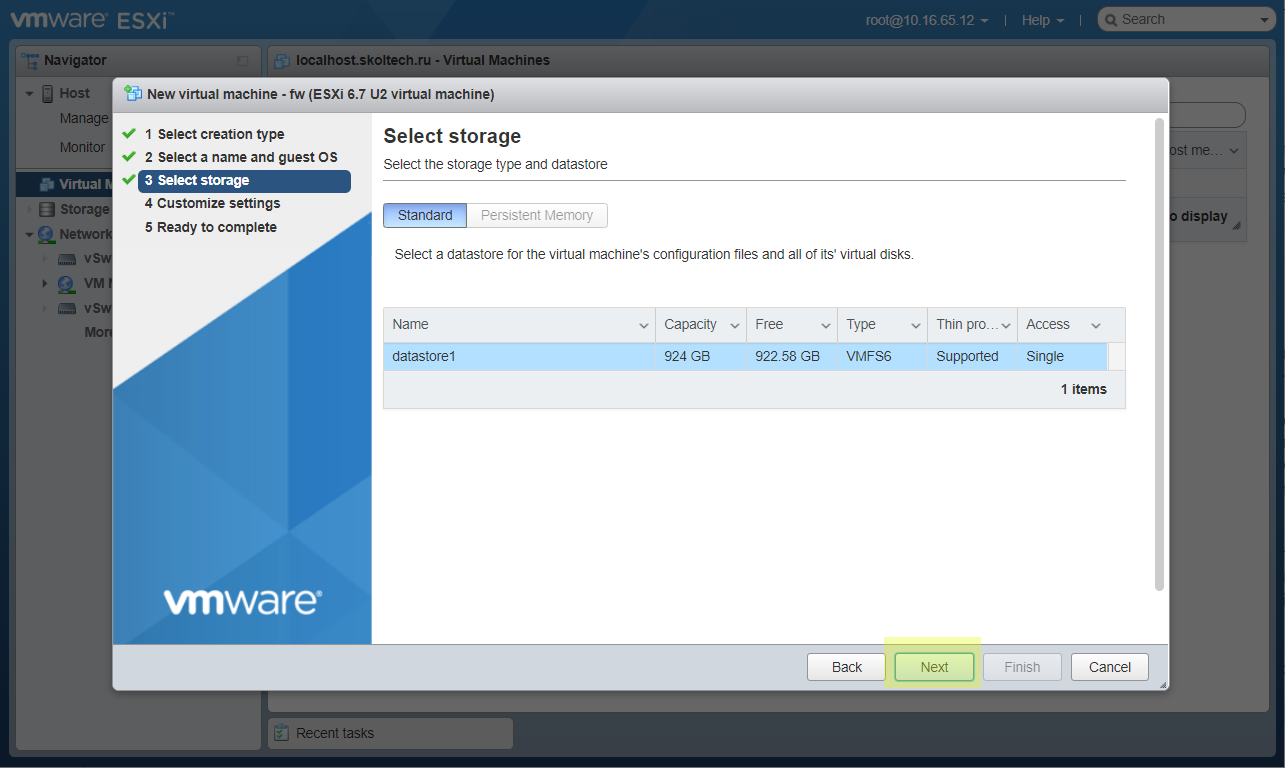
Select where VM will be installed.
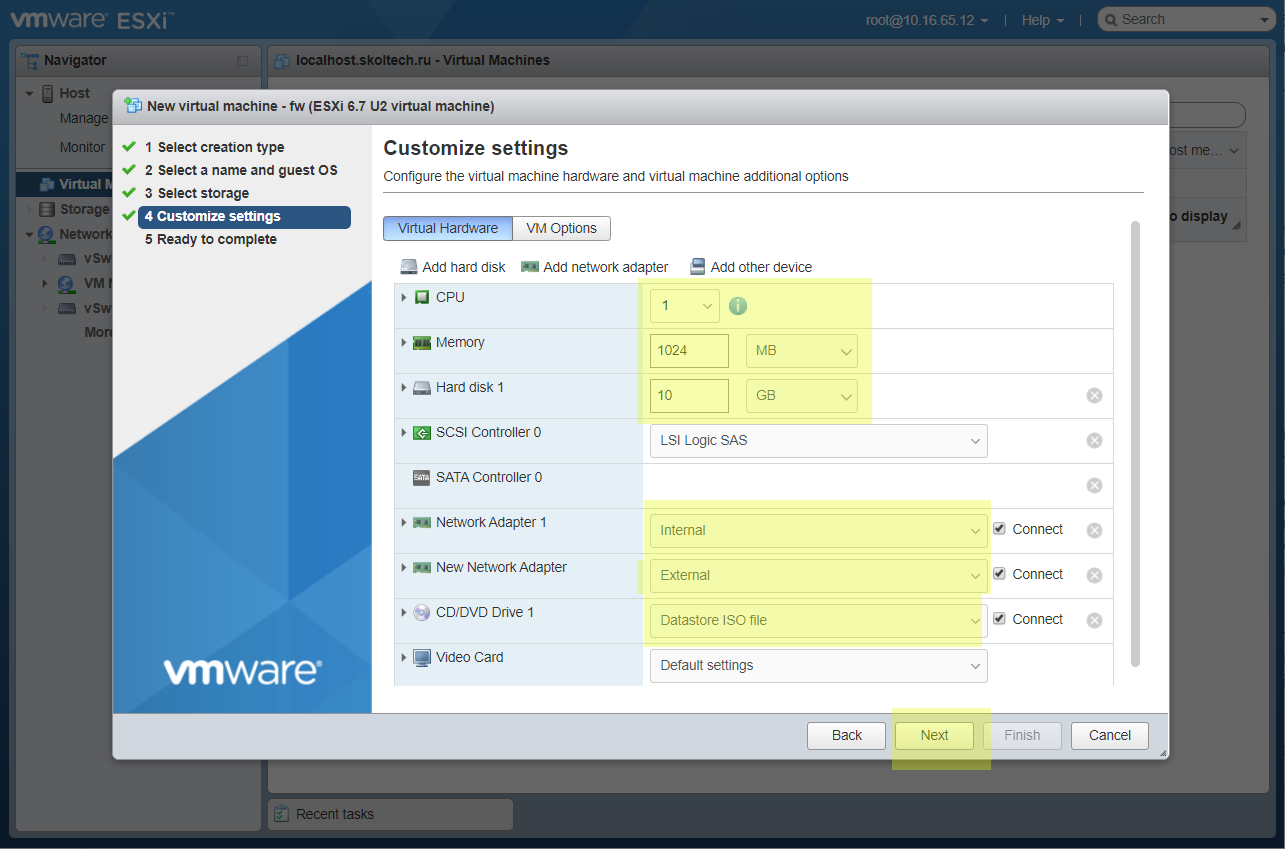
Add more space of VM disk. Add second network adapter. Join them with Internal and External PG.
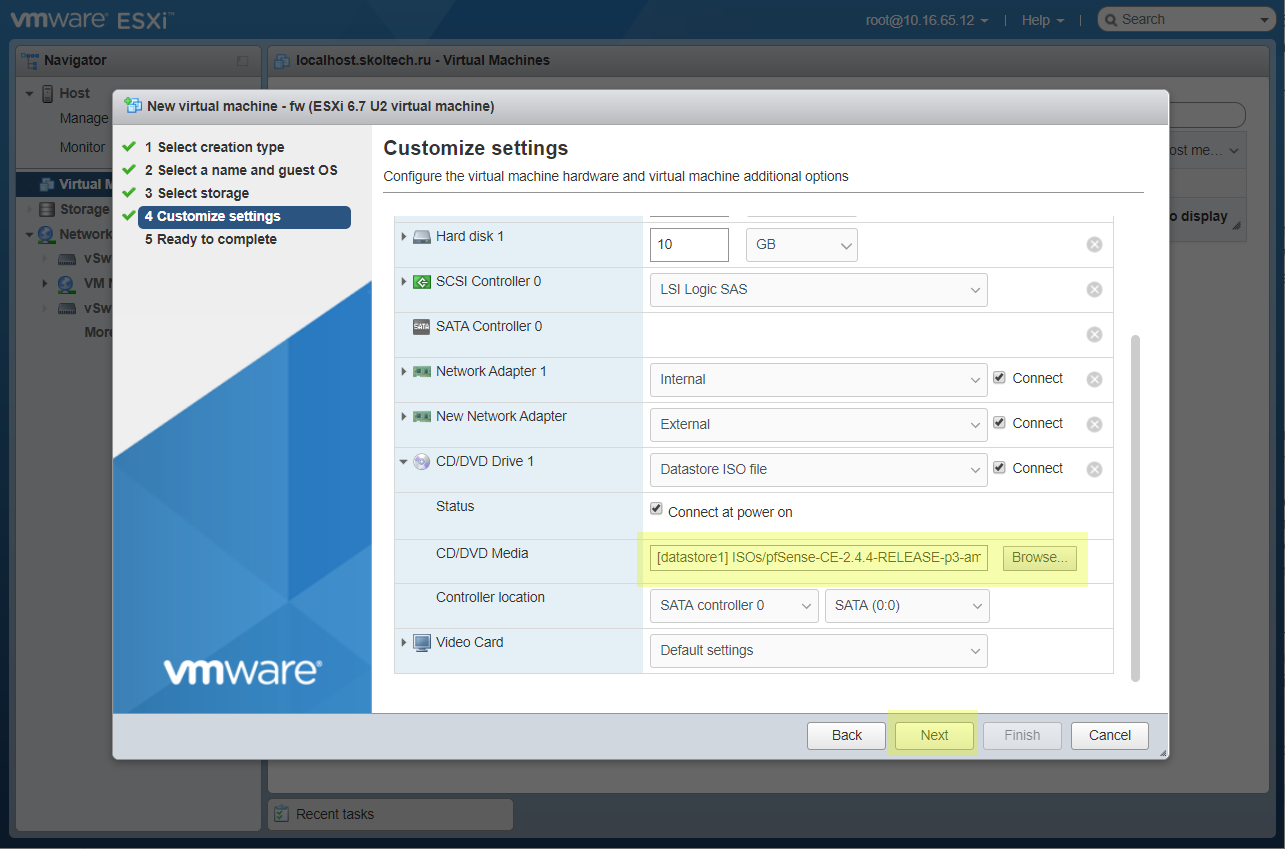
Select an installation ISO image uploaded earlier.
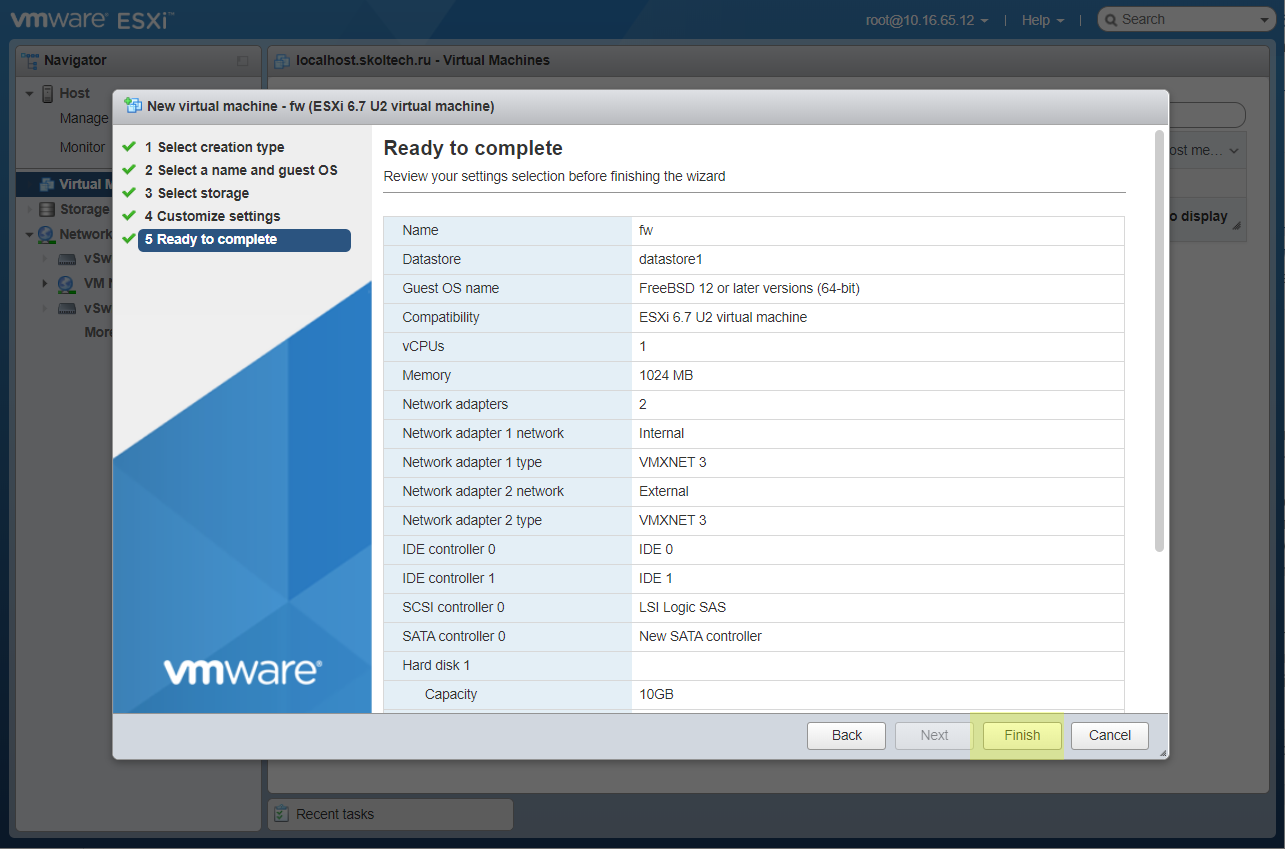
Check the result of configuring VM.
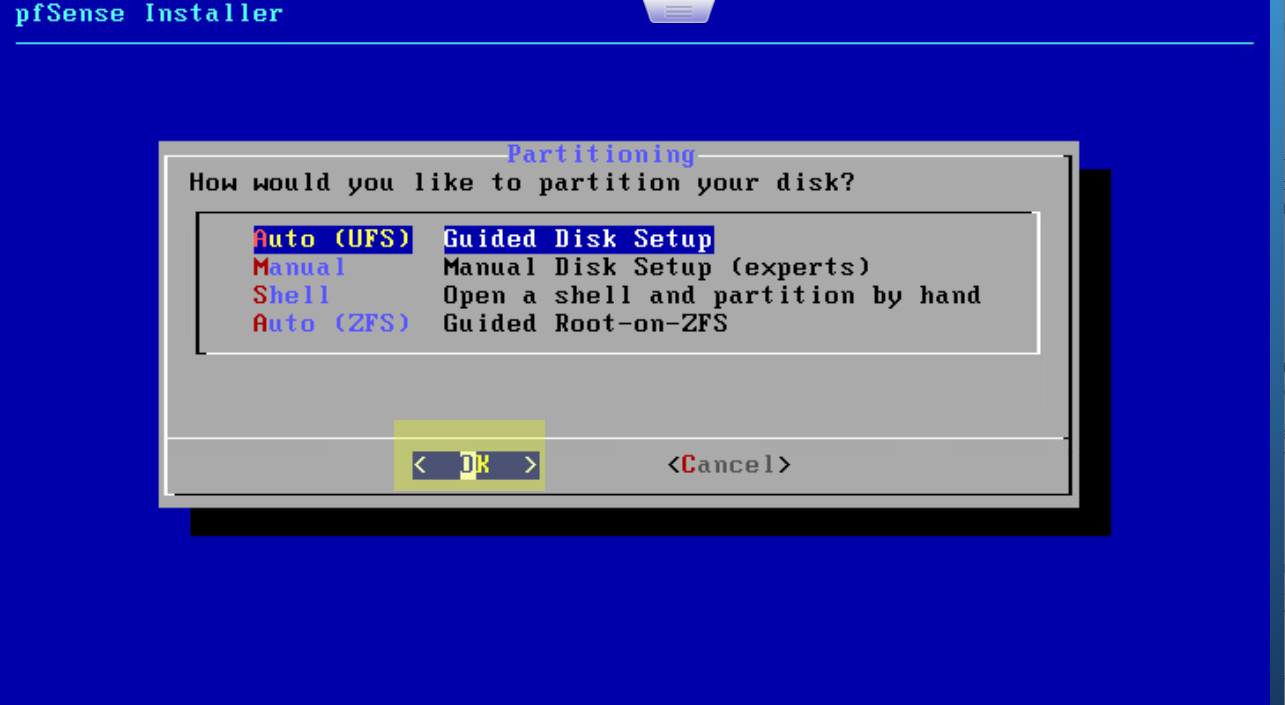
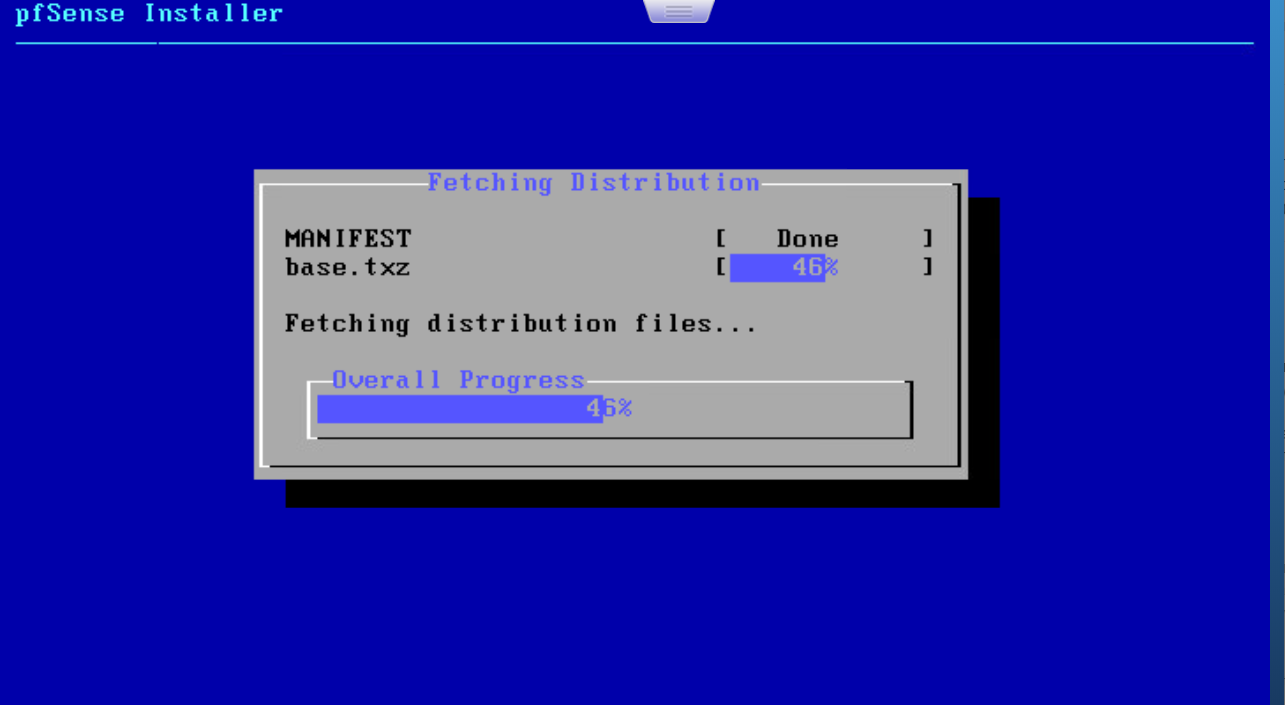
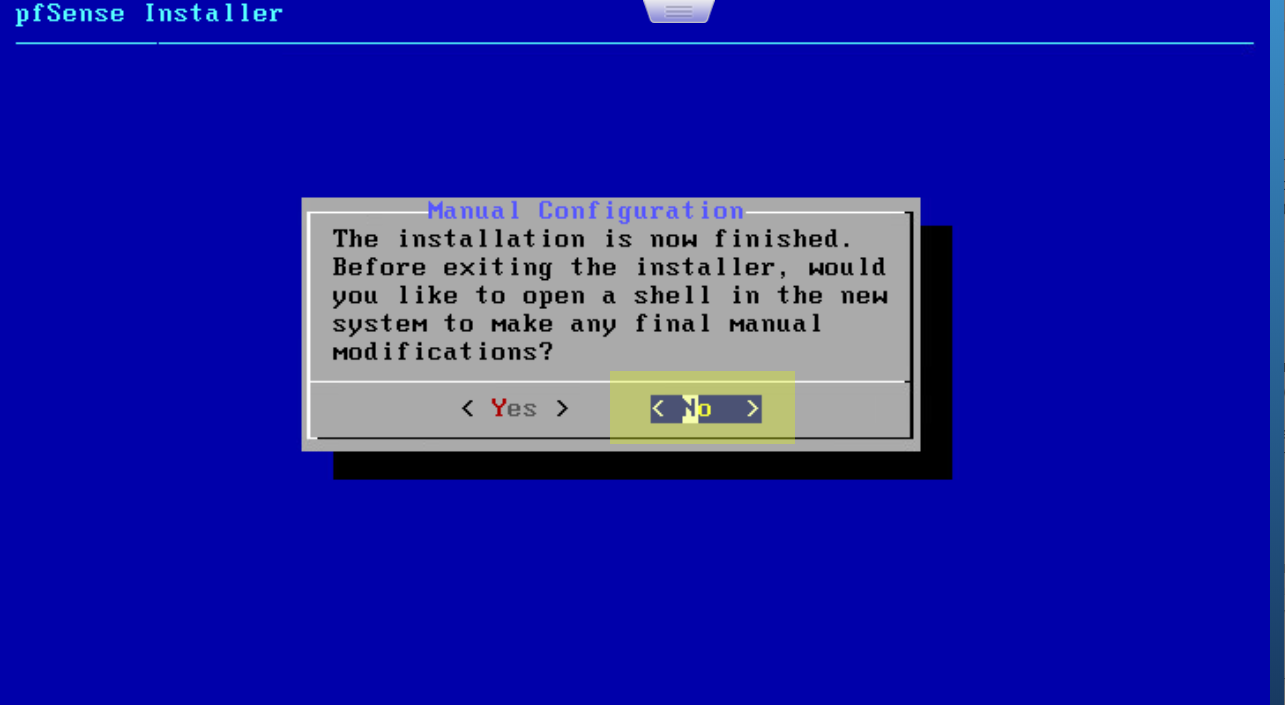
Install pfSense
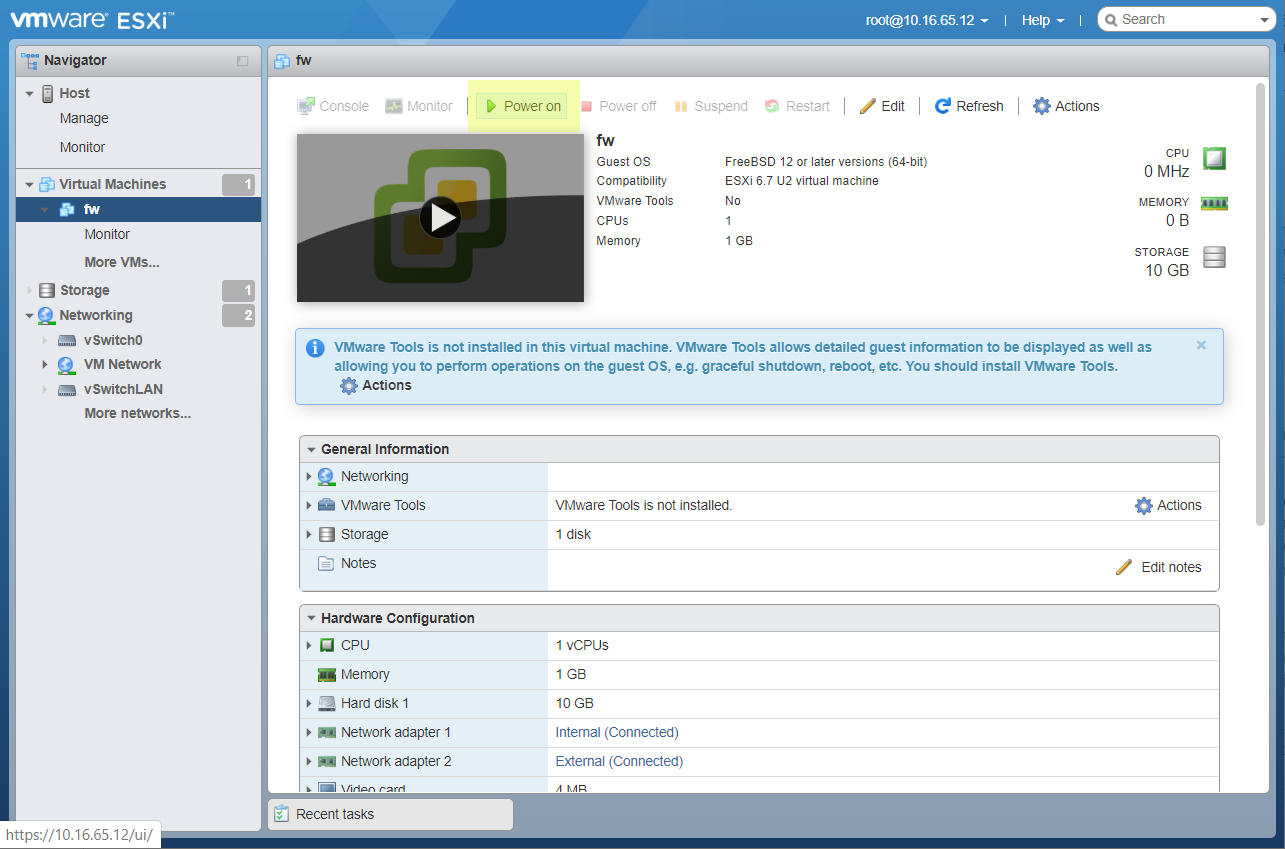
After that the VM has to be created. And we can click to button Power on for start installation.
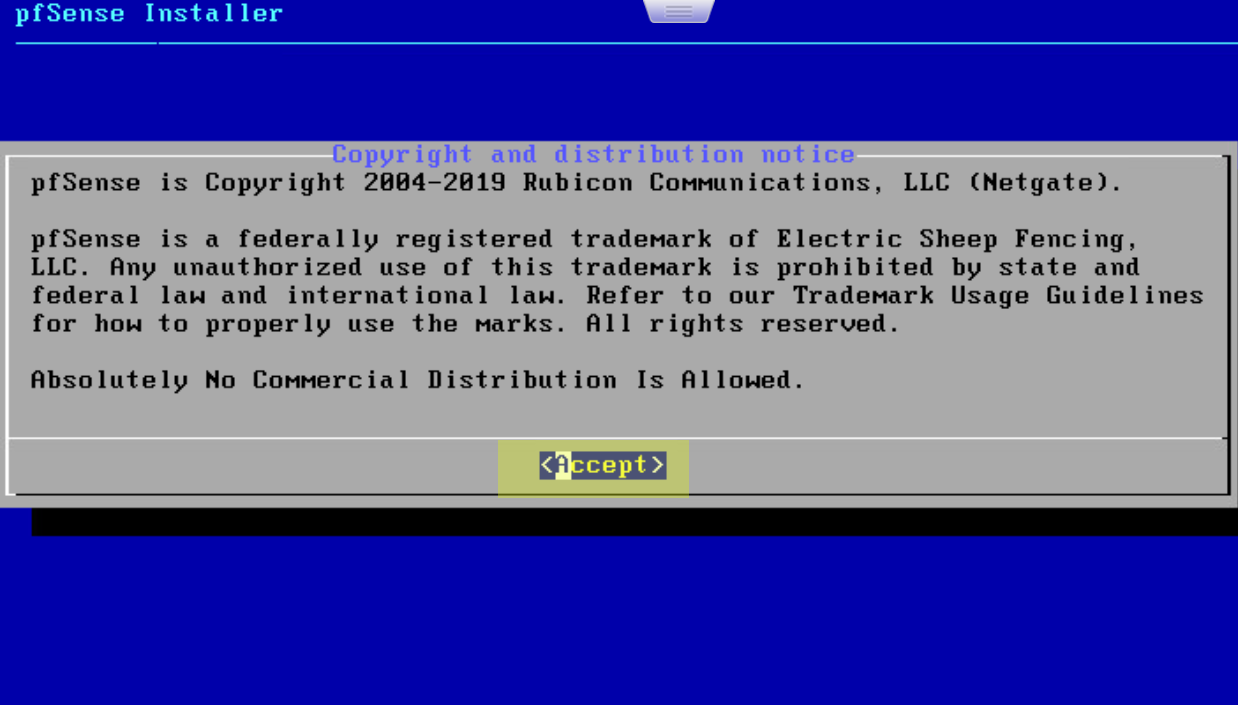
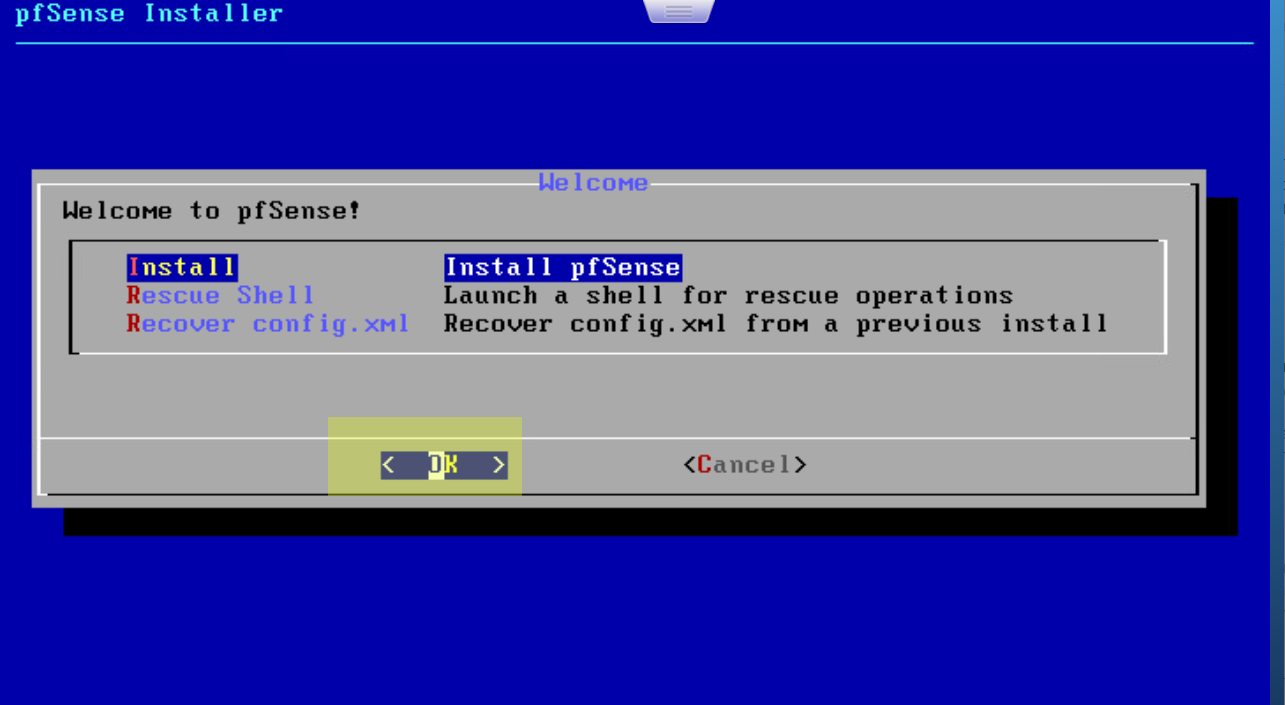
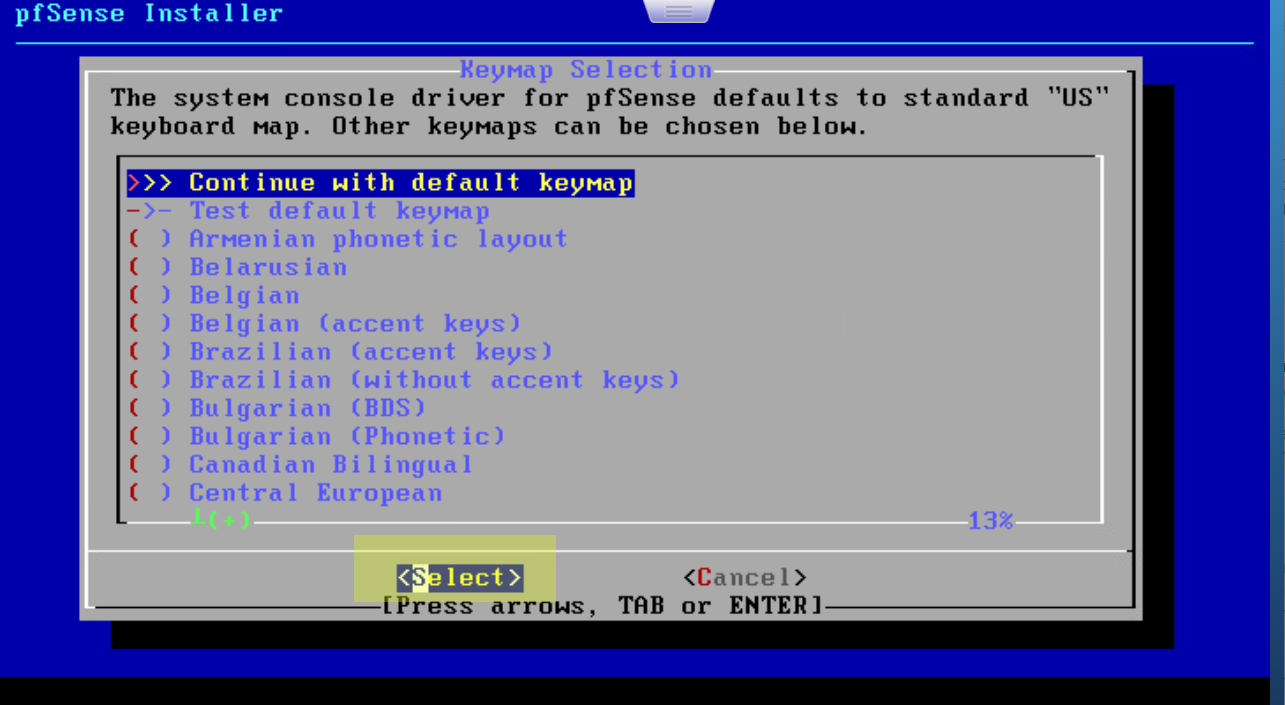
In many of screens I’ve just clicked Next and haven’t change anything.
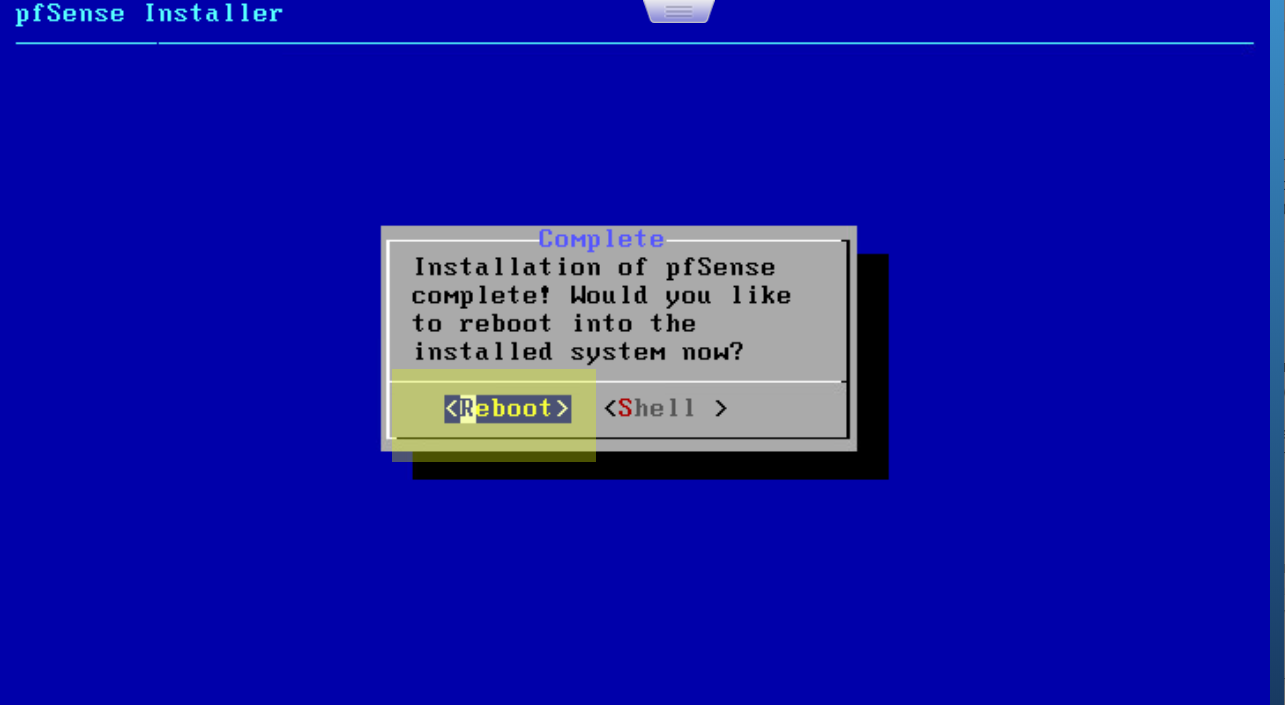
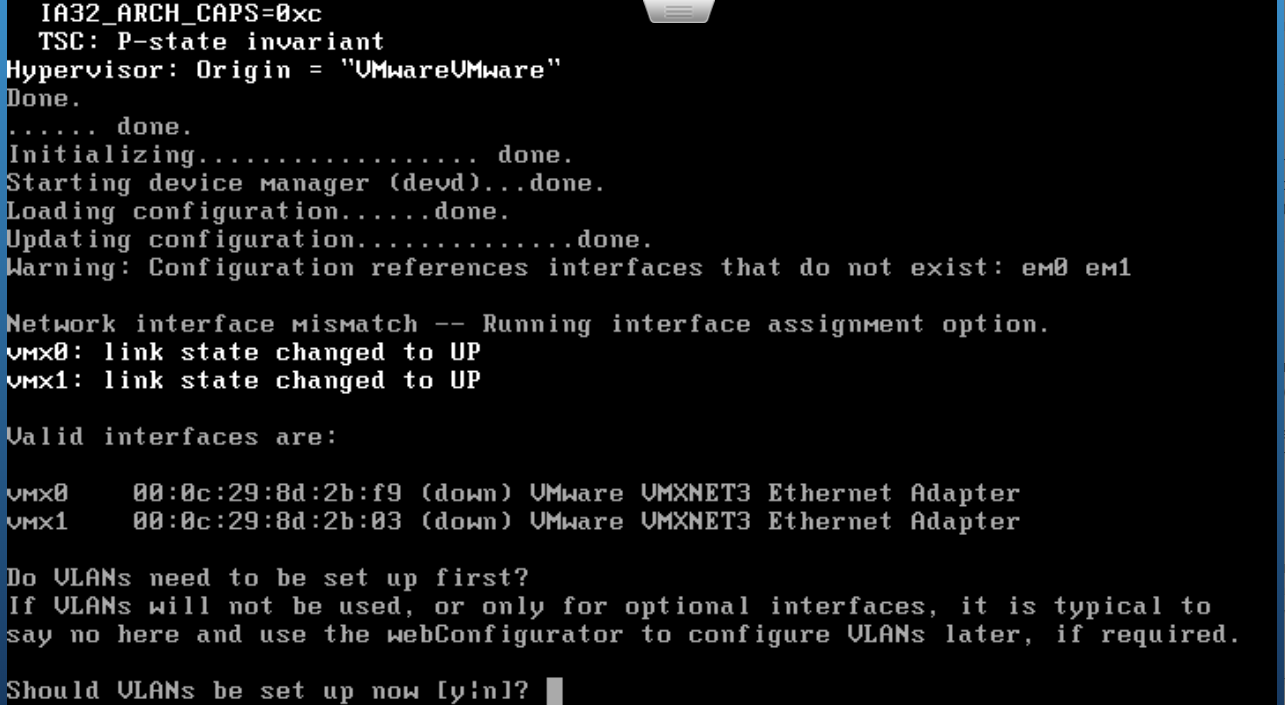
Configure pfSense
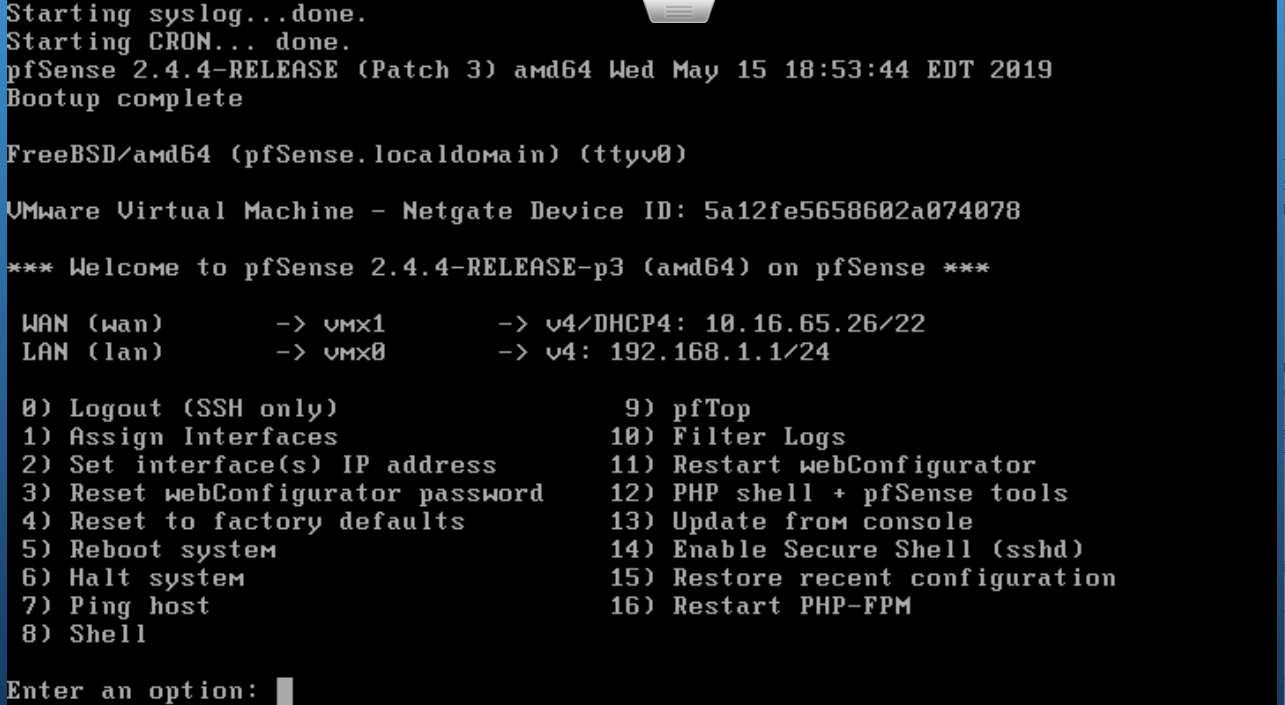
After reboot system will offer to setup network interfaces
Open VM setting in ESXi to be right in this choose. And view network interface MACs.
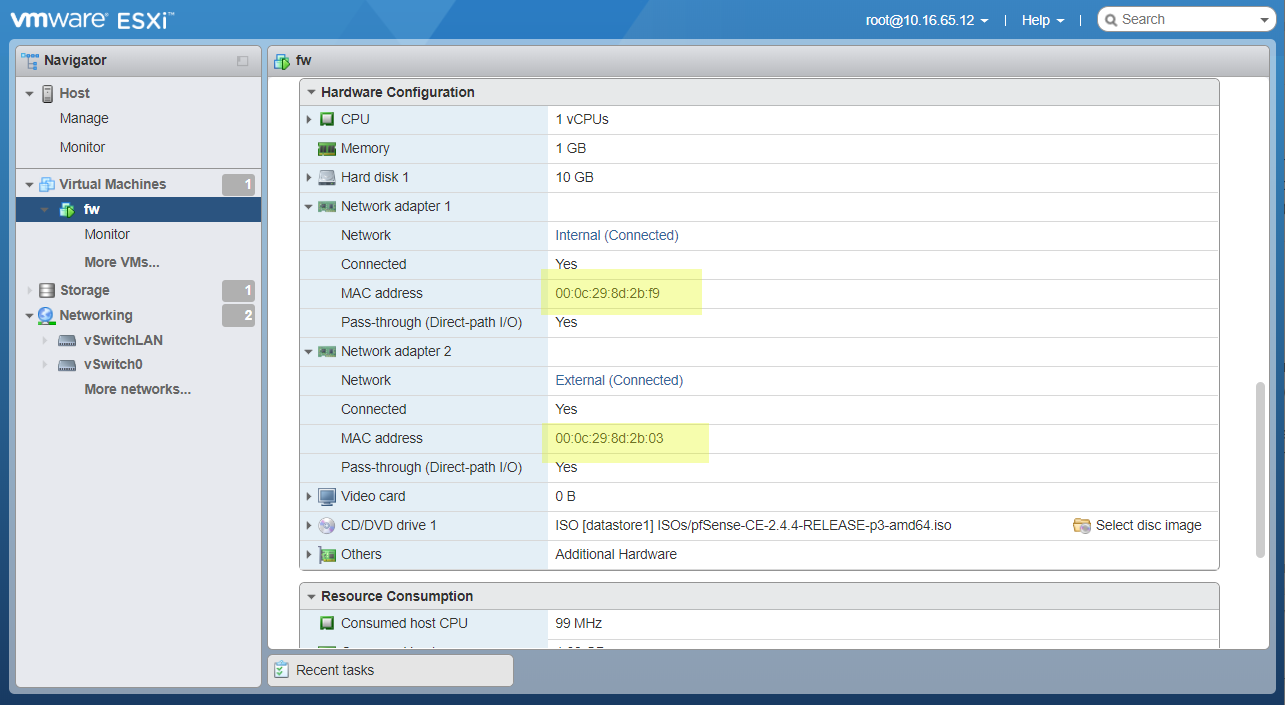
The WAN interface should be the virtual interface connected to External port group.
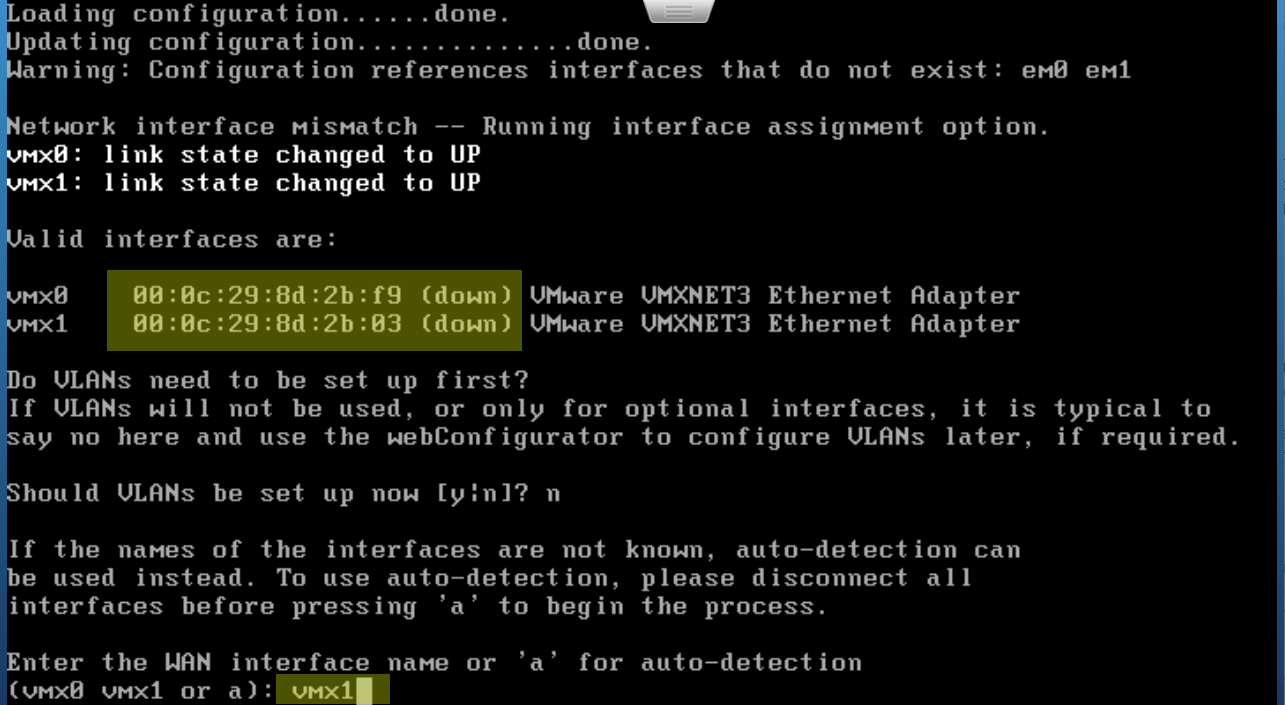
Another interface will be LAN.
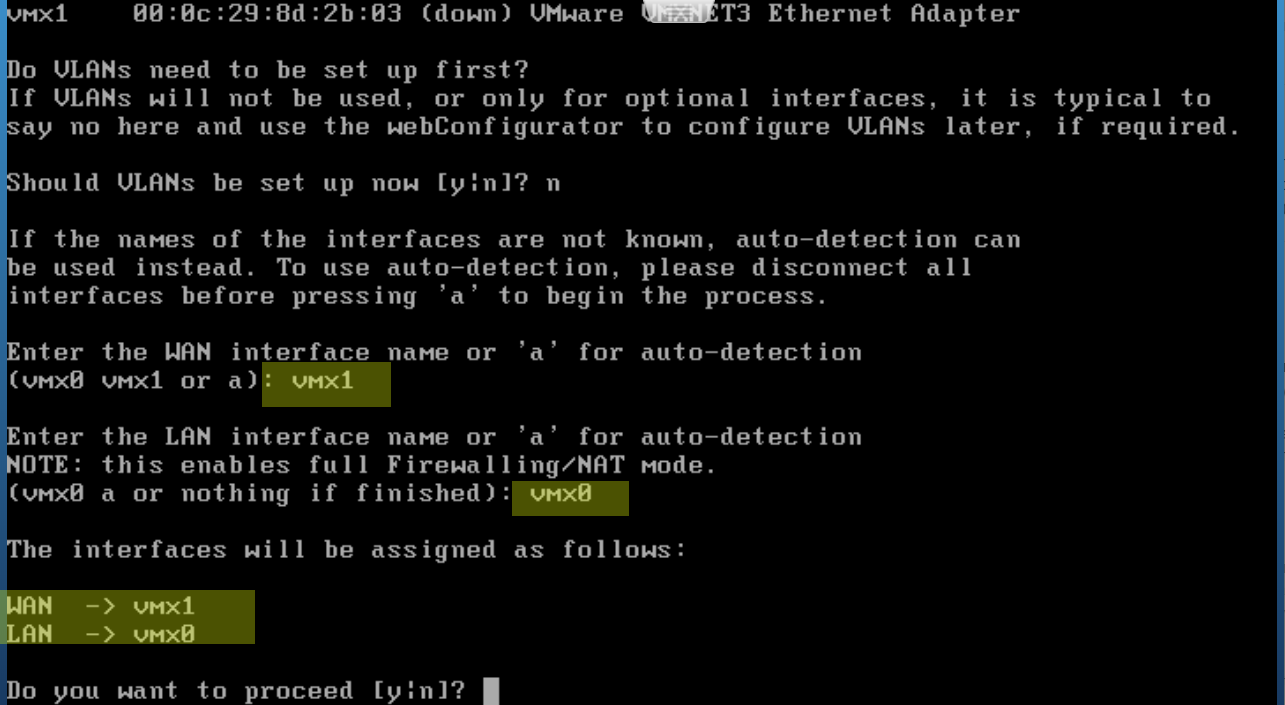
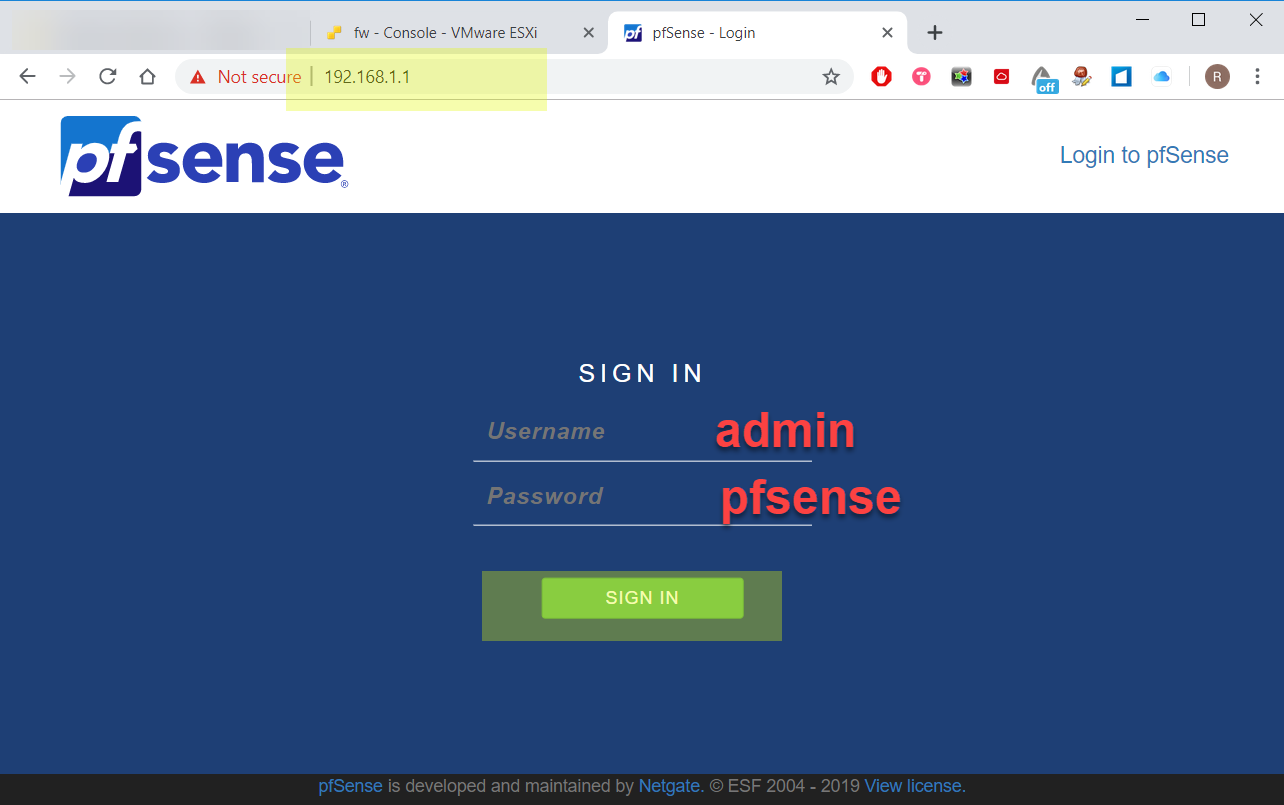
Next see the results and continue the configuring in browser by 192.168.1.1.
Open browser and login in pfSense web configurator with default credentials (admin:pfsense)
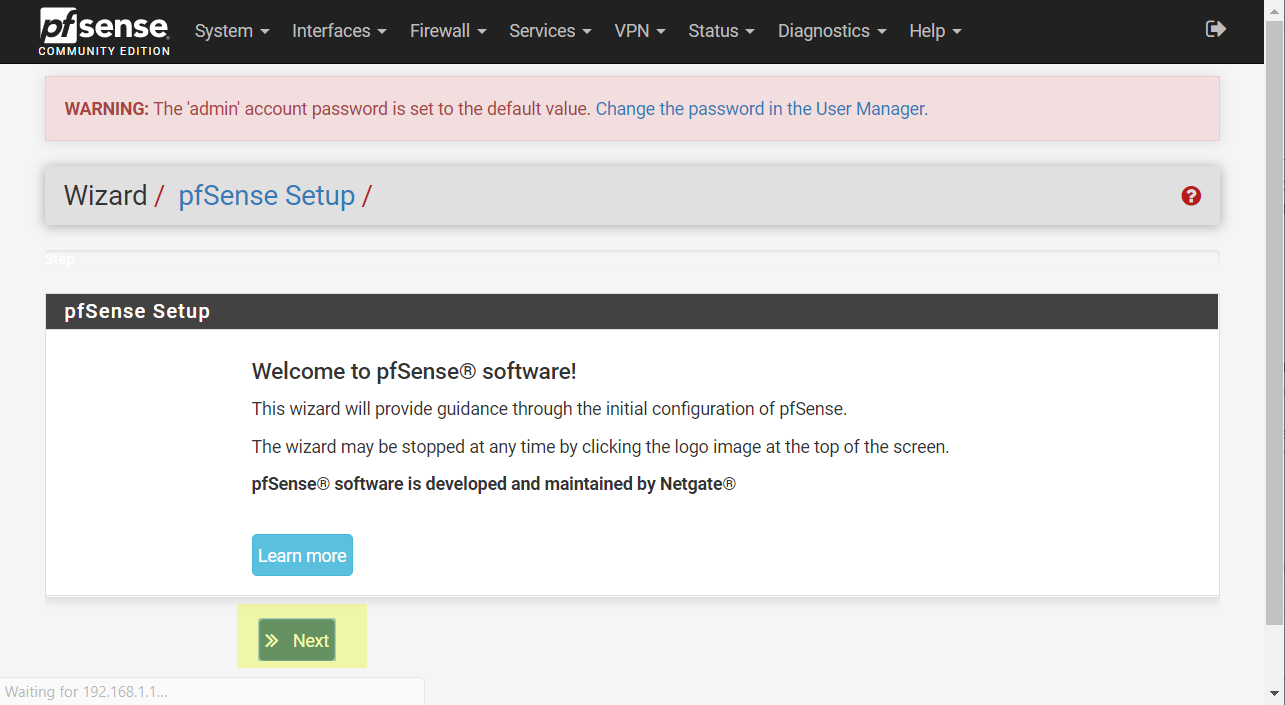
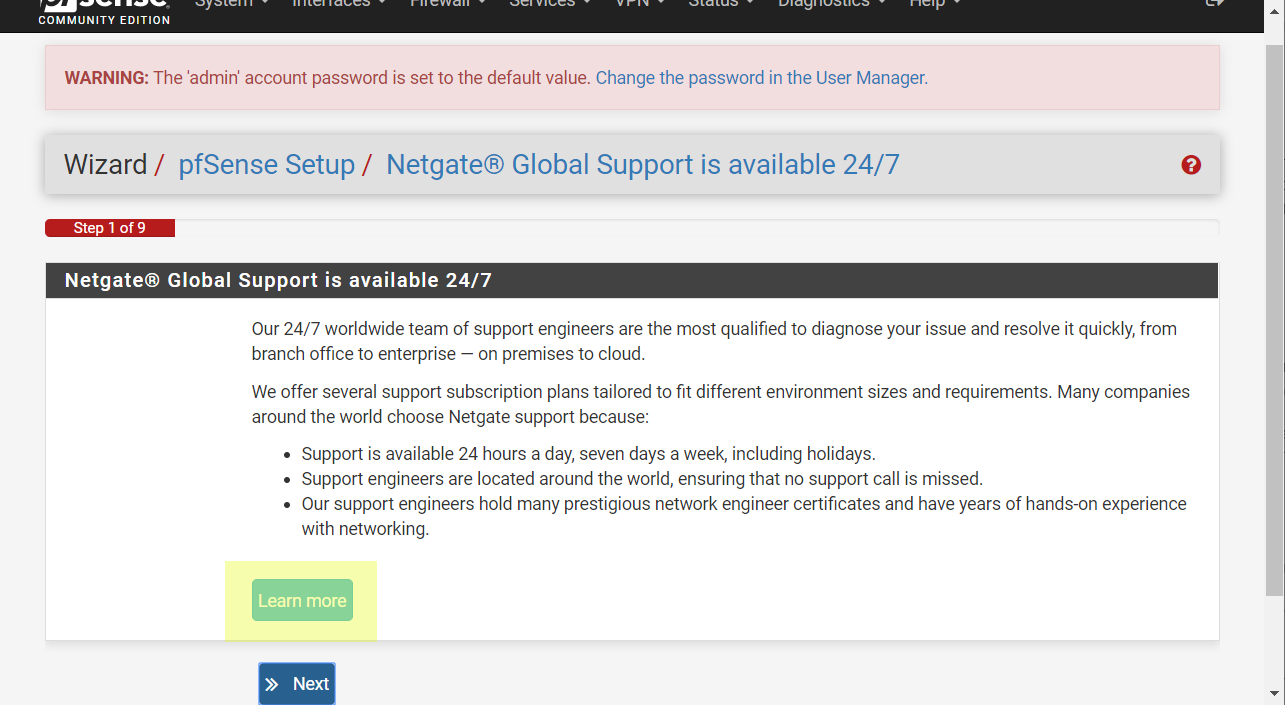
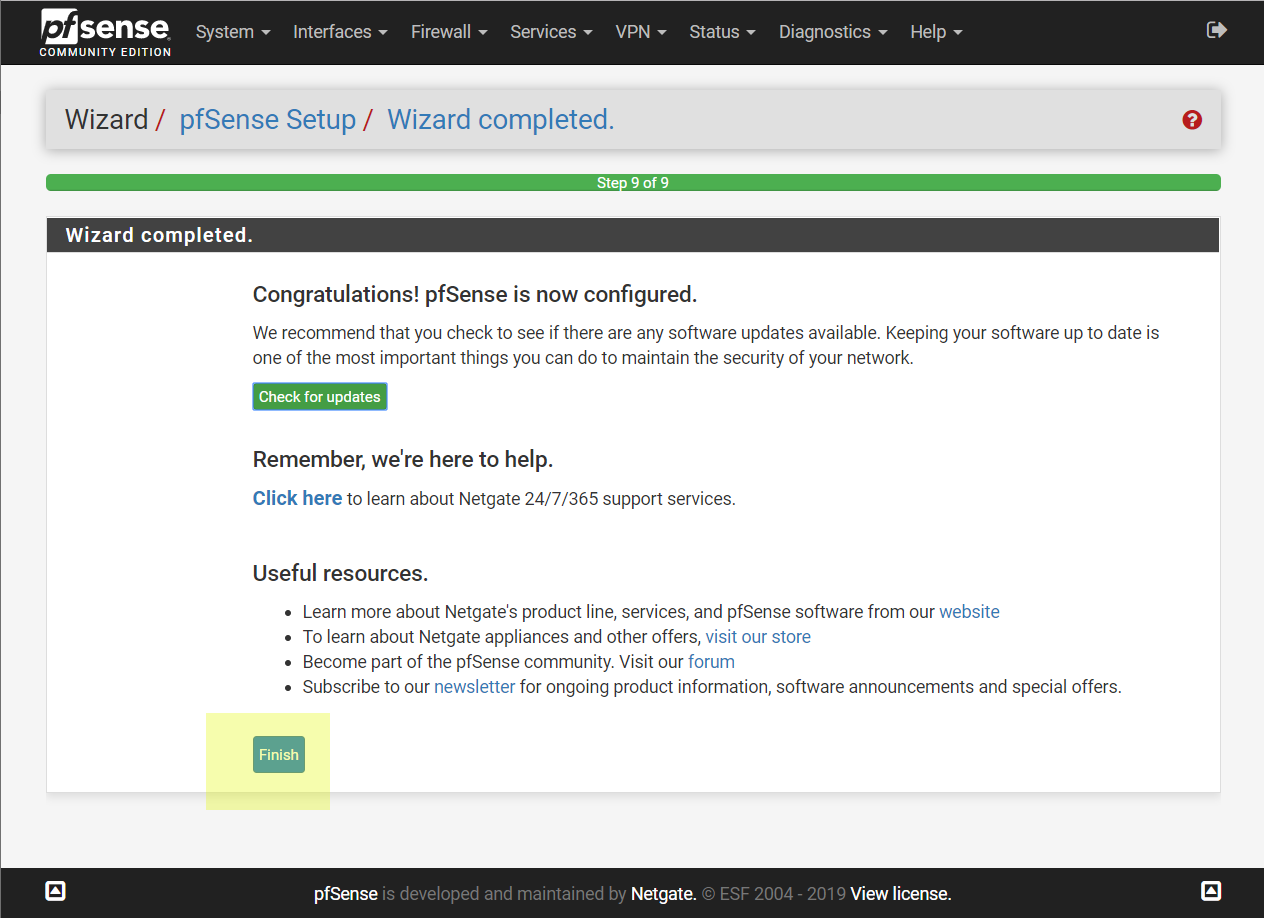
Skip welcome page. And read Netgear support information if you need.
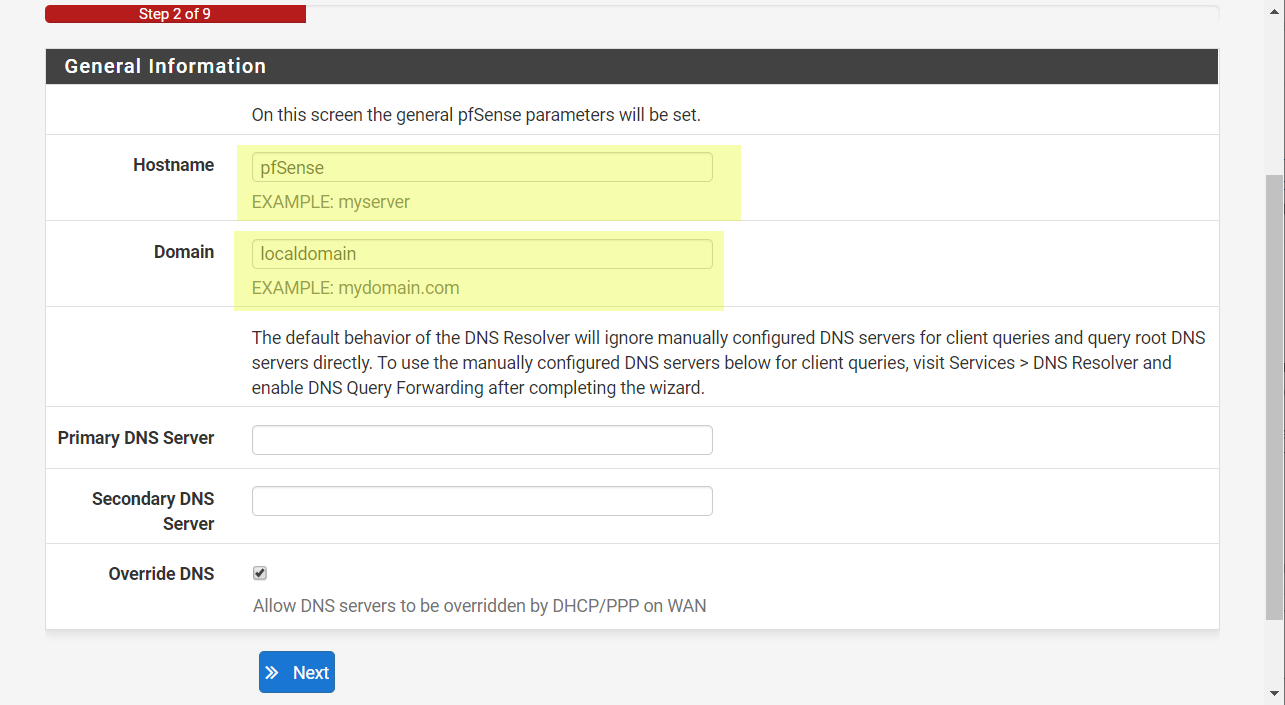
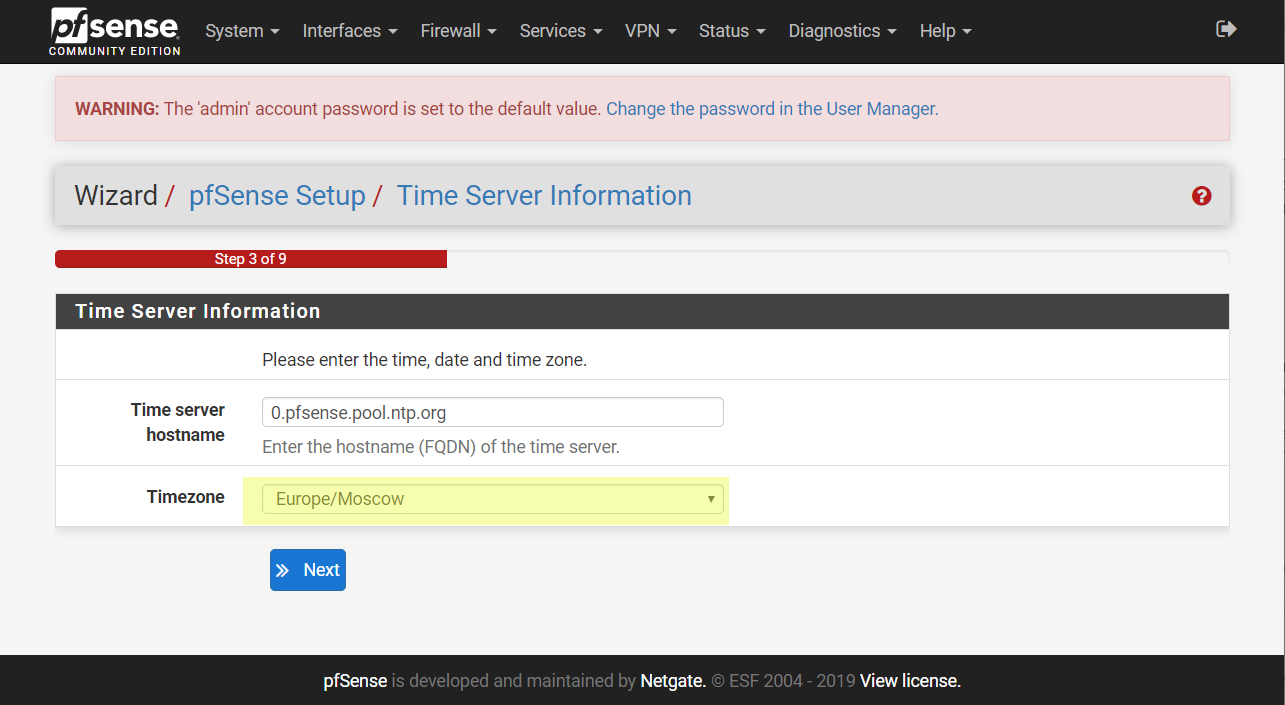
Set hostname, NTP, timezone.
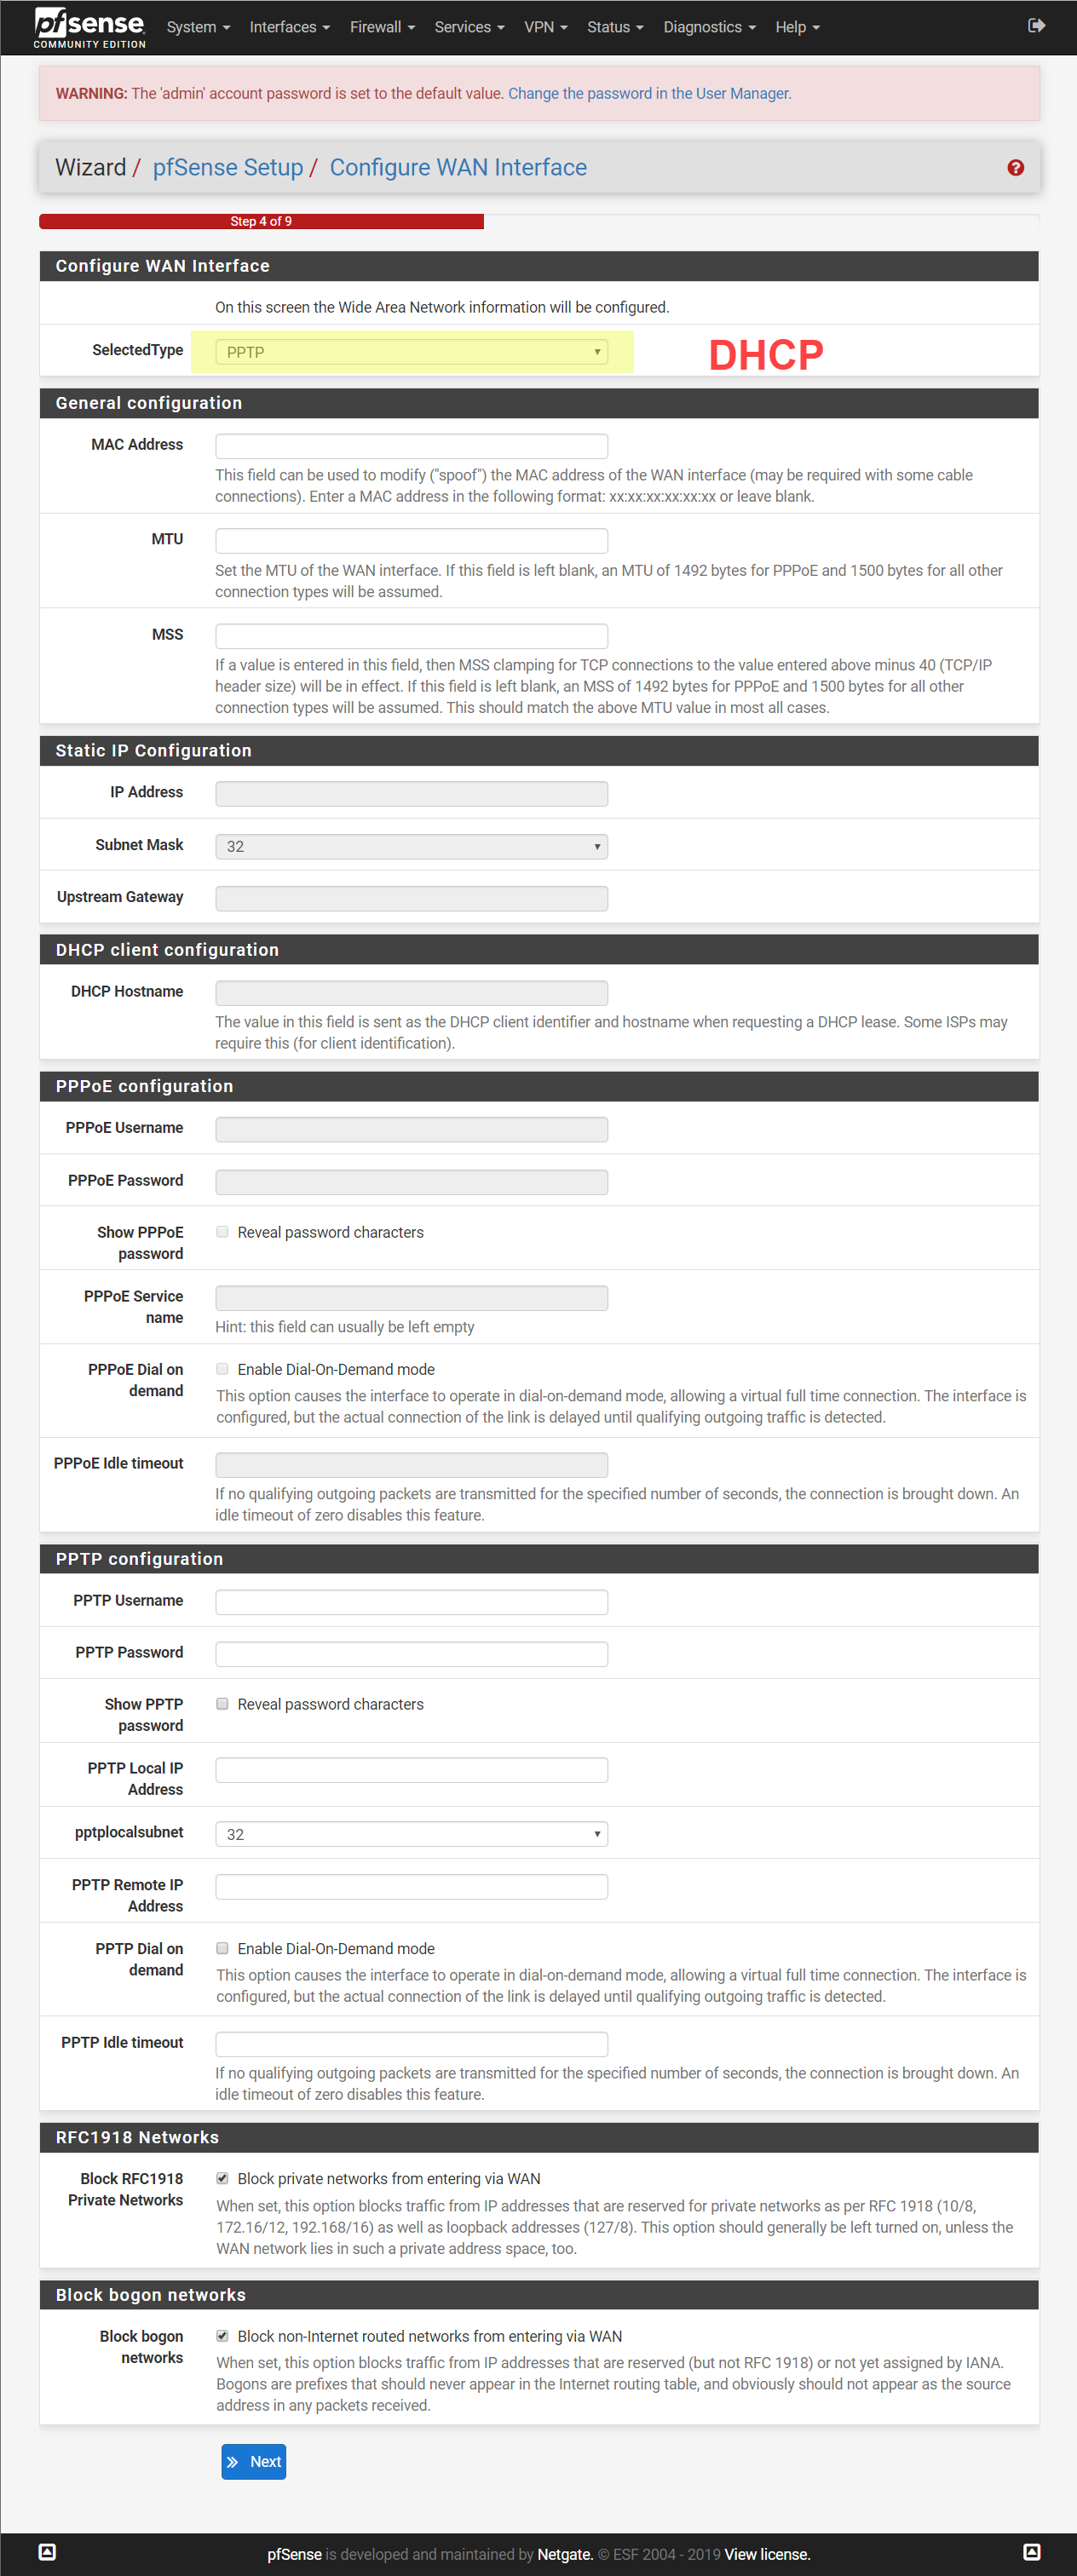
Configure WAN interface. My instance get IP by DHCP.
Configure LAN network. Set a new network address 192.168.112.1/24.
Remember WebGUI will have a new IP after reboot.

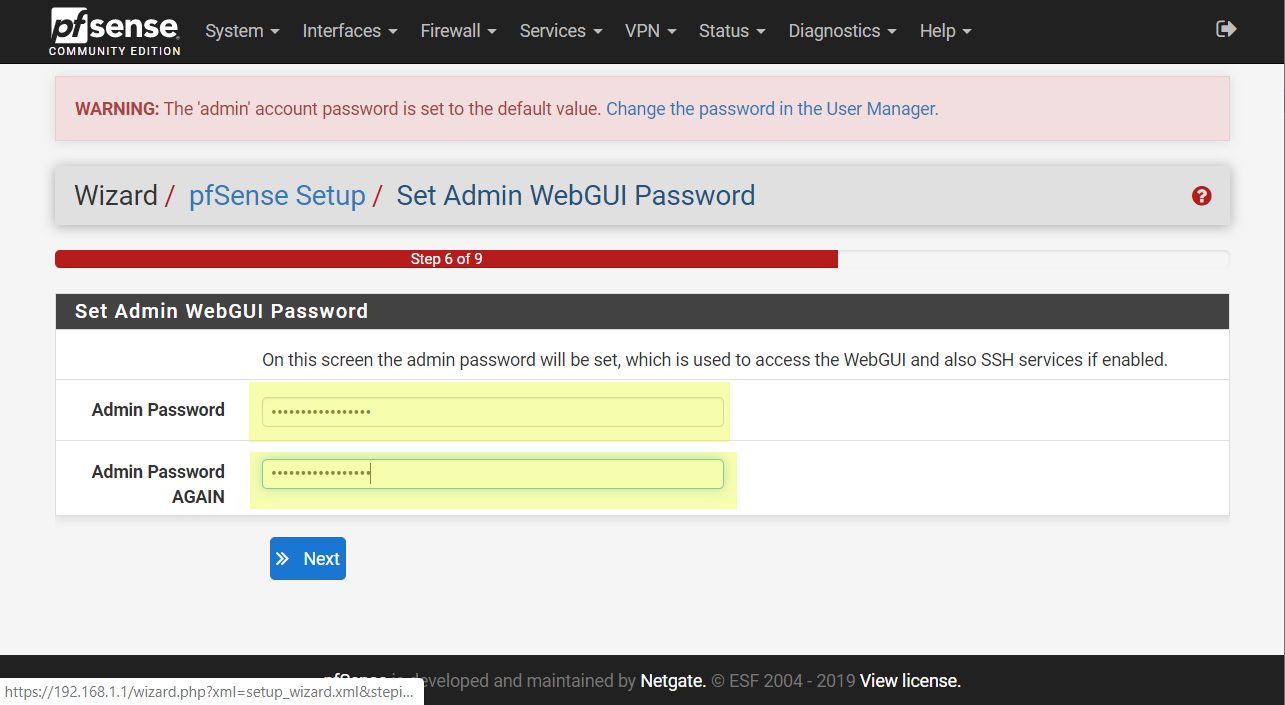
Set new admin password.
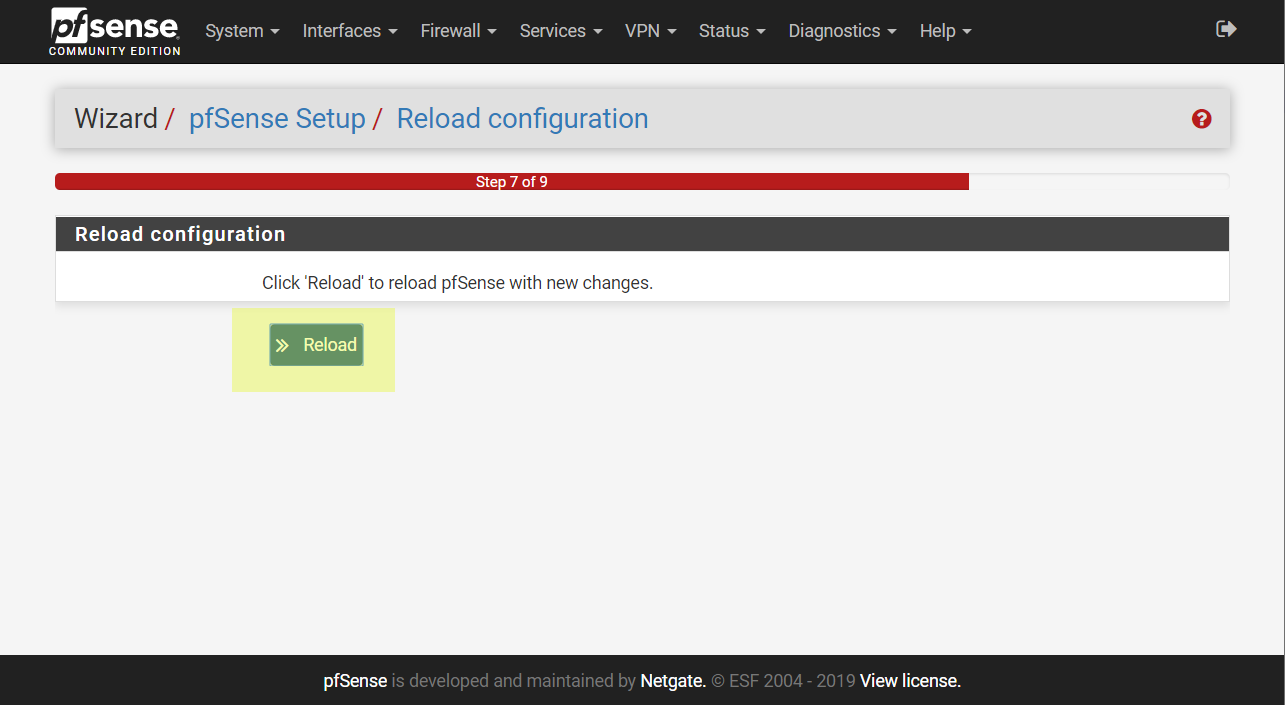
Click Reload button.
Open new browser tab with new WebGUI instance accessed by IP 192.168.112.1.
Setup OpenVPN
VMs and ESXi don’t have any public IP. But we can get full access to them if we will install OpenVPN.
I have another pfSense server with public IP. It will be OpenVPN Server.
This ESXi host and pfSense instance will connect to server and share their LAN (192.168.112.1).
We name pfSense that we configurating in this article as OpenVPN Client.
So for this purposes we need to do some manipulation with OpenVPN Server.
Open VPN page in WebGUI. Click Add button and create new OpenVPN Server.
Select Peer to peer (shared key) server mode. Set listen port 1201 (it can be any other).
Edit another options if it needs.
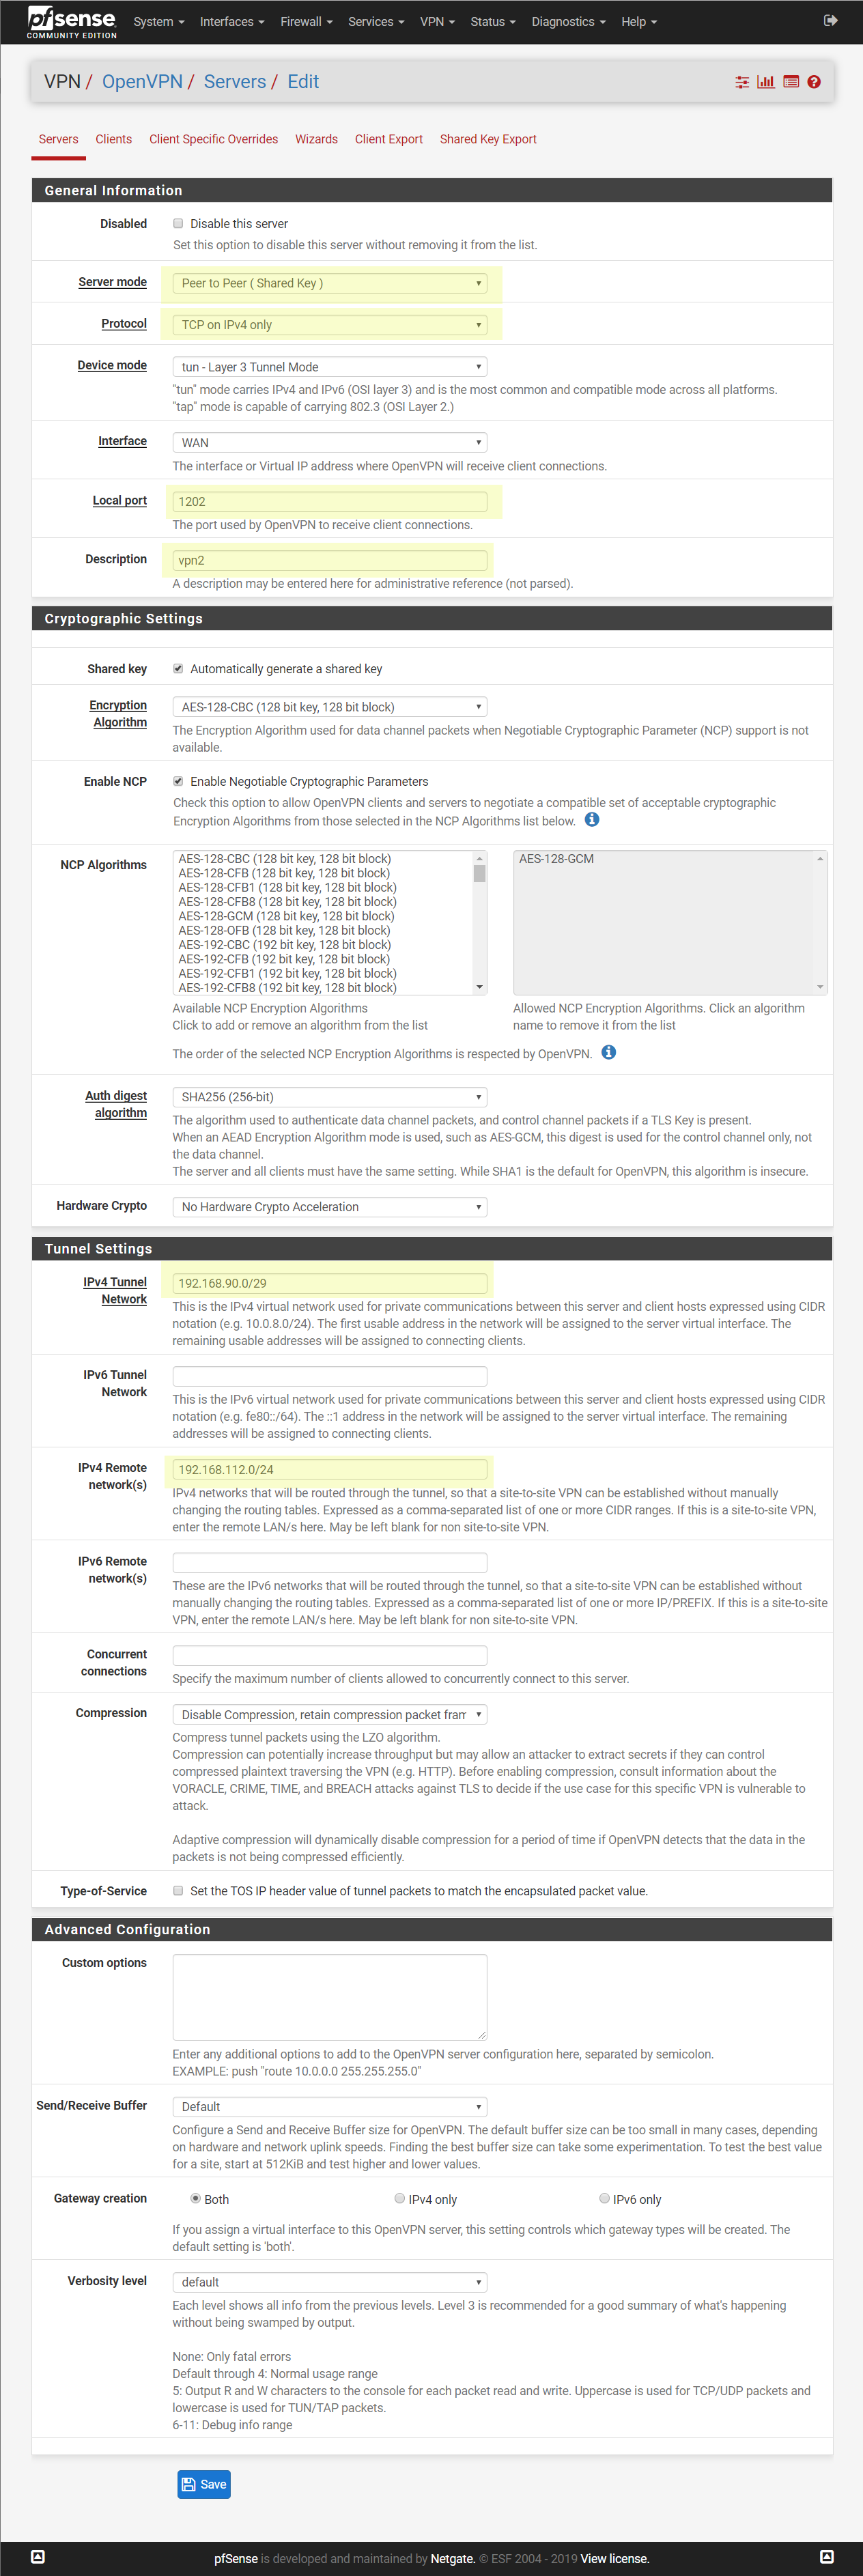
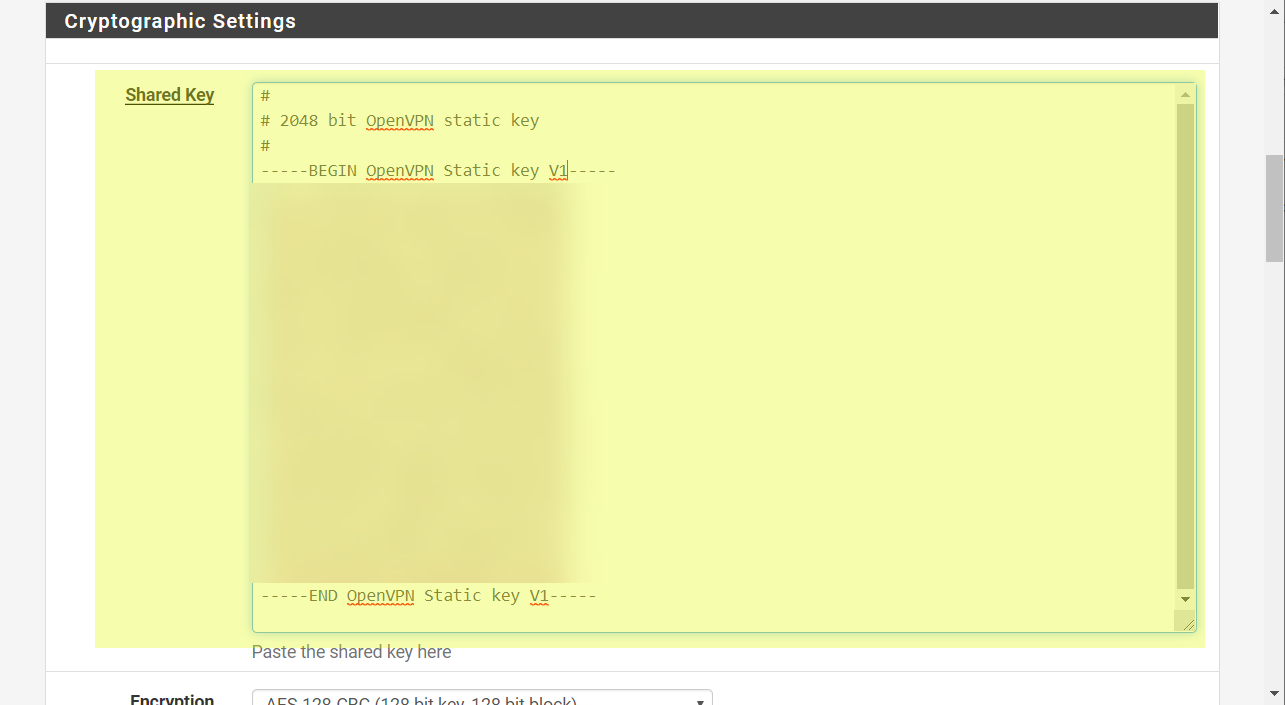
After we click Save the shared key of the server will be generated.
Open created server.
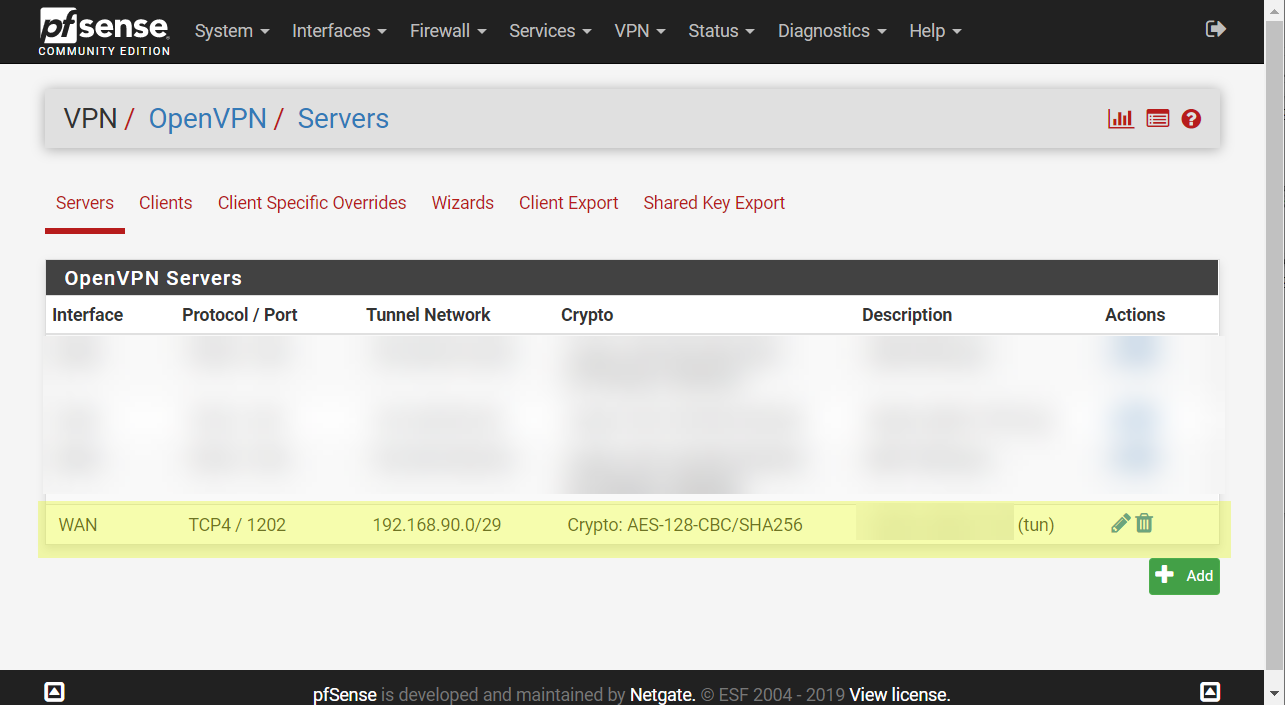
Copy generated key. It will need to connect client to this server.
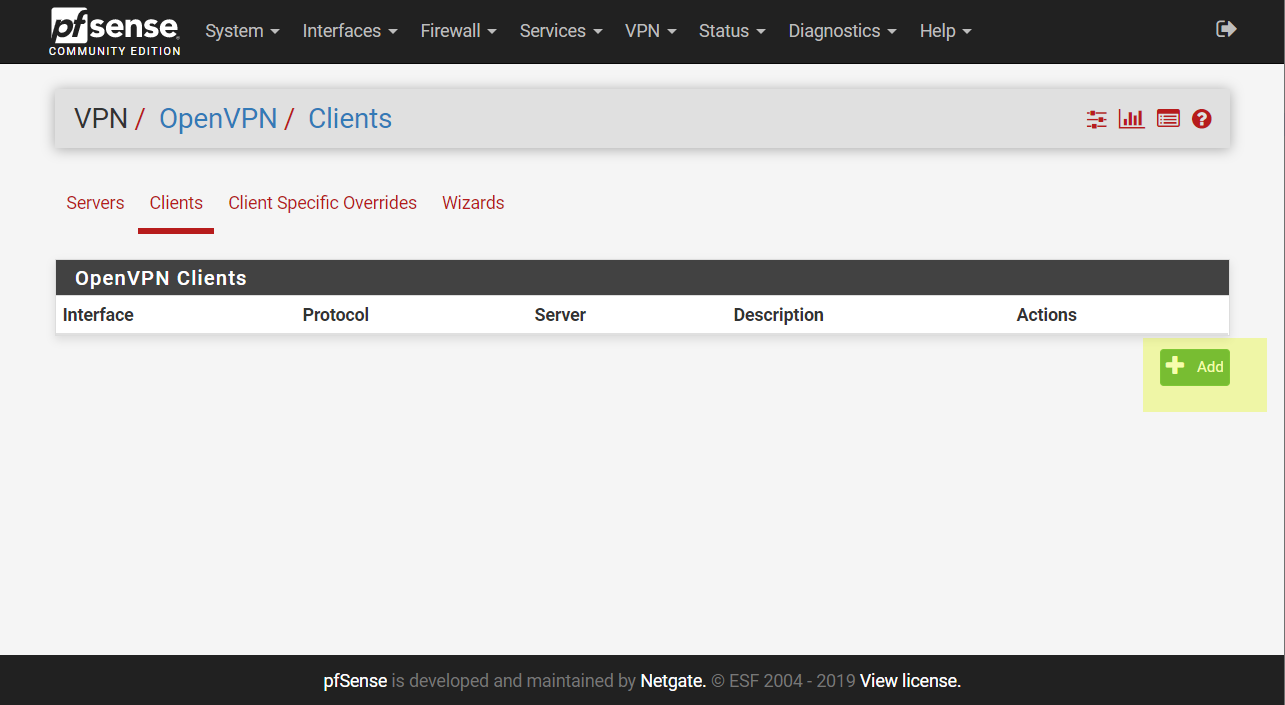
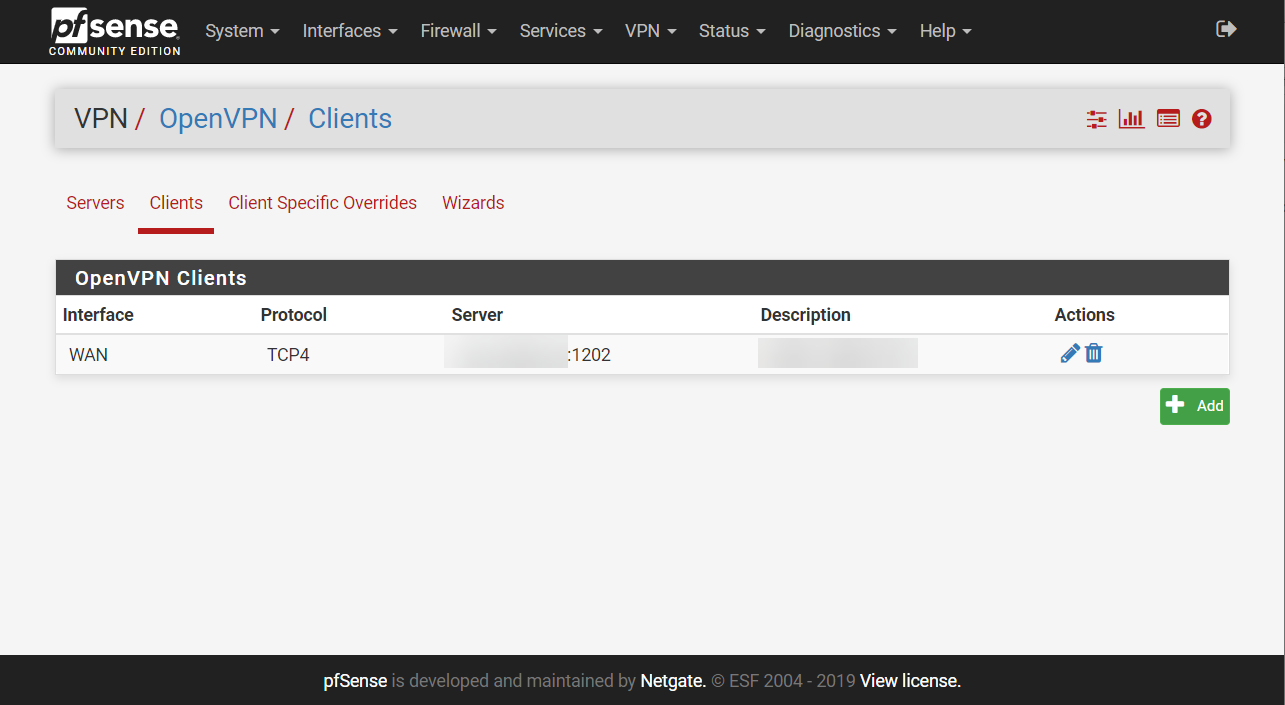
Now open WebGUI of another pfSense that will OpenVPN Client. Open VPN page. Click Add.
Setup OpenVPN client by my example. I highlight options that I modified.
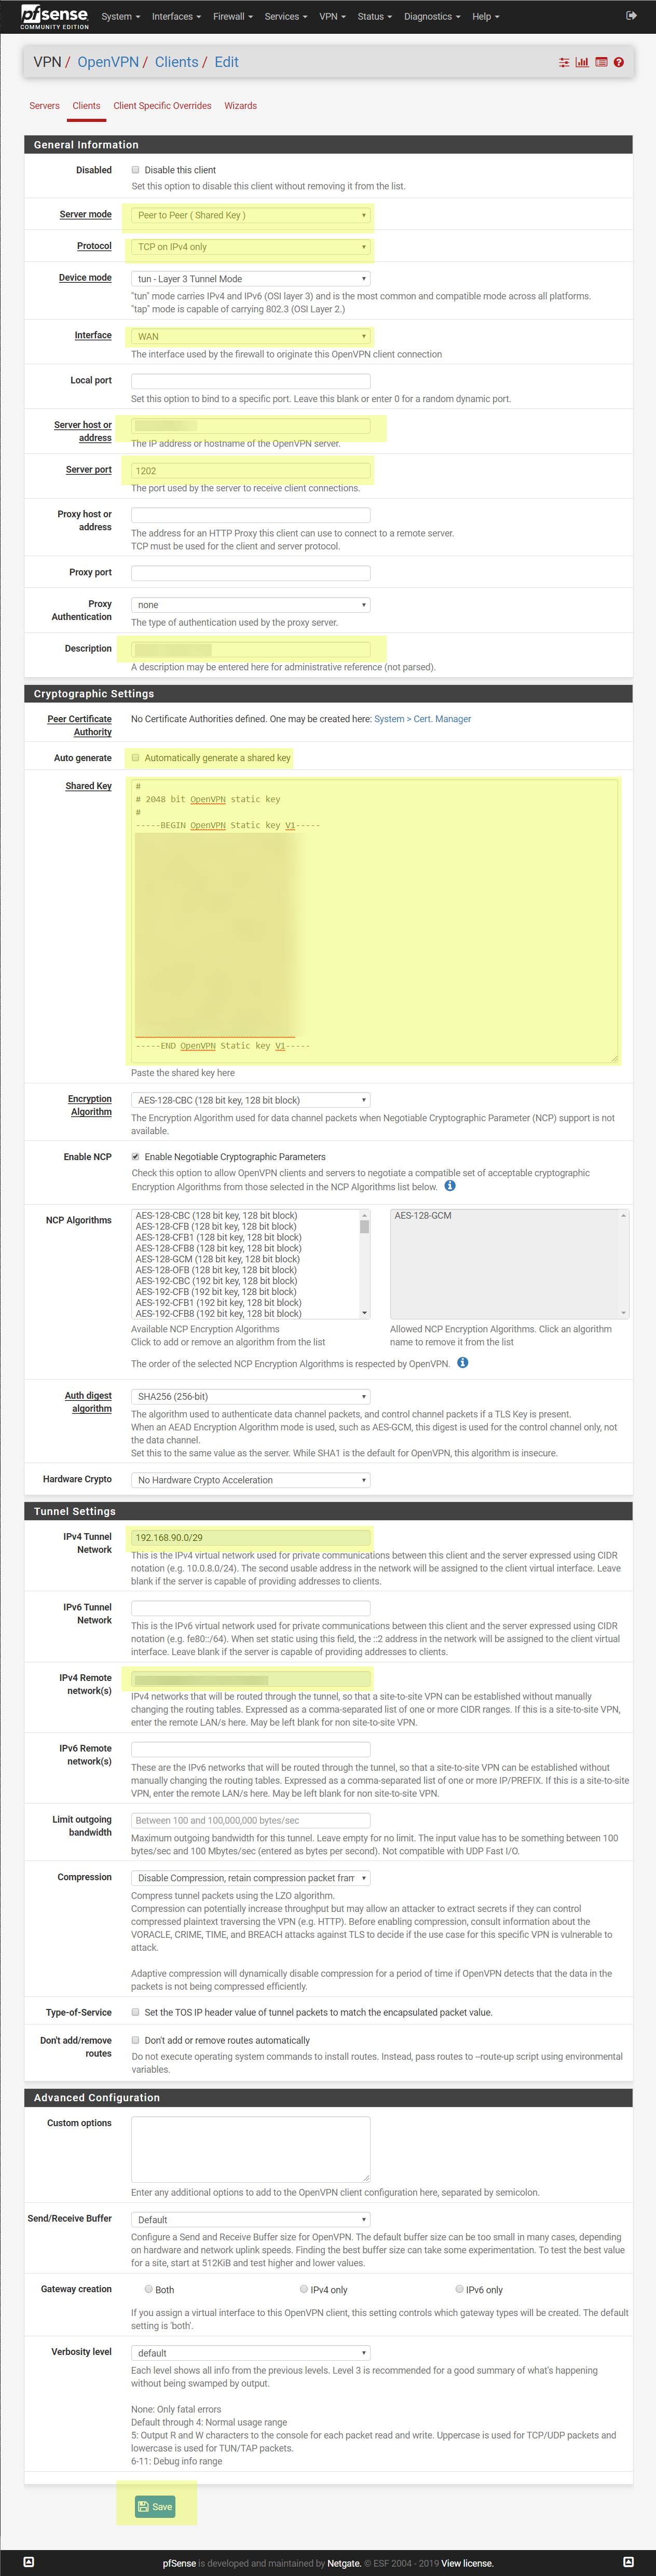
Click save and apply changes.
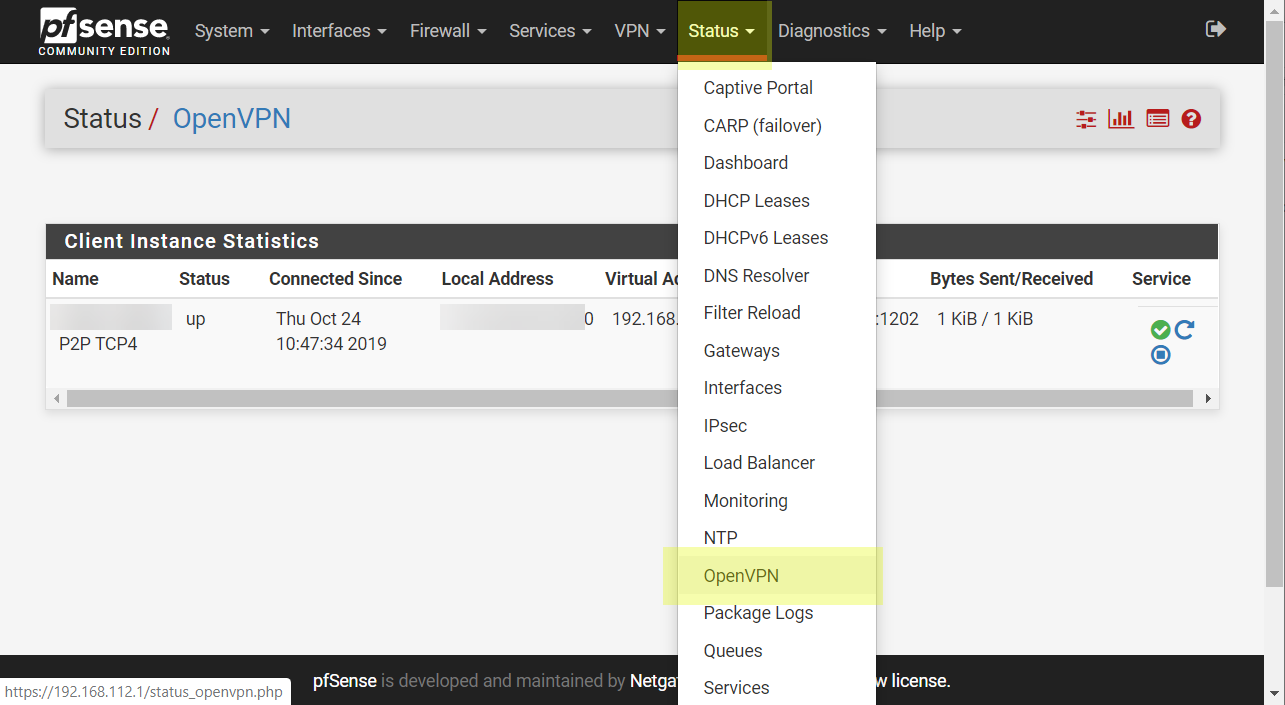
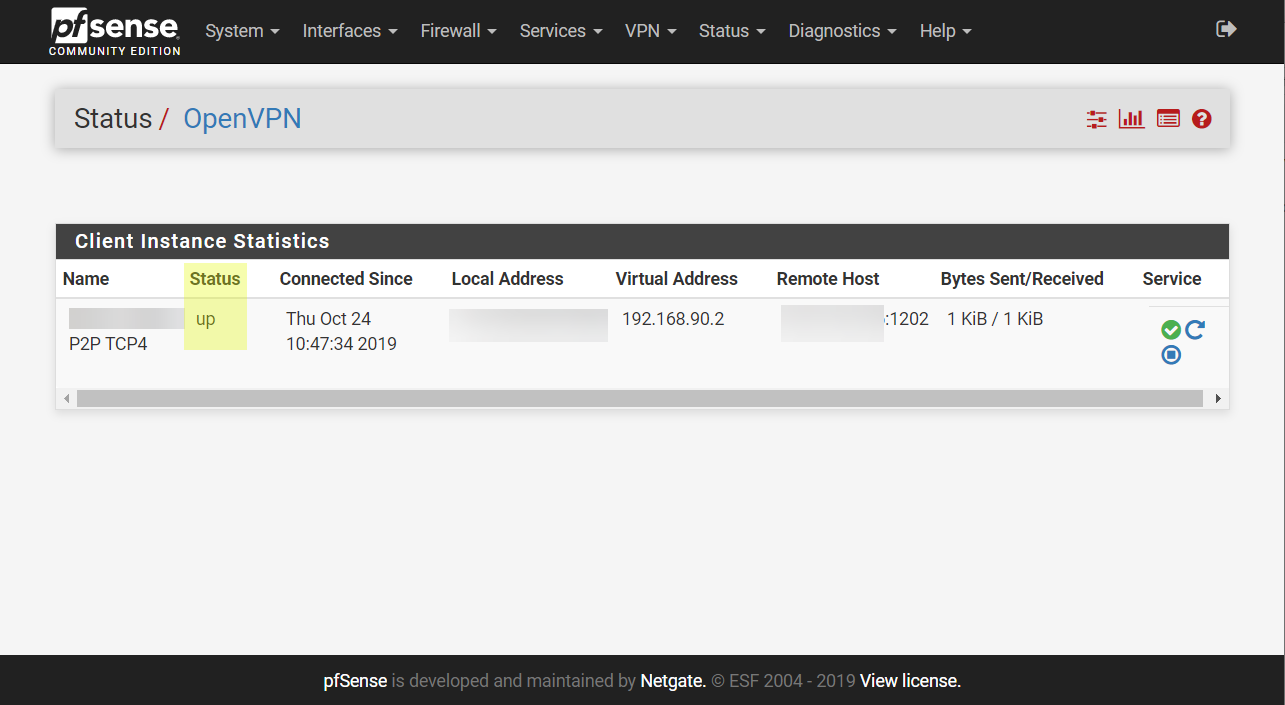
Open status page of VPN connection
The status will be up.
Open Firewall configuration page. Follow to OpenVPN tab.
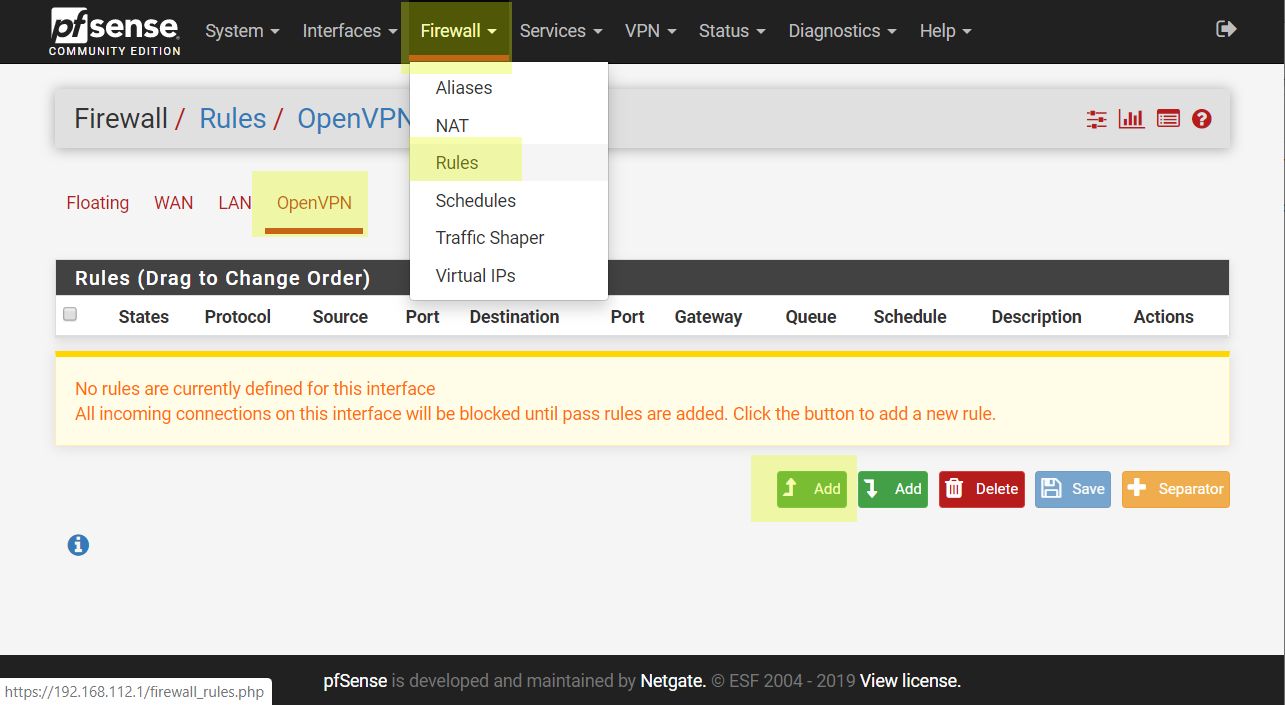
Create new rule with allow traffic through this adapter to LAN net.
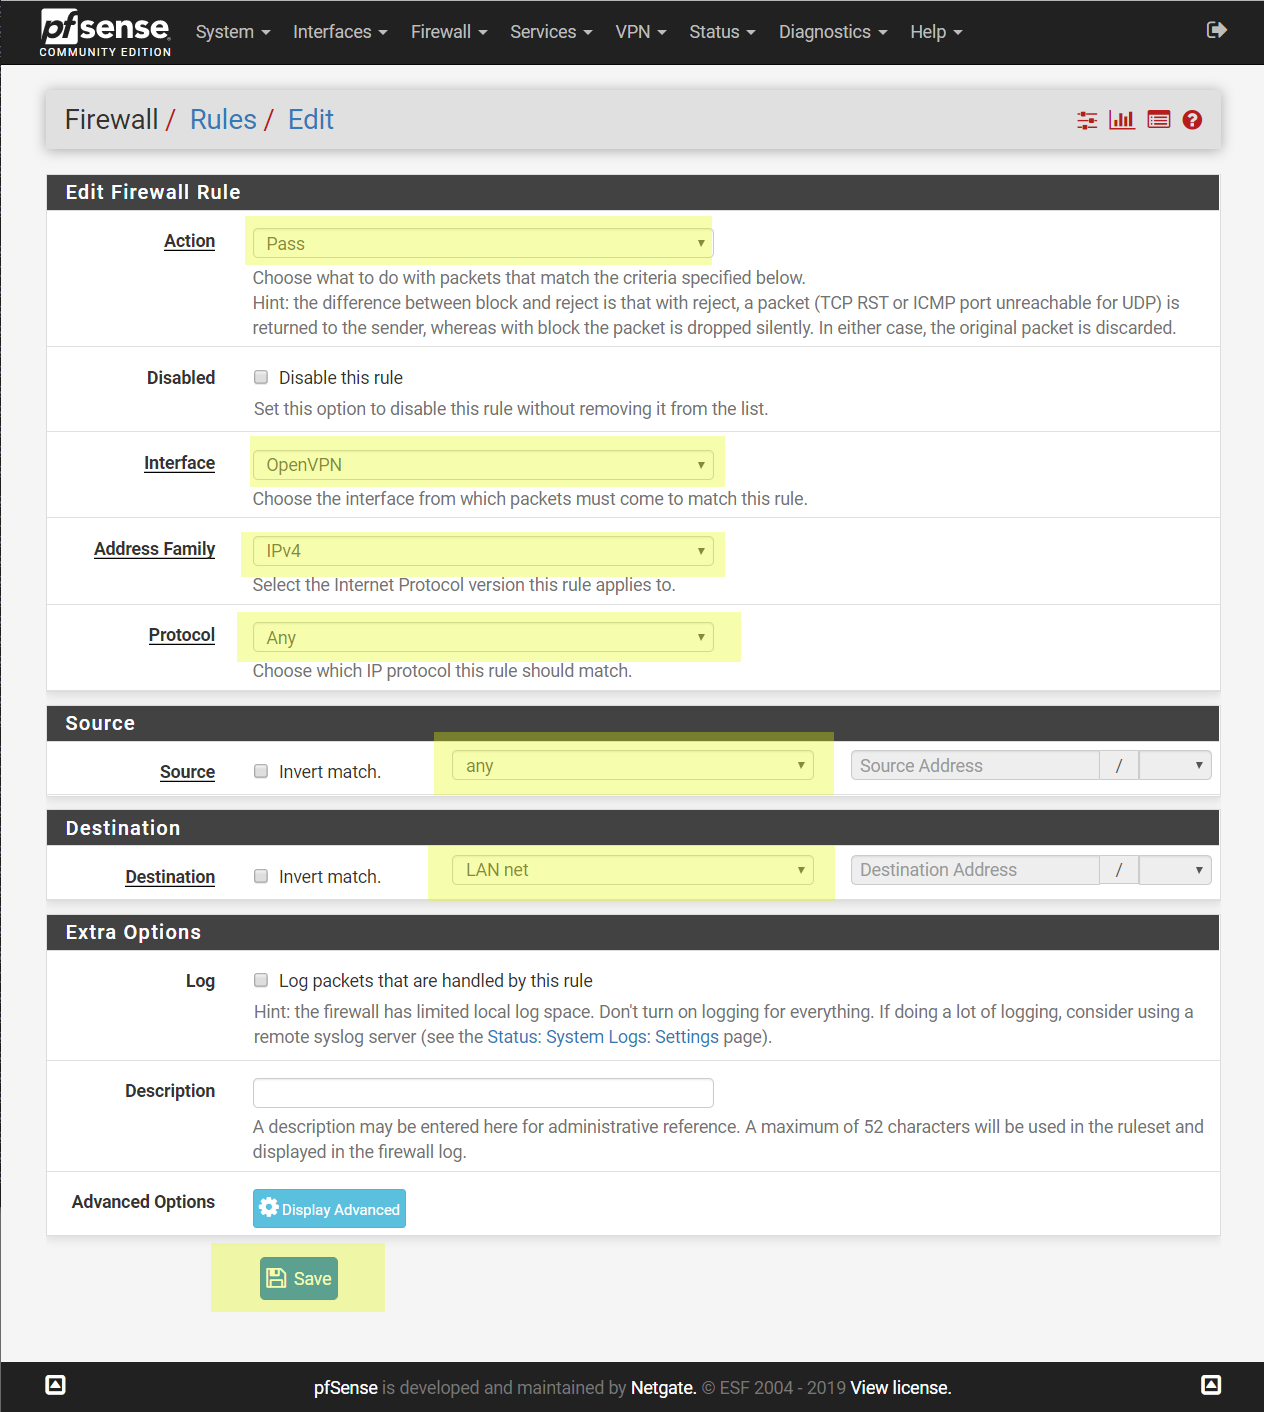
Create another pass rule for LAN interface allows anything.

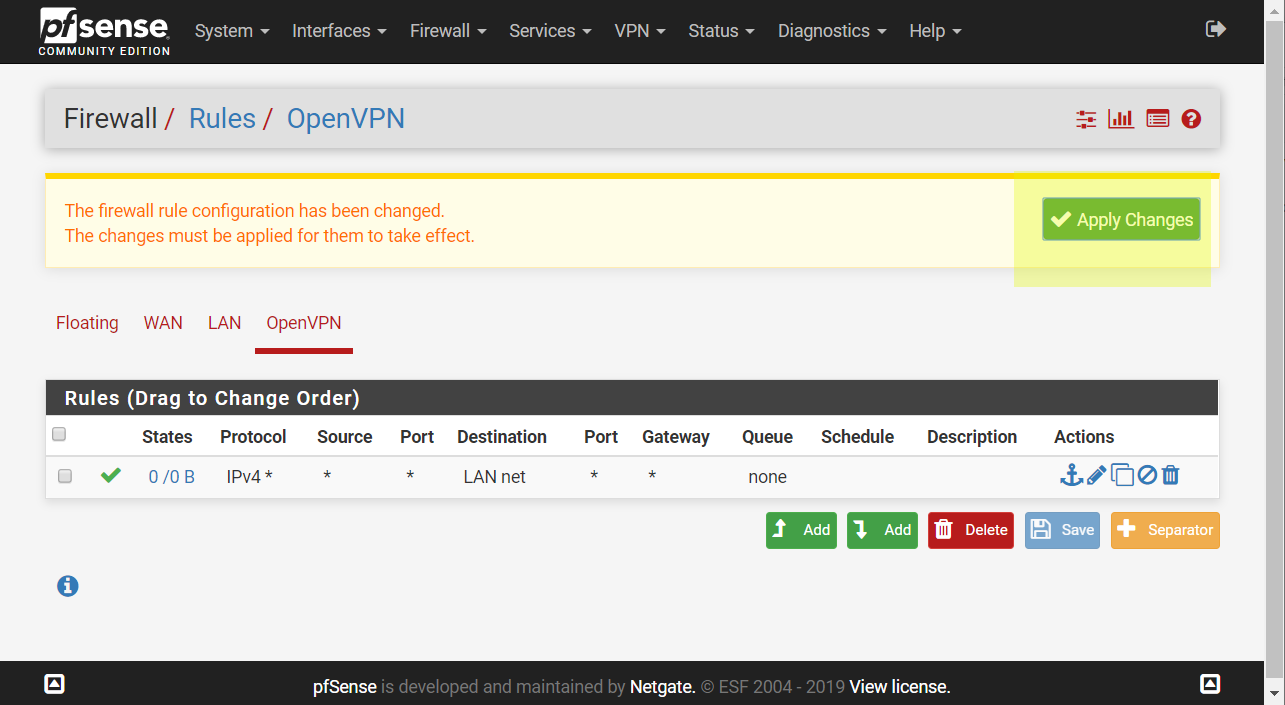
Apply the changes.
Now we can connect to pfSense (that configuring as OpenVPN client) by local IP (192.168.112.1).
ESXi server can be hosted in any place. If it connected to Internet also through NAT.
OpenVPN will auto connect to our public VPN server.
But to access to ESXi webGUI we should make some addition.
Setup ESXi on private LAN
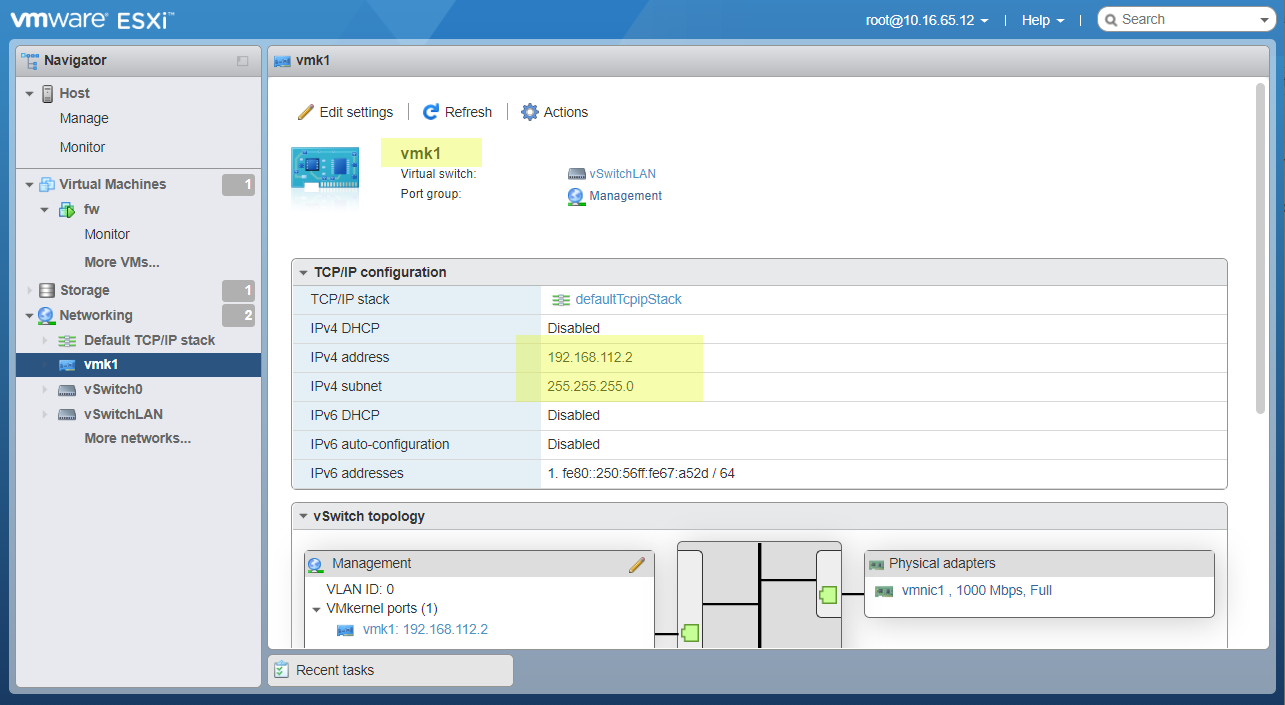
We have an additional management virtual interface that connected to vSwitchLAN - vmk1. We made it before.
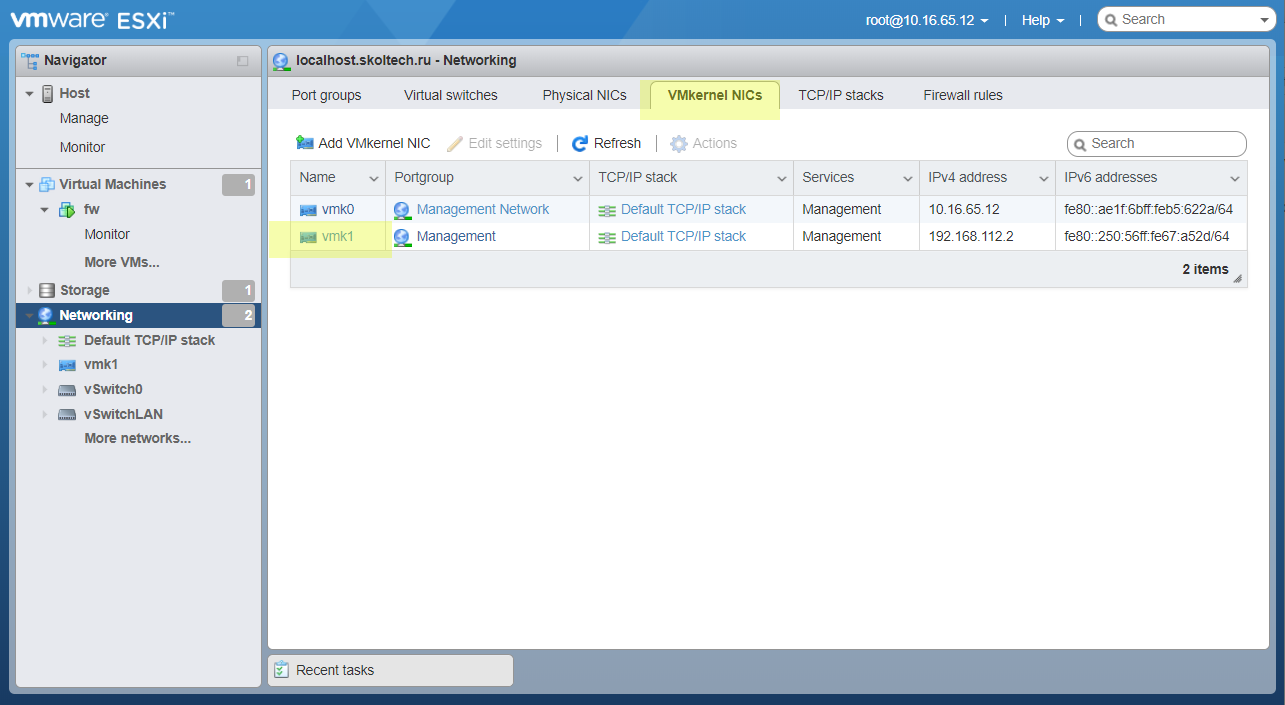
Open the interface, and make sure that it has a right IP adress - 192.168.112.1.
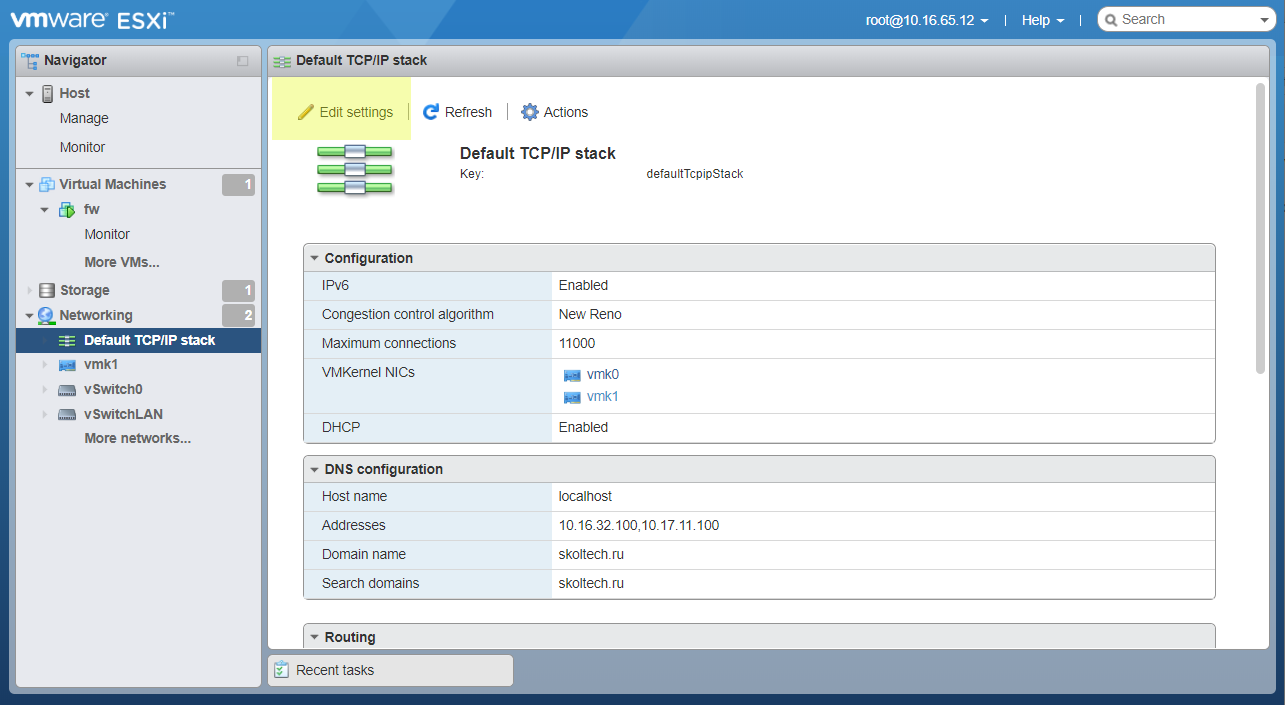
Open TCP/IP stack tab. Select Default TCP/IP stack.
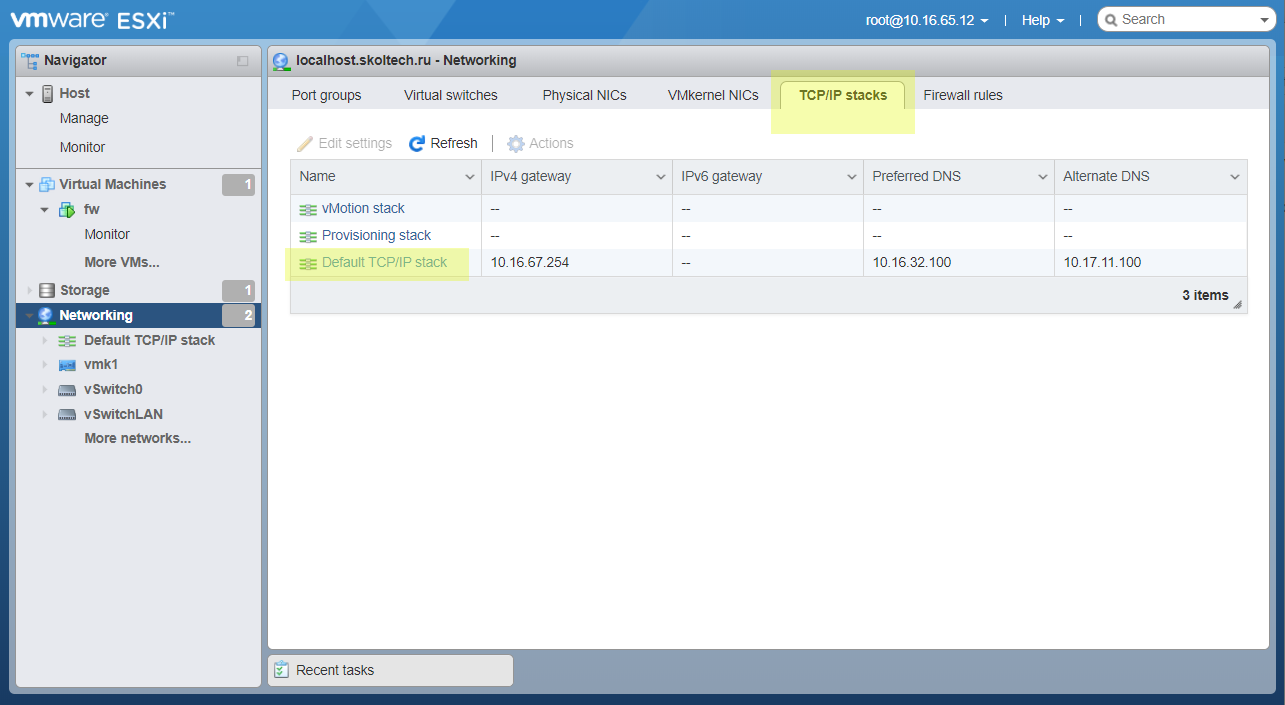
Click Edit settings button.
Manually configure it. Set pfSense IP as default gateway.
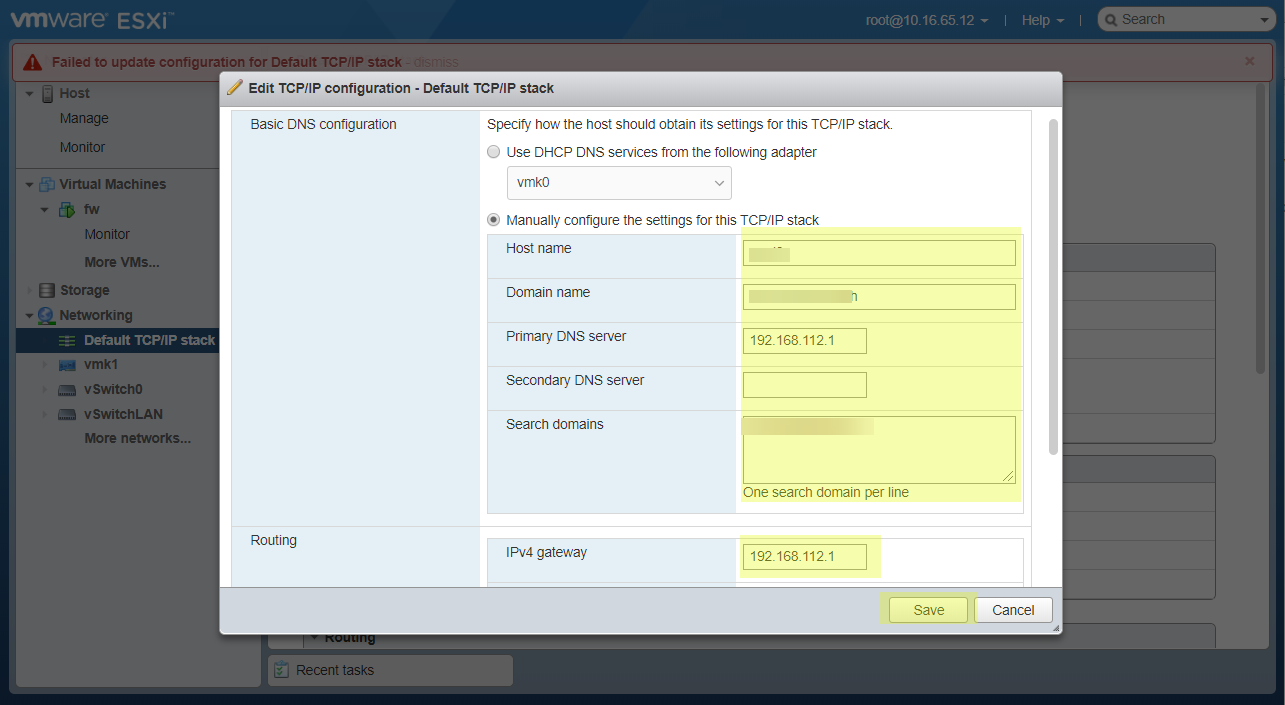
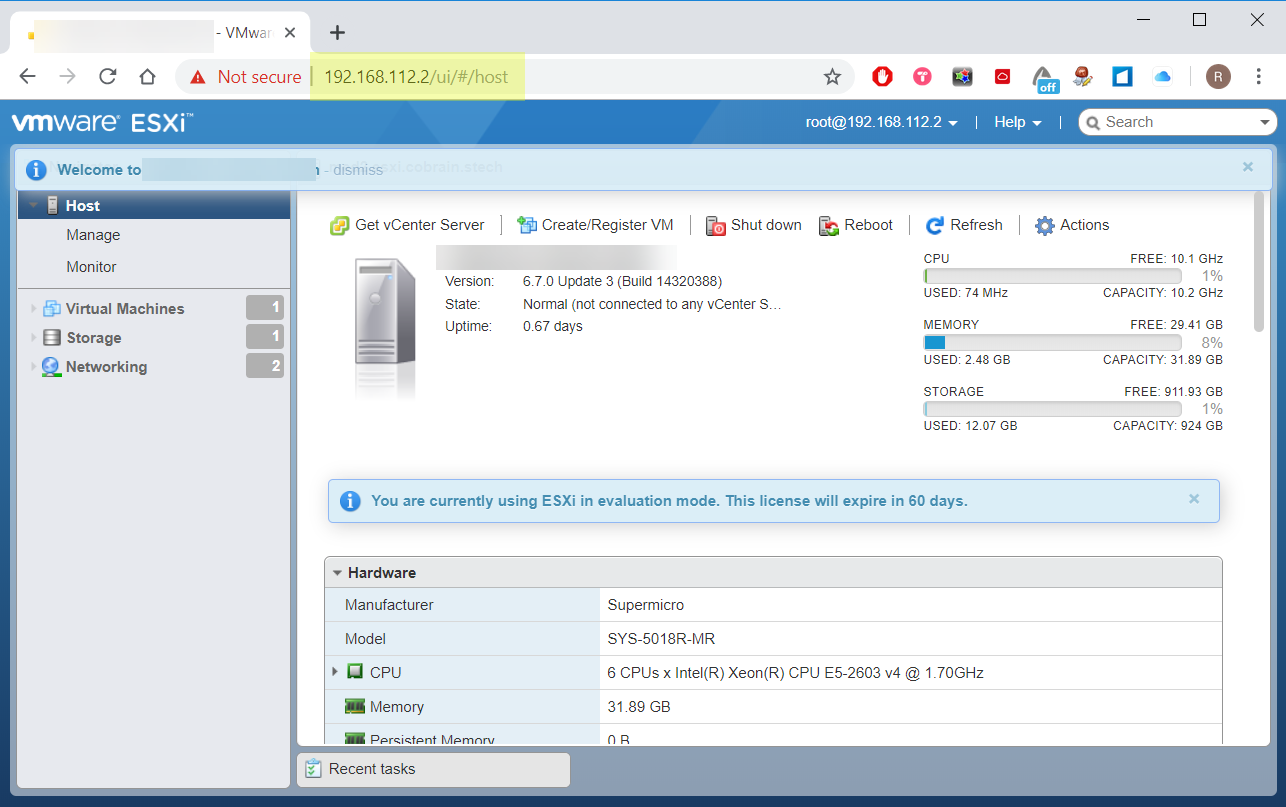
We will lose the access to ESXi WebGUI. It’s OK. Just open it in new IP - 192.168.112.2
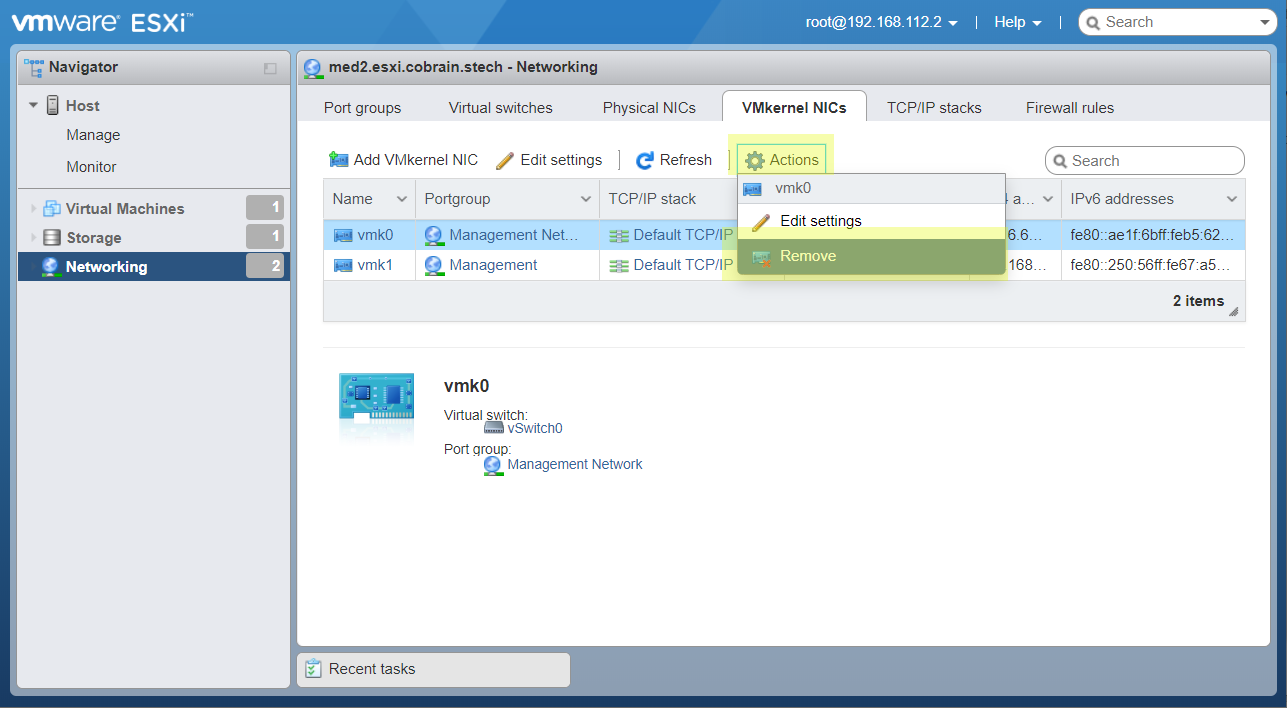
Open VMKernel NIC’s tab.
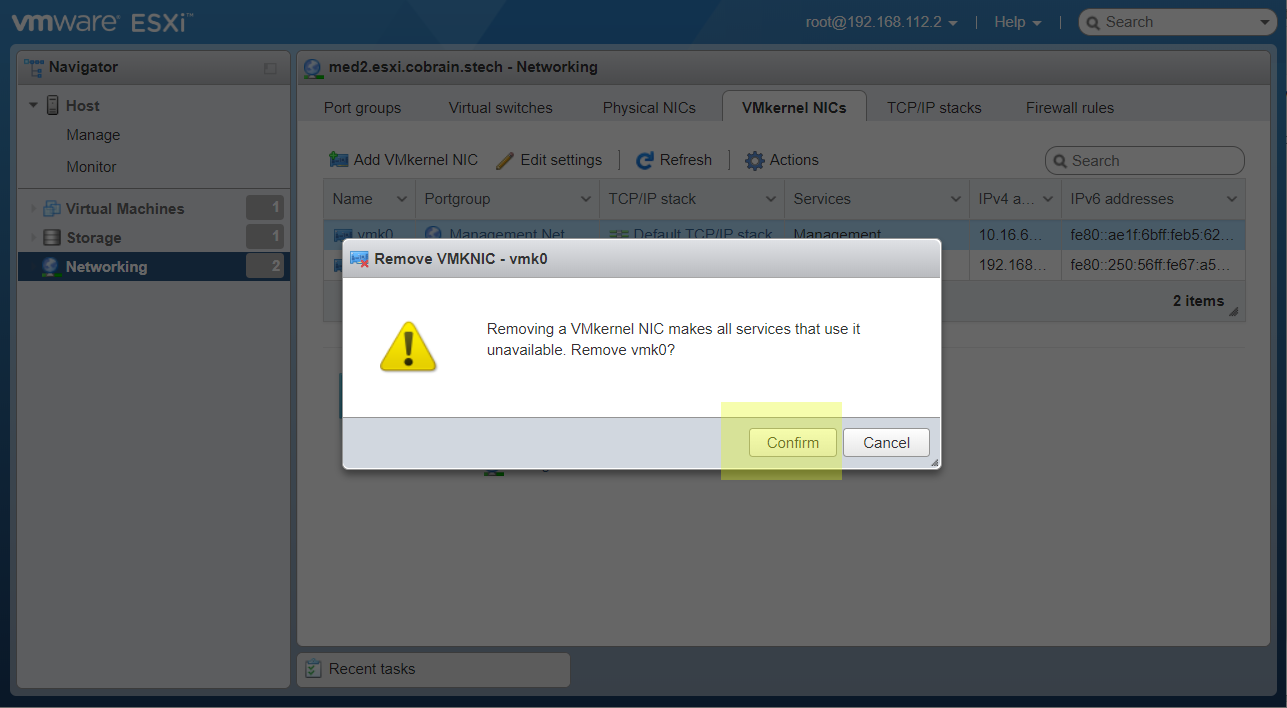
Remove the management interface connected to External network to vSwitch0.
Confirm remove.
Now we have access only from OpenVPN tunnel or LAN network.

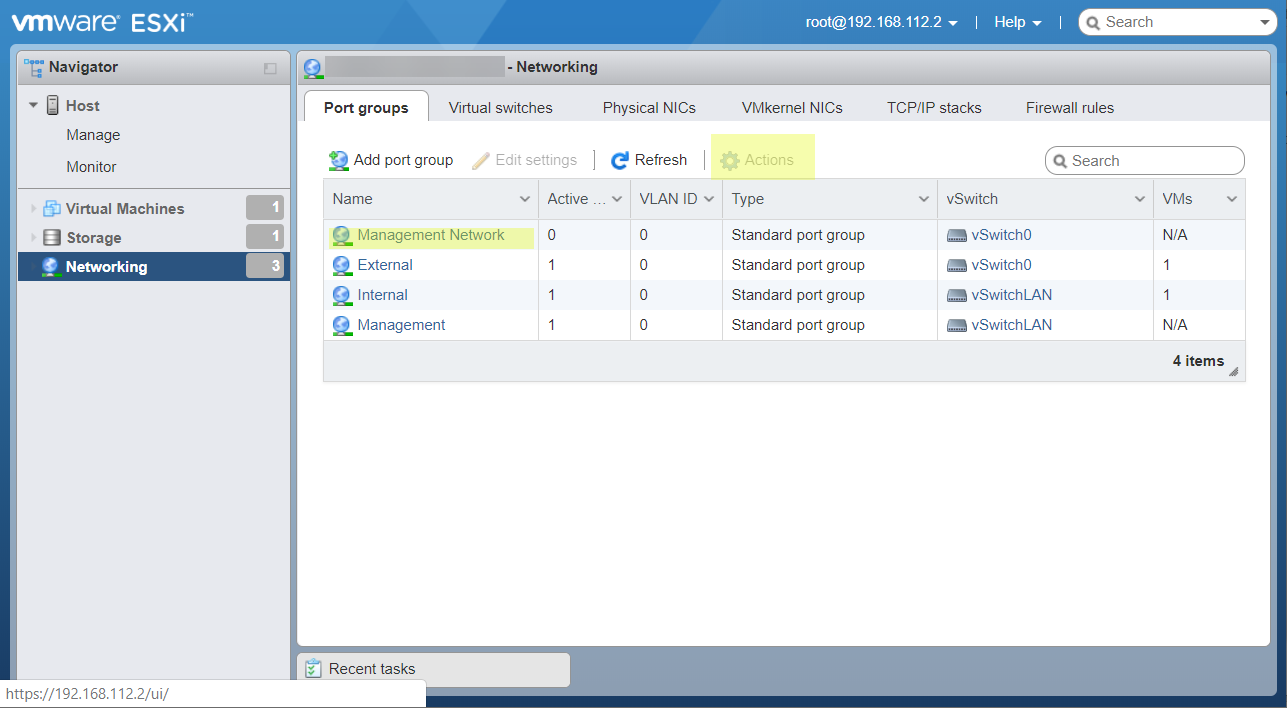
Also we can delete unused Management network port group.

Enable autorun pfSense VM
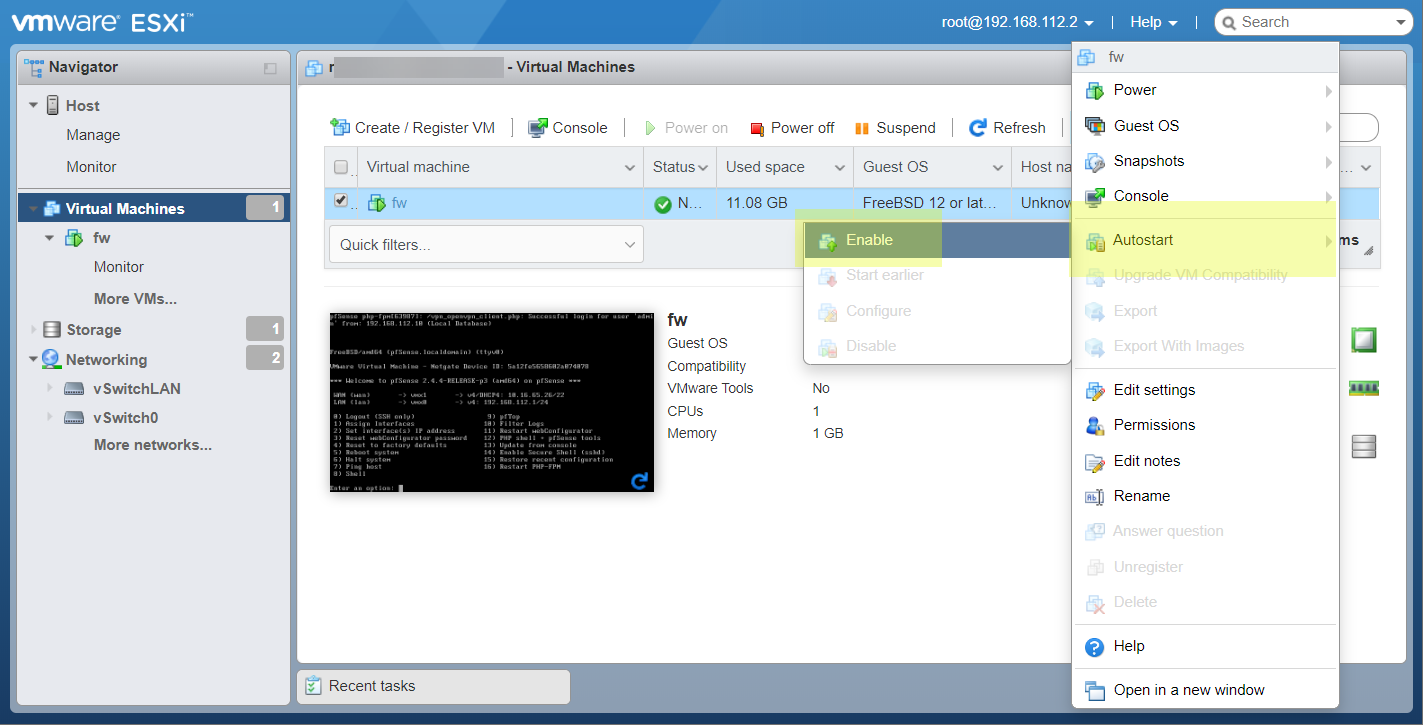
ESXi doesn’t run any VMs after power on by default. You should enable this manually.
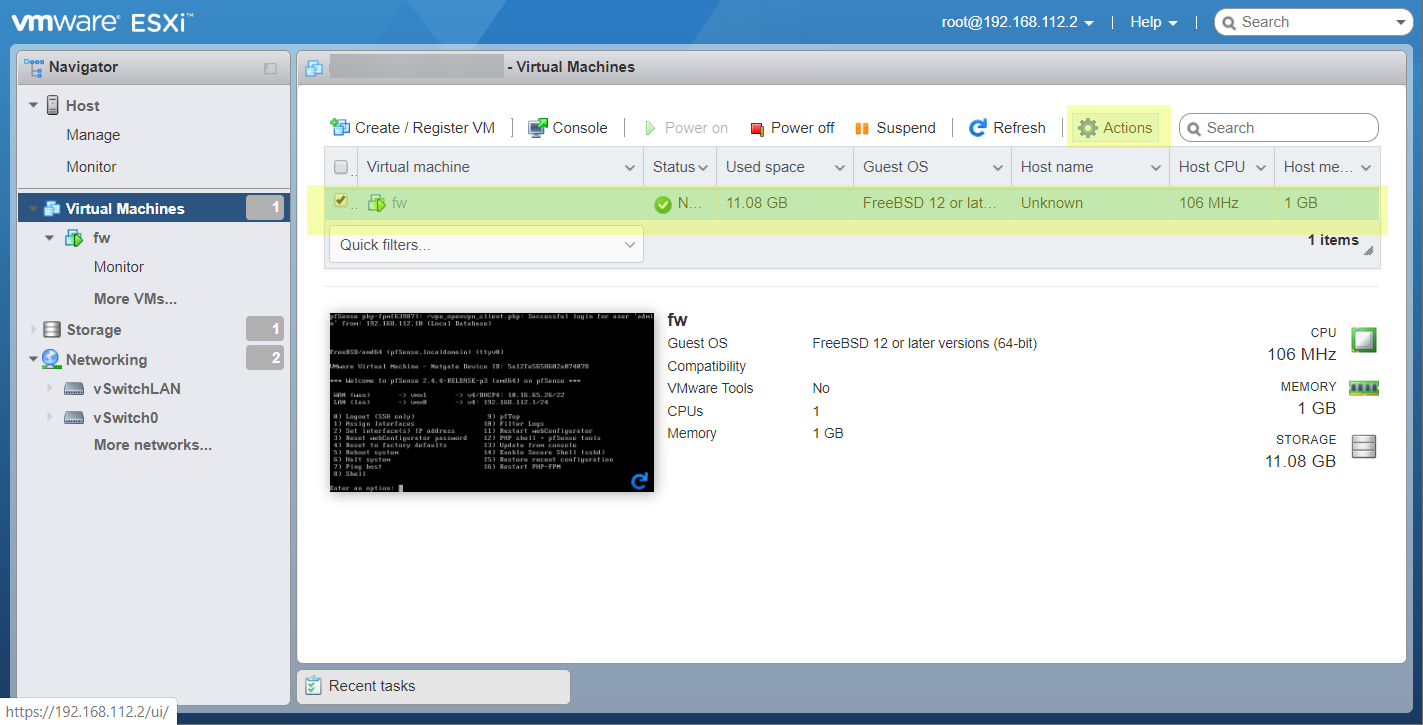
It’s a simple. Open Virtual machines page and select fw.
Enable autostart for selected VM.
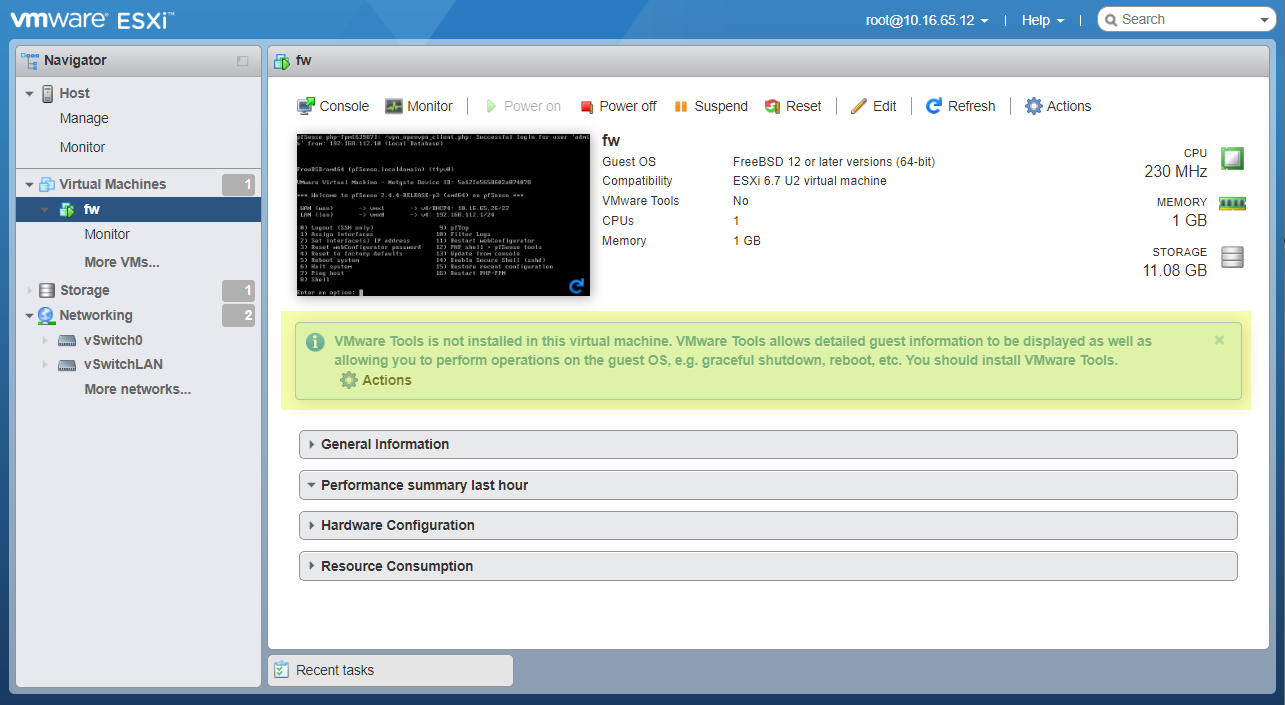
Install VM tools
ESXi will show you the notice message until you install VM tools.
VMware Tools is not installed in this virtual machine. VMware Tools allows detailed guest information to be displayed as well as allowing you to perform operations on the guest OS, e.g. graceful shutdown, reboot, etc. You should install VMware Tools.
VM tools is very helpful instrument. And VMWare haven’t it for FreeBSD.
But exists Open VM tools package.
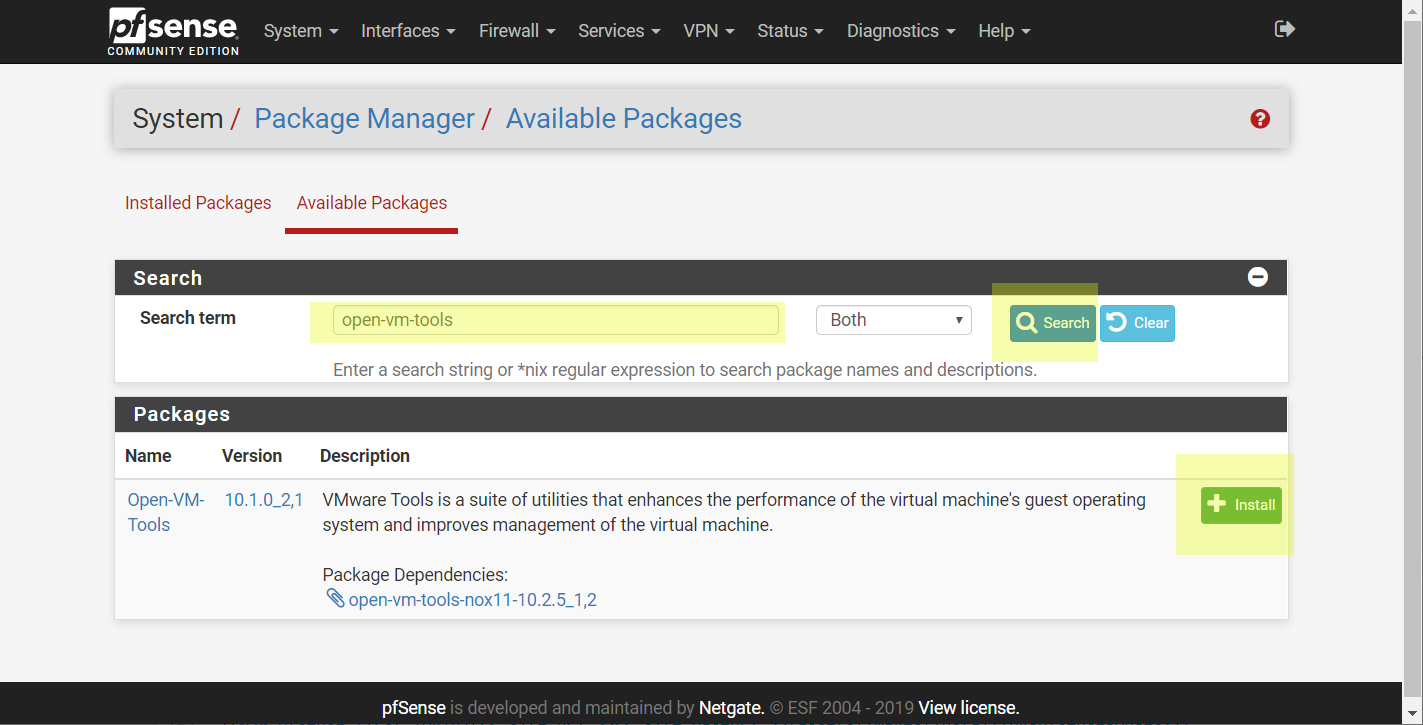
It can be easily installed on pfSense Package manager page.
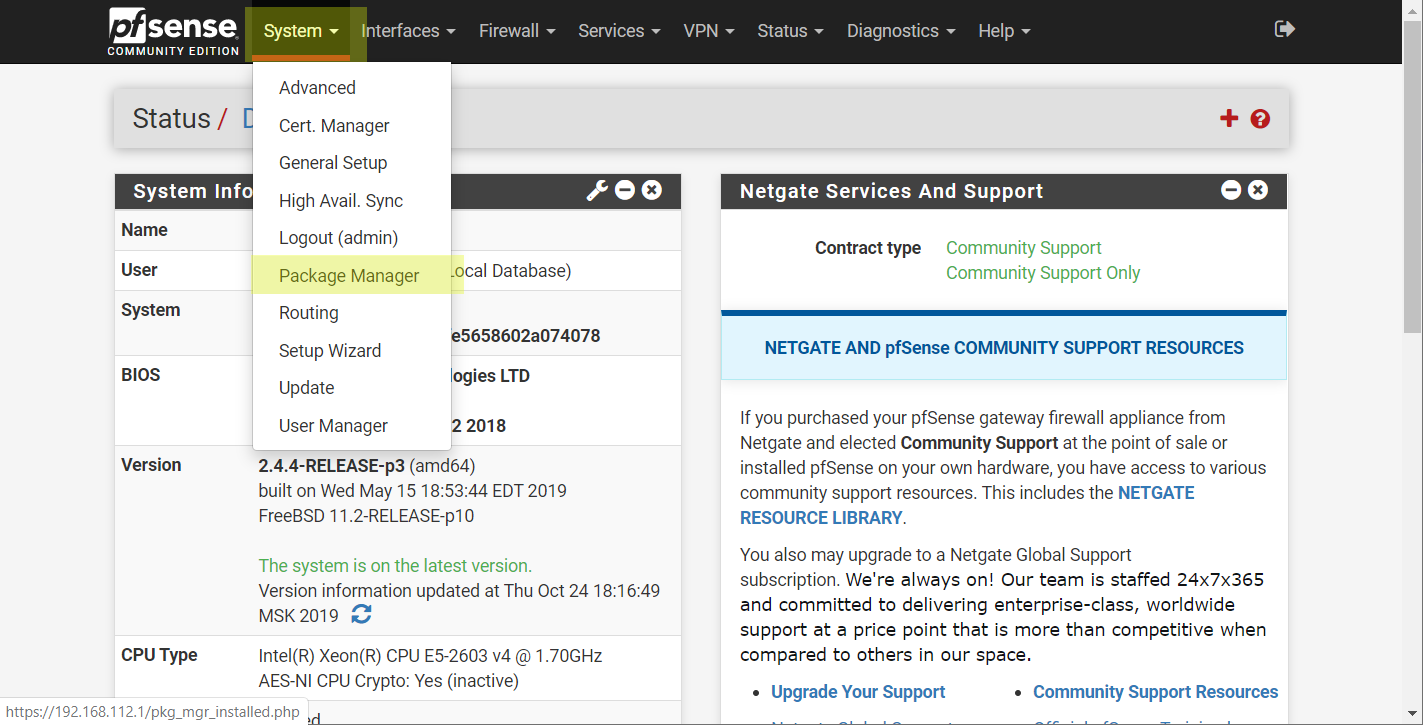
Search and install Open VM tools.
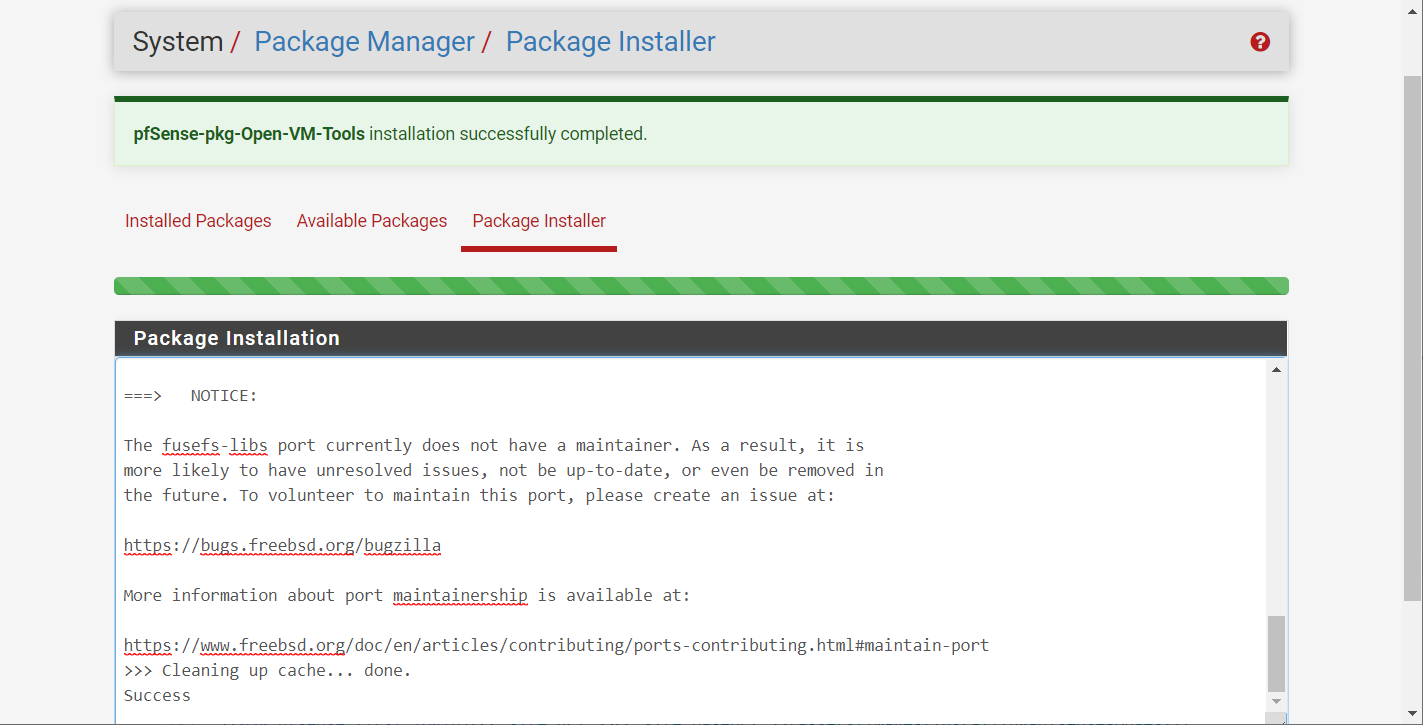
View success result of installation the package.
Done! Now you can create any virtual machines on ESXi host and get full access to them by secure VPN tunnel :)
Some notes
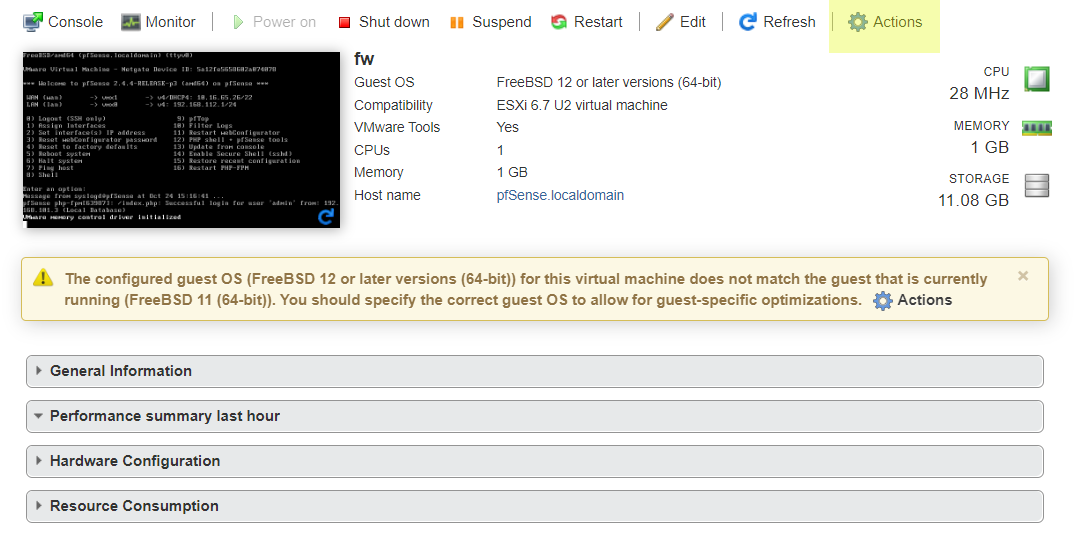
After I install Open VM Tools ESXi will show a warning message:
The configured guest OS (FreeBSD 12 or later versions (64-bit)) for this virtual machine does not match the guest that is currently running (FreeBSD 11 (64-bit)). You should specify the correct guest OS to allow for guest-specific optimizations.
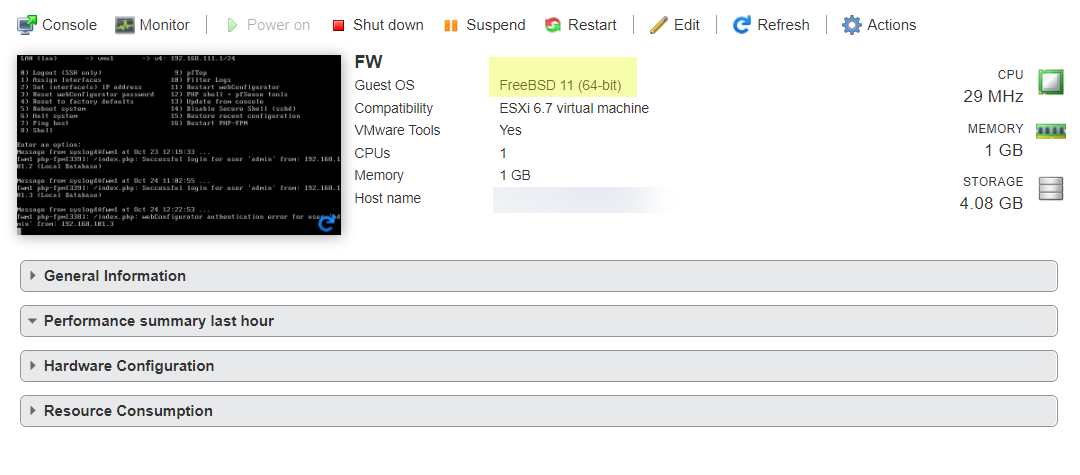
To avoid this just change the Guest OS Version to FreeBSD 11 (64-bit) and will be happy.
Additional information
- VMware Virtual Networking Concepts - The information guide to VMware Networks.