
Ansible. Getting started
Installation
Ansible communicates with remote machines over SSH. Each host should be accessed by SSH. In the beginning sure that hosts has reached like this
$ ssh root@192.168.123.101
Last login: Wed Jan  9 14:04:15 2019 from localhost
#
If you see it, it has enough to communicate with managed host 192.168.123.123 with Ansible.
Next step is installation Ansible to control machine. On CentOS (RHEL):
$ sudo yum install ansible
On Ubuntu (via APT) run these commands:
$ sudo apt-get update
$ sudo apt-get install software-properties-common
$ sudo apt-add-repository --yes --update ppa:ansible/ansible
$ sudo apt-get install ansible
Configuration
Prepare Control host
By default, OpenSSH use options from file ~/.ssh/config. I recommend add information about remote host there. For instance:
Host websrv1
HostName 192.168.123.101
User root
Port 43211
With it communication with host will be easy (ssh websrv1).
Configure Ansible
Create the directory that will include all playbooks and tasks. For example I create the ~/myansible dir.
By default options are loading from file ansible.cfg in the current directory and after from system path (/etc/ansible/ansible.cfg).
So have to create the ~/myansible/ansible.cfg file. And write next content into it:
[defaults]
inventory      = hosts
There are means that inventory file was found in the file hosts from the current directory. It helps us for storing everything in one directory.
Edit Inventory
Use the simple inventory includes one host. Create a file hosts with next contents:
all:
  hosts:
    websrv1:
Test access
Ok, now we can run ansible task that will executed on remote host websrv1.
$ ansible websrv1 -m ping
websrv1 | SUCCESS => {
    "changed": false,
    "ping": "pong"
}
The SUCCESS status telling us that everything is fine and control machine can communicate with selected remote host.
Now run a live command on all of your nodes:
$ ansible websrv1 -a "hostname"
websrv1 | SUCCESS | rc=0 >>
stand
Congratulations! But Ansible is not just about running commands, it also has powerful configuration management and deployment features. Lets try to write an our playbook.
Write Playbook
Create a simple playbook that will install nginx web server and will start the daemon. Then test it in the browser. I will use a server with Debian system.
But before let explain what I did if ansible didn’t exist. I would connect to the server over SSH and install the nginx package with APT
$ ssh websrv1
root@websrv1:~# apt update
Ign:1 http://mirror.yandex.ru/debian stretch InRelease
Get:2 http://mirror.yandex.ru/debian stretch-updates InRelease [91.0 kB]
Get:3 http://security.debian.org/debian-security stretch/updates InRelease [94.3 kB]
Hit:4 http://mirror.yandex.ru/debian stretch Release
Get:5 http://mirror.yandex.ru/debian stretch-updates/main Sources.diff/Index [6,640 B]
Get:6 http://mirror.yandex.ru/debian stretch-updates/main amd64 Packages.diff/Index [6,640 B]
Get:7 http://mirror.yandex.ru/debian stretch-updates/main Sources 2019-01-02-2012.38.pdiff [551 B]
Get:7 http://mirror.yandex.ru/debian stretch-updates/main Sources 2019-01-02-2012.38.pdiff [551 B]
Get:9 http://mirror.yandex.ru/debian stretch-updates/main amd64 Packages 2019-01-02-2012.38.pdiff [332 B]
Get:9 http://mirror.yandex.ru/debian stretch-updates/main amd64 Packages 2019-01-02-2012.38.pdiff [332 B]
Get:10 http://security.debian.org/debian-security stretch/updates/main Sources [188 kB]
Hit:11 https://deb.nodesource.com/node_10.x stretch InRelease
Get:12 http://security.debian.org/debian-security stretch/updates/main amd64 Packages [464 kB]
Fetched 851 kB in 2s (329 kB/s)
Reading package lists... Done
Building dependency tree
Reading state information... Done

root@websrv1:~# apt install -y nginx
Reading package lists... Done
Building dependency tree
...
Setting up nginx (1.10.3-1+deb9u2) ...
After that I can see the a ‘hello’ page from Nginx by 192.168.123.101 local network address (it corresponds to the websrv1 host).
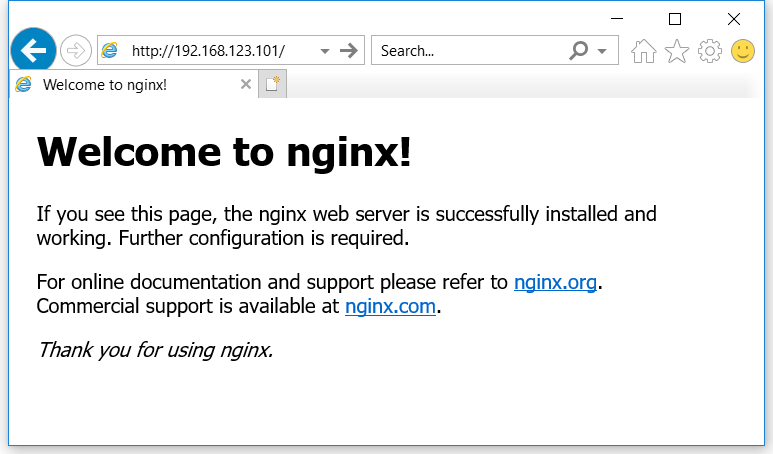
Good! Now the host websrv1 has work as real web server.
Then write the same with Ansible’s playbook. Open the file ~/myansible/nginx-install.yml and add
- hosts: websrv1
  tasks:
    - name: Install nginx web server
      apt:
        pkg: nginx
        state: installed
        update_cache: true
We just tell Ansible the it should use an apt module and also update cache before. Ok, we clean our Debian system and restore it to the state when Nginx wouldn’t installed. Now we want to run this playbook. Use next command:
$ ansible-playbook websrv1 nginx-install.yml
PLAY [websrv1] *********************

GATHERING FACTS *********************
ok: [websrv1]

TASK: [Install nginx web server] *********************
changed: [websrv1]

PLAY RECAP *********************
websrv1                        : ok=2    changed=1    unreachable=0    failed=0
Our task was executed and it changes something in the server.
The flag changed is telling about it.
TASK: [Install nginx web server] *********************
changed: [websrv1]
If we open the browser and input the server IP we view the nginx ‘hello’ page. The same that we have before.
So we prepare the controller host for a big things.
We installed Ansible, created a catalog (~/myansible) for the future complex playbooks, added a server in our host file.
And we run simple task from playbook.
Next, I recommend you to follow the documentation and learn more about playbooks.
Additional information
- Getting Started with Ansible - A simple guide to Ansible’s community and resources.
- Ansible Documentation - Covers all Ansible options in depth. There are few open source projects with documentation as clear and thorough.
- Ansible Glossary - If there is ever a term in this book you don’t seem to fully understand, check the glossary.
- Ansible for DevOps - this book helps reach an expert level of Ansible using.
- Ansible - A Beginner’s Tutorial - youtube lessons about the basics of Ansible.