GitLab CI/CD. Create simple pipeline
Today I want to show you how to build and run a simple web application with pipelines. I wrote an example Java application to demonstrate a possibility of CI. The application code is placed here.
For using it in GitLab just clone and add as new project.

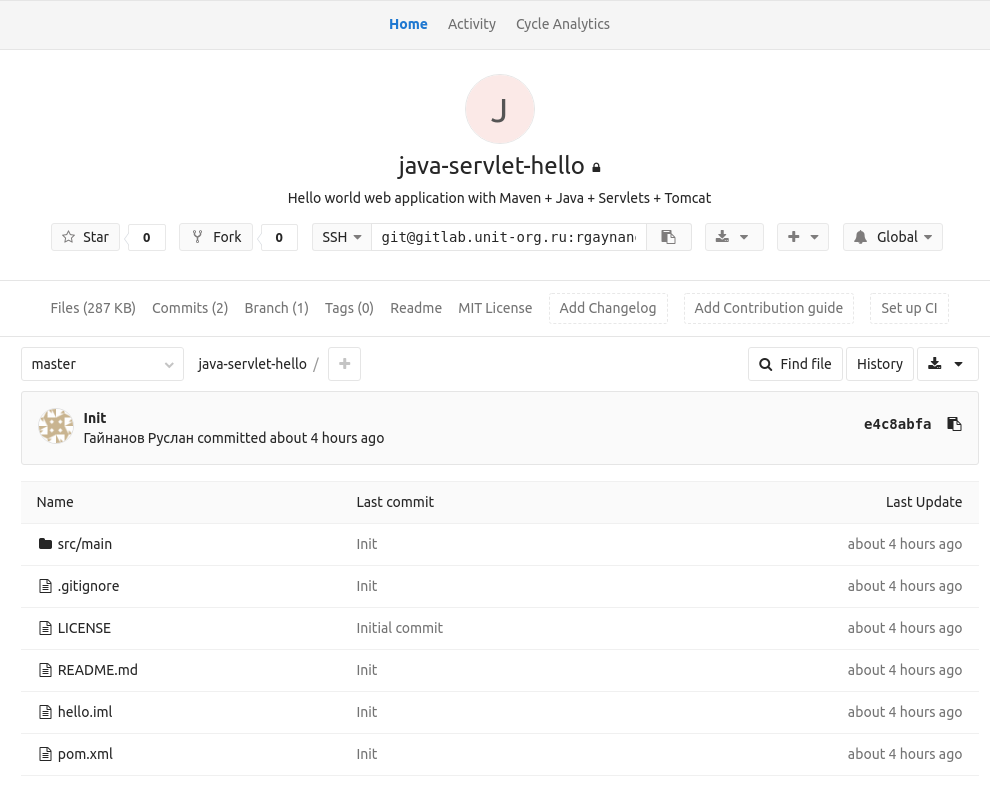
About project
This is a typical and simple web application that shows a web page with
“Hello world” when a user gets
http://localhost:8081/ from browser.
Firstly you should compile a project with Maven. In the result of it you have
got a file hello.war. For running the app copy this war file into a webapps
folder and run Tomcat WebServer.
Runner host preparing
It supposes you have configured a shell Runner and have installed Docker.
After that for allowing to manage docker containers by Runner you should add a gitlab-runner user into docker group.
usermod -a -G docker gitlab-runner
In addition I setup gitlab-runner as sudo user to run protected linux commands
without user passwords. Just add a next row into a file with a command
sudo visudo -f /etc/sudoers.d/gitlab-runner
gitlab-runner ALL=(ALL) NOPASSWD: ALL
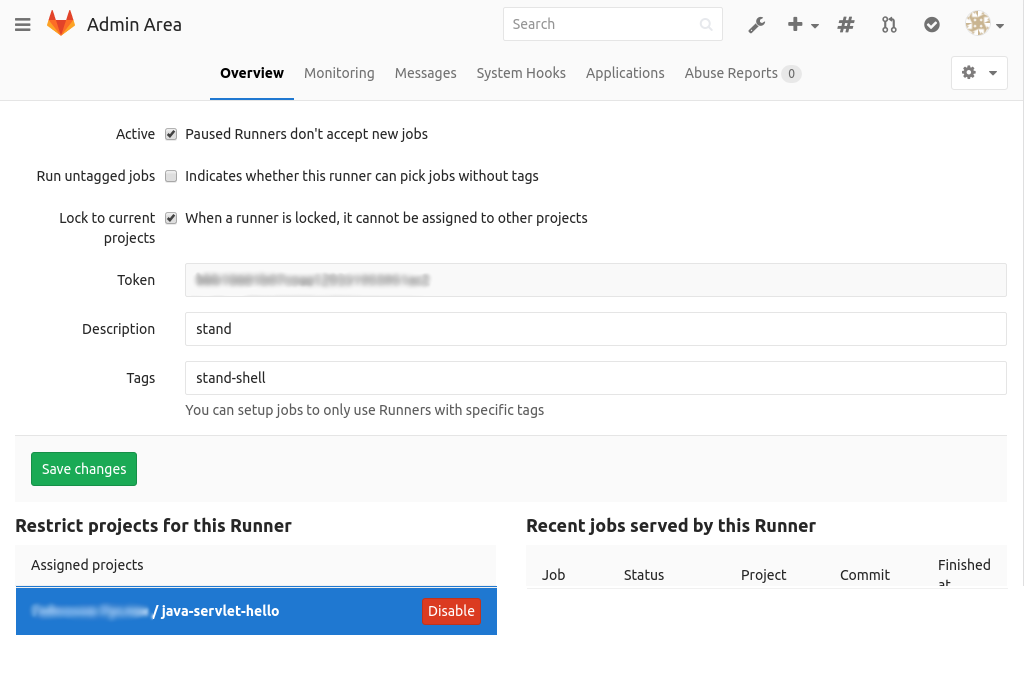
In the end, enable a specific Runner to this project if you didn’t do that yet.
Writing pipeline
In this project I want to use two stages to build and deploy an application.
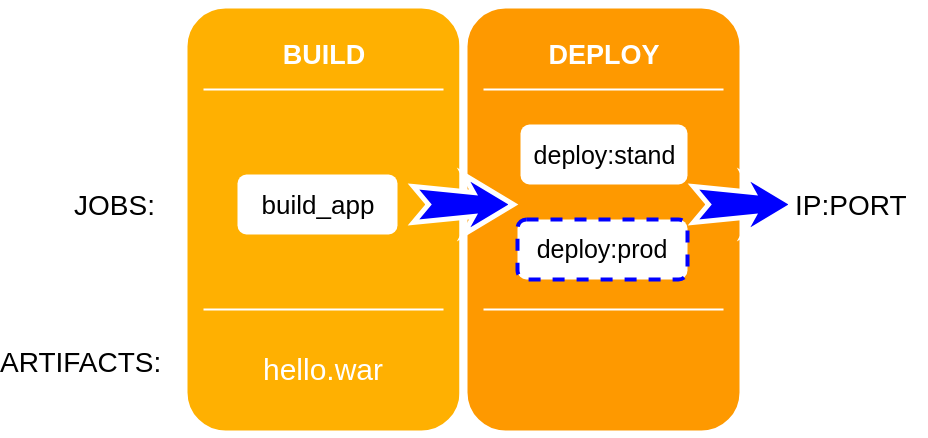
The stage deploy has two jobs to deploy the app into a stand and production
servers. Runners on these servers have tags prod-shell and stand-shell.
The deploy to the production server requires a manual action. To build an app
are used a docker maven container. The app is deploying with tomcat container.
Thus the next code will configure the defined pipeline.
It requires to be inputted in .gitlab-ci.yml:
stages:
  - build
  - deploy

build_app:
  stage: build
  dependencies: []
  tags:
  - stand-shell
  script:
  - docker run -i --rm --name hello-maven -v ${PWD}:/hello -w /hello maven
      mvn clean install
  - cp target/hello.war hello.war
  - docker run -i --rm --name hello-maven -v ${PWD}:/hello -w /hello maven
      mvn clean
  artifacts:
    paths:
    - hello.war
    expire_in: 1 week

deploy:stand:
  stage: deploy
  dependencies:
  - build_app
  tags:
  - stand-shell
  script:
  - docker run -d --rm --name hello-tomcat-${CI_COMMIT_SHA:0:8} -P
      -v ${PWD}/hello.war:/usr/local/tomcat/webapps/hello.war
      tomcat:9.0-jre8-alpine
  - docker ps -f "name=hello-tomcat-${CI_COMMIT_SHA:0:8}" --format '{{.Ports}}'

deploy:prod:
  stage: deploy
  when: manual
  dependencies:
  - build_app
  tags:
  - prod-shell
  script:
  - docker run -d --rm --name hello-tomcat-${CI_COMMIT_SHA:0:8} -P
      -v ${PWD}/hello.war:/usr/local/tomcat/webapps/hello.war
      tomcat:9.0-jre8-alpine
  - docker ps -f "name=hello-tomcat-${CI_COMMIT_SHA:0:8}" --format '{{.Ports}}'
In the result we have an automation process that builds and deploy the web app. The app is deployed to stand host for test purposes after every commit into a repo.
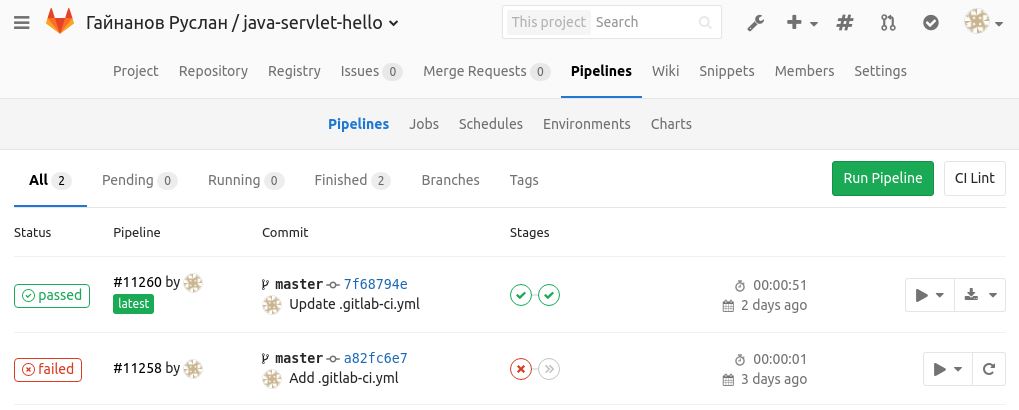
The result pipeline is:

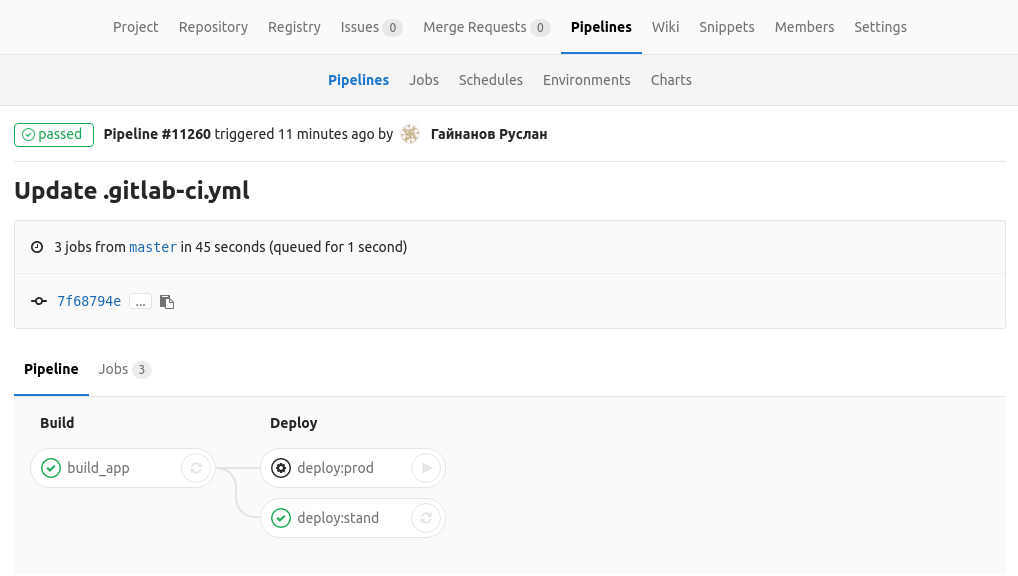
The app can be accessed by IP and PORT. The PORT are dynamically generated and
are showed in the deploy:stand job result:
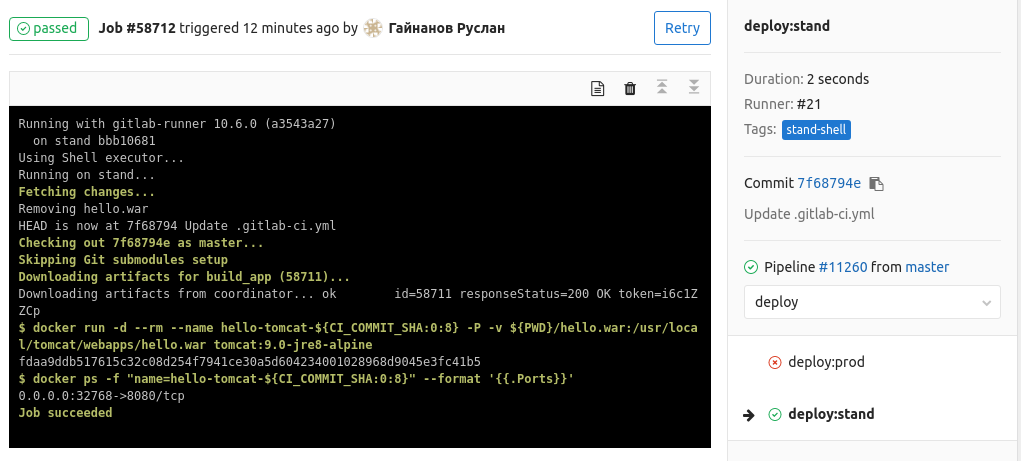
In my job output port is 32768. And the web app can be accessed by:
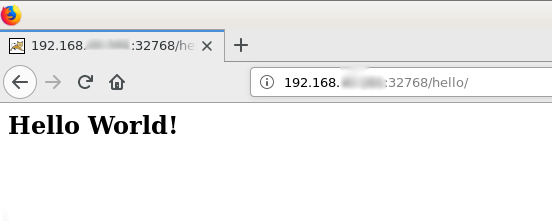
With this configuration you have tried to use CI/CD process with GitLab. Don’t forget this simple pipeline doesn’t provide jobs to stop stands. You should are stopping unused docker containers yourself.
Next you can change it to your complex configuration for own purposes.
In the future I will explain how to use Ansible for CI/CD in the script block. It useful if you have a complex pipeline and you want write readable scripts.
